
Add clients and sites
You add your customers, as clients, to the All Devices view to manage and monitor their devices. For each client you create one or more sites, and then you add devices to those sites. The All Devices view uses the following hierarchical structure :
- Client: Customer name or another identifier. One client can have many sites.
- Site: A group that includes the client's devices. A site can be a physical location, a department, an overall device type, or any other type of group you define. One site can have many devices.
- Device: Endpoints with the N-sight RMM Agent installed.
Add a client

- In the All Devices view, select File and select Add Client.
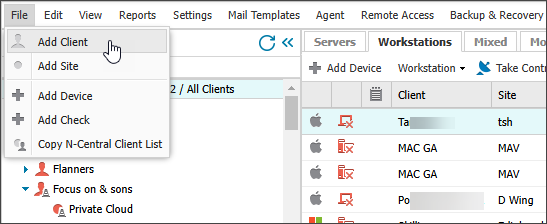
The Add Client dialog displays.
- In the General section, enter the Client Name and the client Timezone to use when sending Reports, setting Office Hours, and so on.

If you want to add the client now and edit the other information later, click OK (optional).
- Go to Software License Setup and enter the number of licenses held for Asset Tracking Software License Groups.
- Go to Server Client Report Settings and enable the Daily, Weekly and Monthly Client Server Reports and configure the send settings.
- Go to Workstation Client Report Settings and enable the Daily and Weekly Client Workstation Reports and configure the send settings.
- Go to Notes Reports and enable the Client Notes Report and configure the send settings.
- Go to Executive Summary and enable Delivery for the Executive Summary Report and configure the send settings.
- Click OK.
The new client is added to the Client List.
You can also configure the reports using the Settings > Client Reports option. For more information, see Client-facing reports.
Add a site
- In the All Devices view Client List, right-click the client where you want to add a site and select Add Site.
The Add Site dialog displays showing the General Settings for the selected Client.
- Enter a Site Name.
- Select the Default Workstation Monitoring Template. Only templates available for this device type are displayed.
For details, see Configure installation templates for new device installation.
- Select the Default Server Monitoring Template. Only templates available for this device type are displayed.
- Optionally, go to Data Overdue Cross Check to configure up to two devices to ping when a server at the site reports as overdue. For more information, see Data Overdue Cross Check.
- Select Save.
The new site is added to the client.
Edit a client or site
- In the All Devices view Client List, right-click the client or site and select Edit Client or Edit Site.
- Edit the settings.
- Select Save.