
Custom Scan
Custom Scans only scan the specified locations for malware threats and at a sensitivity level that you determine.
To be begin a custom scan, click New Custom Scan in the Scans panel then configure the settings.
Target
Expand the tree and select the items to scan by ticking the tickbox next to the entries
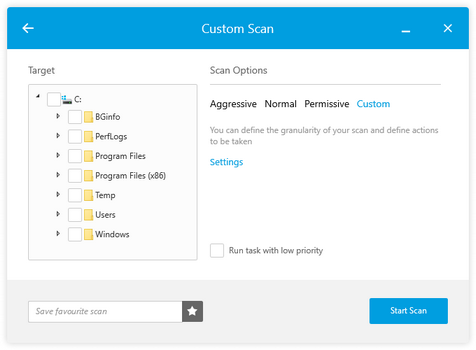
Scan Options
- Choose the sensitivity level applied by the scan: Aggressive, Normal, Permissive or Custom
- Decide whether to Run task with low priority. This option reduces the impact of the scan on the computer and allows other programs to run faster, although the scan may take longer to complete.
Custom Scan Options
When selecting Custom as the sensitivity level, the next step is to click Settings and configure.
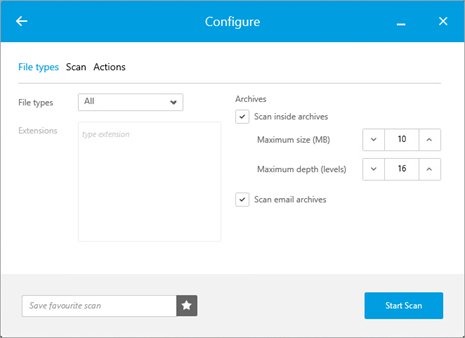
File Types
- Select the File Types to scan. When selecting Custom extensions enter the comma separated extensions in the Extensions field.
- Choose whether to scan Archives and set the maximum size and depth limits.
- Decide whether to Scan email archives
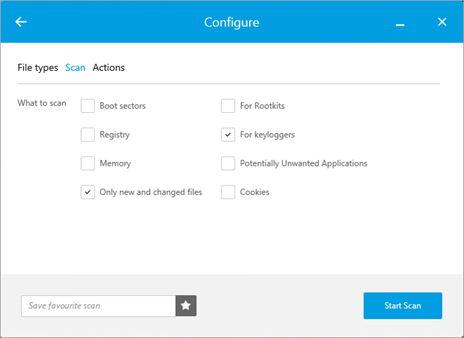
Scan
Choose what to scan and threat types to look for. Tick the box to include in the scan and untick to ignore.
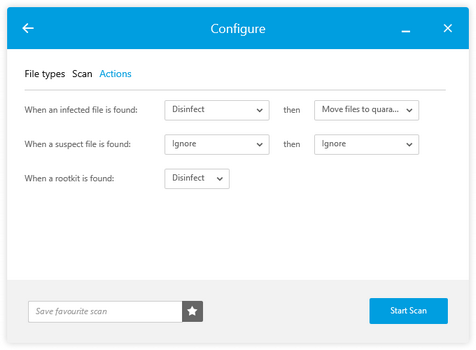
Actions
Select the actions to take on rootkit, infected or suspect file discovery.
Save Custom Scan as a Favorite
To save the scans settings, enter a name in the Save favorite scan field and click the star button. The custom scan then appears in the Scan Tasks panel with the option to run scan or click the trash can button to delete.
What do you want to do?
- Discover Managed Antivirus System Tray Icon functions
- Open the Managed Antivirus Agent
- Read about the information displayed in the Status Area
- Look at the Events
- Scan a specific File or Folder
- Run a manual scan (Quick, Full or Custom)
- View scan progress
- Review items in quarantine and perform actions