The interface of the Backup Manager consists of four main pages:
- Overview
- Backup
- Restore
- Preferences - This page contains the following sections which are useful for additional configuration
- General
- Schedule
- Scripts
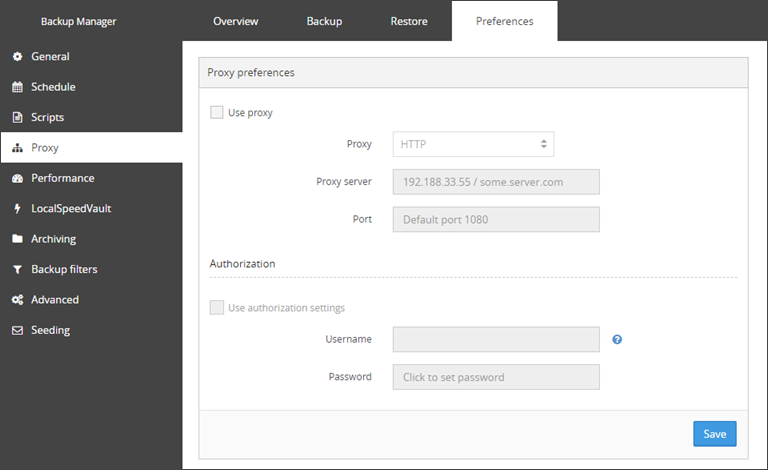
- Proxy
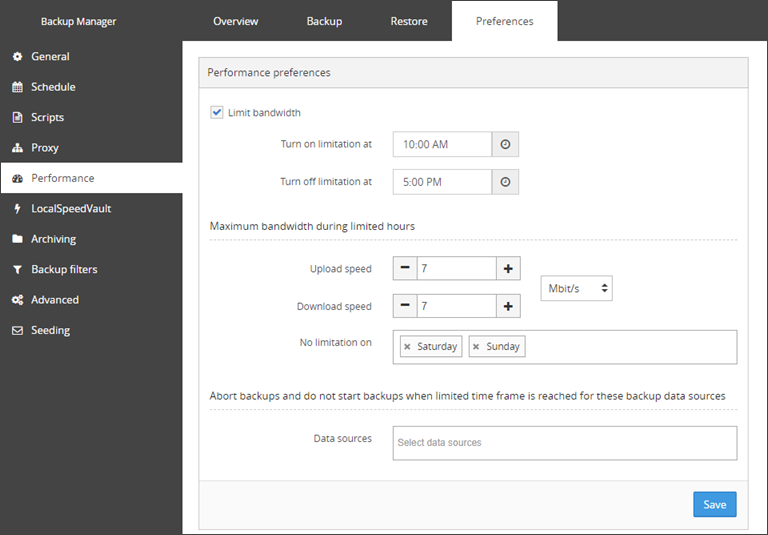
- Performance
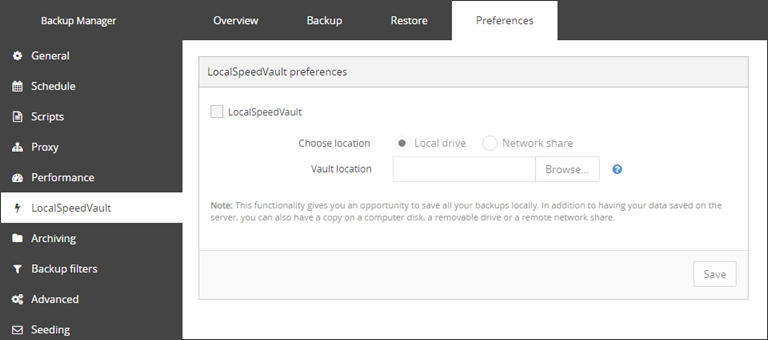
- LocalSpeedVault
- Archiving
If using the new Retention Policies feature, adding Archiving to backup sessions will no longer be possible. Please use a custom Retention Policy instead.
- Backup Filters
- Advanced
- Seeding
If using a backup profile, several of the preference tabs and configuration settings will become locked and cannot be edited. These pages are identified by a banner at the top of the page and the individual settings will be locked with a padlock icon.
Device Details
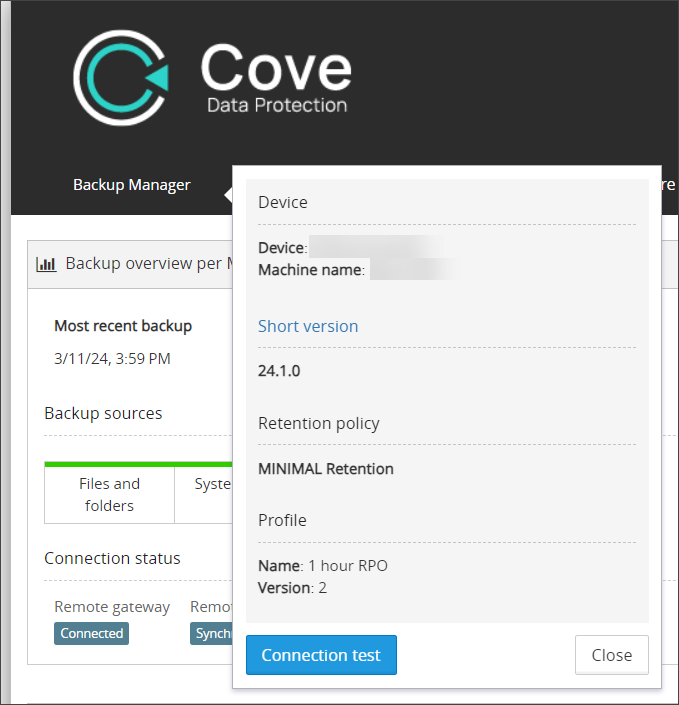
The graphical user interface (or GUI) also provides details of the device you are currently viewing which can be found by clicking Backup Manager on the menu bar.
On this pop-up you will see the device name as it was given during the install, the physical machine name as determined on the computer itself, the version of Backup Manager installed on the device and the name of the Retention Policy the device is using and the name of the Profile assigned to the device (if one is used).
Overview
The Overview page is split into two sections:
Backup Overview per date
In the Backup overview per date section, information will be provided on the:
- Date and time of the most recent backup and how long ago this was
- Selected size
- Number of files processed
- Number of errors encountered
- Amount of Used Storage
- Which data sources are configured for backup
The colour of the bar at the top of each data source denotes the status of the most recent backup of this source, i.e.
- Green - Successful
- Orange - Completed with errors
- Red - Unsuccessful
- Connection status of the remote gateway and remote storage
If these say anything other than Connected and Synchronized, you may encounter problems with your backups
Backup History
The Backup History section provides a calendar layout of the last 28 days of backups for the device.
The colour of the bar at the top of each day denotes the status of the last backup session of the day. This means that if the device is scheduled to run multiple backup sessions in a day, the colour relates only to the last one and cannot show the status of multiple sessions.
The colours relate to the following statuses:
- Green - Successful
- Orange - Completed with errors
- Red - Unsuccessful
- Grey - No Backups
To see the details (number of sessions, details on each session, status of the backup and restore sessions carried out) for a given day, select the day to view from the calendar.
On this pop-up, the following details will be provided for each backup or restore session and data source carried out:
- Time - Time of the session
- Data source - The name of the data source the session relates to
- Action
- Backup
- Restore
- Status - The status of the session
- Successful
- Completed with errors
- Unsuccessful
- Selected size - The total size of the selected data source
- Number of files - The number of files in the data source checked by the session
- Files processed - The number of files (new or changed) actually processed by the backup or restore session
- Size of the processed files - The size of the files that were processed by the backup or restore session
- Transferred size - The size of the files transferred to storage after compaction or restored
- Number of errors - If the session encountered errors during the backup or restore session, the number of errors encountered will be displayed
- Deleted files - The number of files deleted from the device
- Duration - The total length of the backup or restore session
If this session encountered errors, you can click the number of errors, which will provide further details of the error encountered:
If you require assistance with any errors, you can access N-ableMe here where you can find articles on how to fix issues yourself, or you can click Contact Support in the top right corner of N-ableMe to log a ticket with our support team for further help.
Backup
The Backup page allows you to configure your backup selections. This is where you add data source selections to determine what information we will store during the backup.
Any information you wish to back up must be selected in here. If it is not, it will not be included in the backup.
Please note: adding a selection in here does not enable a backup schedule, this must be done either using a backup profile or in the Preferences page.
For full details on enabling backups, see Enabling backups in Backup Manager page.
Restore
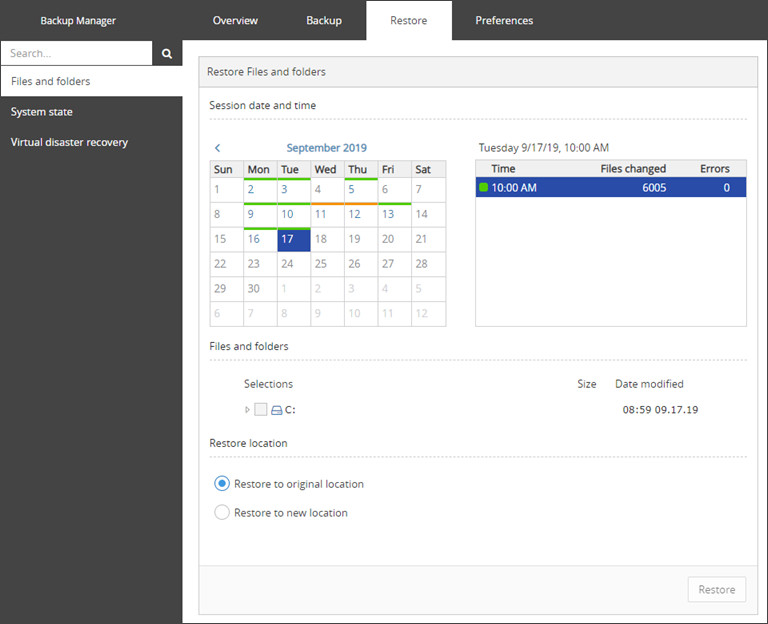
The Restore page allows you to see the data sources, days and sessions available for recovery.
For detailed steps using the Backup Manager to restore data to the same device, see the Recovering data in Backup Managerpage.
Preferences
The Preferences page contains several further tabs which may be useful in configuring the backup device, but may not be necessary during an emergency.
If using the new Retention Policies feature, the Archiving tab will not be visible. A custom Retention Policy can be used instead.
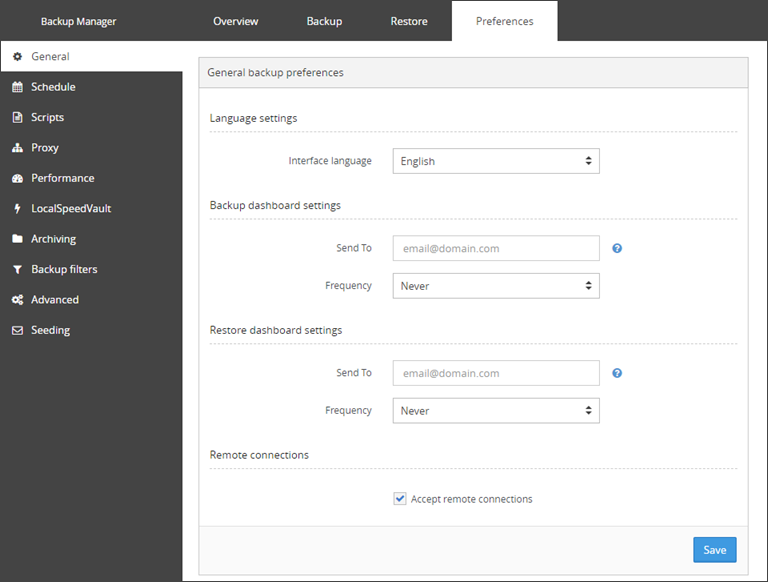
In here you can:
- Set the language the page should be displayed in (this can be set using a profile)
- Set an email address to send emails to regarding the success of backup jobs (this can be set to send daily, every Wednesday and Saturday, every Saturday or never)
- Set an email address to send emails to regarding the success of restore jobs (this can be set to send daily, every Wednesday and Saturday, every Saturday or never)
- Allow or disallow remote connections to the device's Backup Manager GUI.
In an emergency situation, it is unlikely that you will need to set any configuration in this tab.
If you are not using a backup profile, the Schedule tab will look as below and will allow you to set multiple timings for backing up data sources whenever and however frequently you need.
You can create separate schedules per data source if this is most convenient for you. However, during an emergency, it is unlikely that this would be necessary.
If you have a profile configured and assigned, the Schedule tab will look as below, and will show you the configuration previously configured on the Management Console.
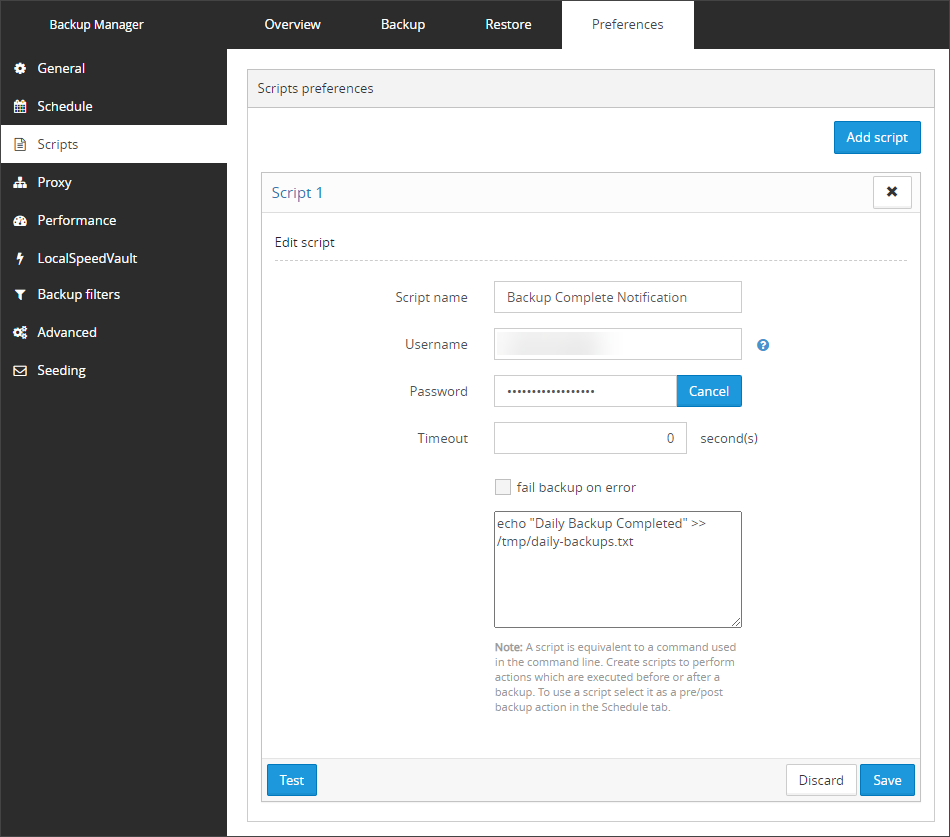
If you have a profile assigned to the device, this tab will not be displayed.
For full details on configuring Scripts, see the
In an emergency situation, it is unlikely that you will need to set any configuration in this tab.
The Performance tab allows you to enable bandwidth limitations for the device.
Further information on bandwidth limiting can be found here.
In an emergency situation, it is unlikely that you will need to set any configuration in this tab.
If you are using a backup profile, this can be set outwith this page, however can be set in here instead if it is missed during the profile configuration.
A LocalSpeedVault is an additional storage directory for the backup data which is automatically synchronized with the cloud where your backup data is stored. Having an LSV configured speeds up backup and restore sessions, but is not mandatory.
If you would like information on configuring a LocalSpeedVault, please see
In an emergency situation, it is unlikely that you will need to set any configuration in this tab.
If using the new Retention Policies feature, creating new Archiving sessions will not be possible. It is be possible to edit and remove existing Archiving settings.
Please use a custom Retention Policy instead.
Using the Archiving tab, you can set the system to store the backup session immediately following the archiving time to be stored indefinitely. If no archive is configured, data will be cleared when the retention period is reached.
The default retention period from the date that the backup was completed is 28 days and 3 file versions.
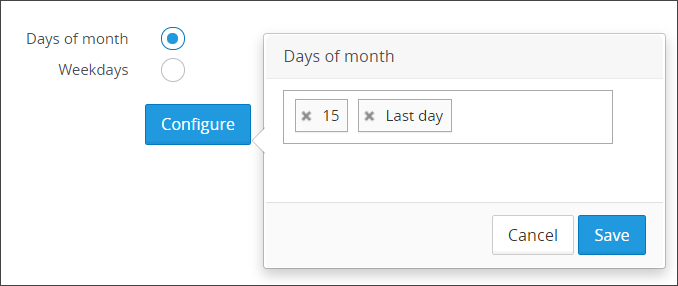
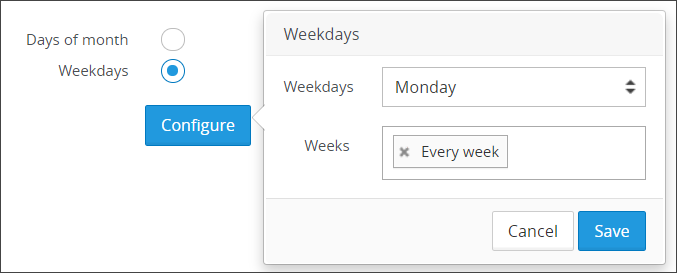
You may choose to archive sessions by dates in the month - for example the first day of the month and the 15th day of the month - as above, or you can choose by days of the week - such as every Sunday - as below.
For further details on archiving backup sessions, see the Archiving backup sessions in Backup Manager page
In an emergency situation, it is unlikely that you will need to set any configuration in this tab.
Backup filters are used to exclude certain file types or file directories from being backups.
This can also be set in a backup profile, but as the page does not become locked, you can amend this as needed.
You can find full details on backup filters here.
In an emergency situation, it is unlikely that you will need to set any configuration in this tab.
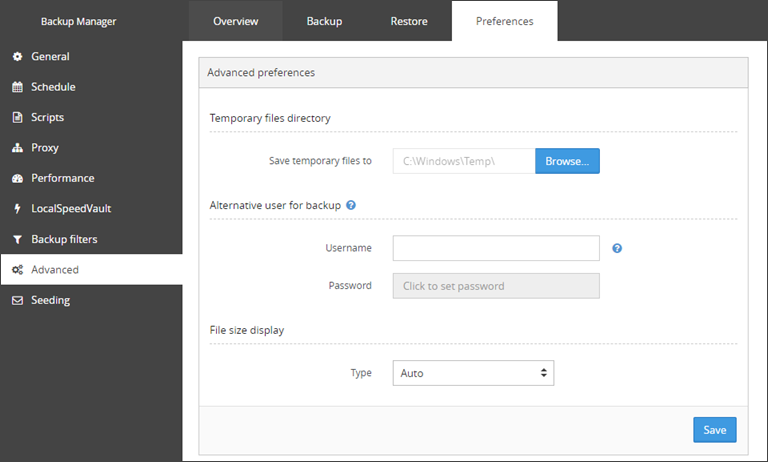
In the advanced tab, there is functionality to change the temporary file directory, add a second user for backup access and the file size display format.
If a temporary file directory has been provided in the backup profile, this section will be locked.
To see full details on configuring the settings on this tab, see the Advanced page
In an emergency situation, it is unlikely that you will need to set any configuration in this tab.
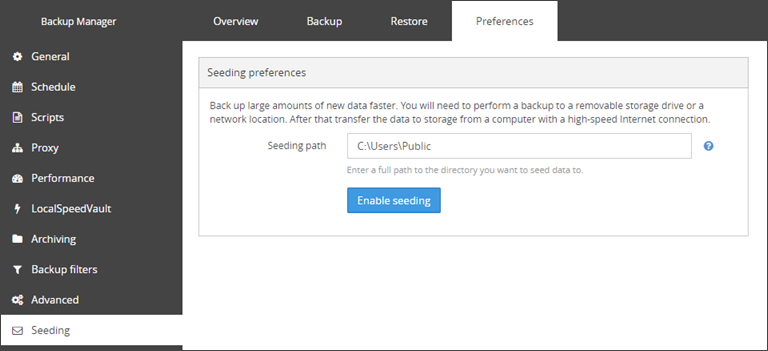
Please see the Seed backup in Backup Manager page for details on enabling and configuring seeding mode.
This page cannot be configured outside of the GUI and is not included in any profile settings.

