
Manage tickets for your customers in the Helpdesk Workspace
Helpdesk overview
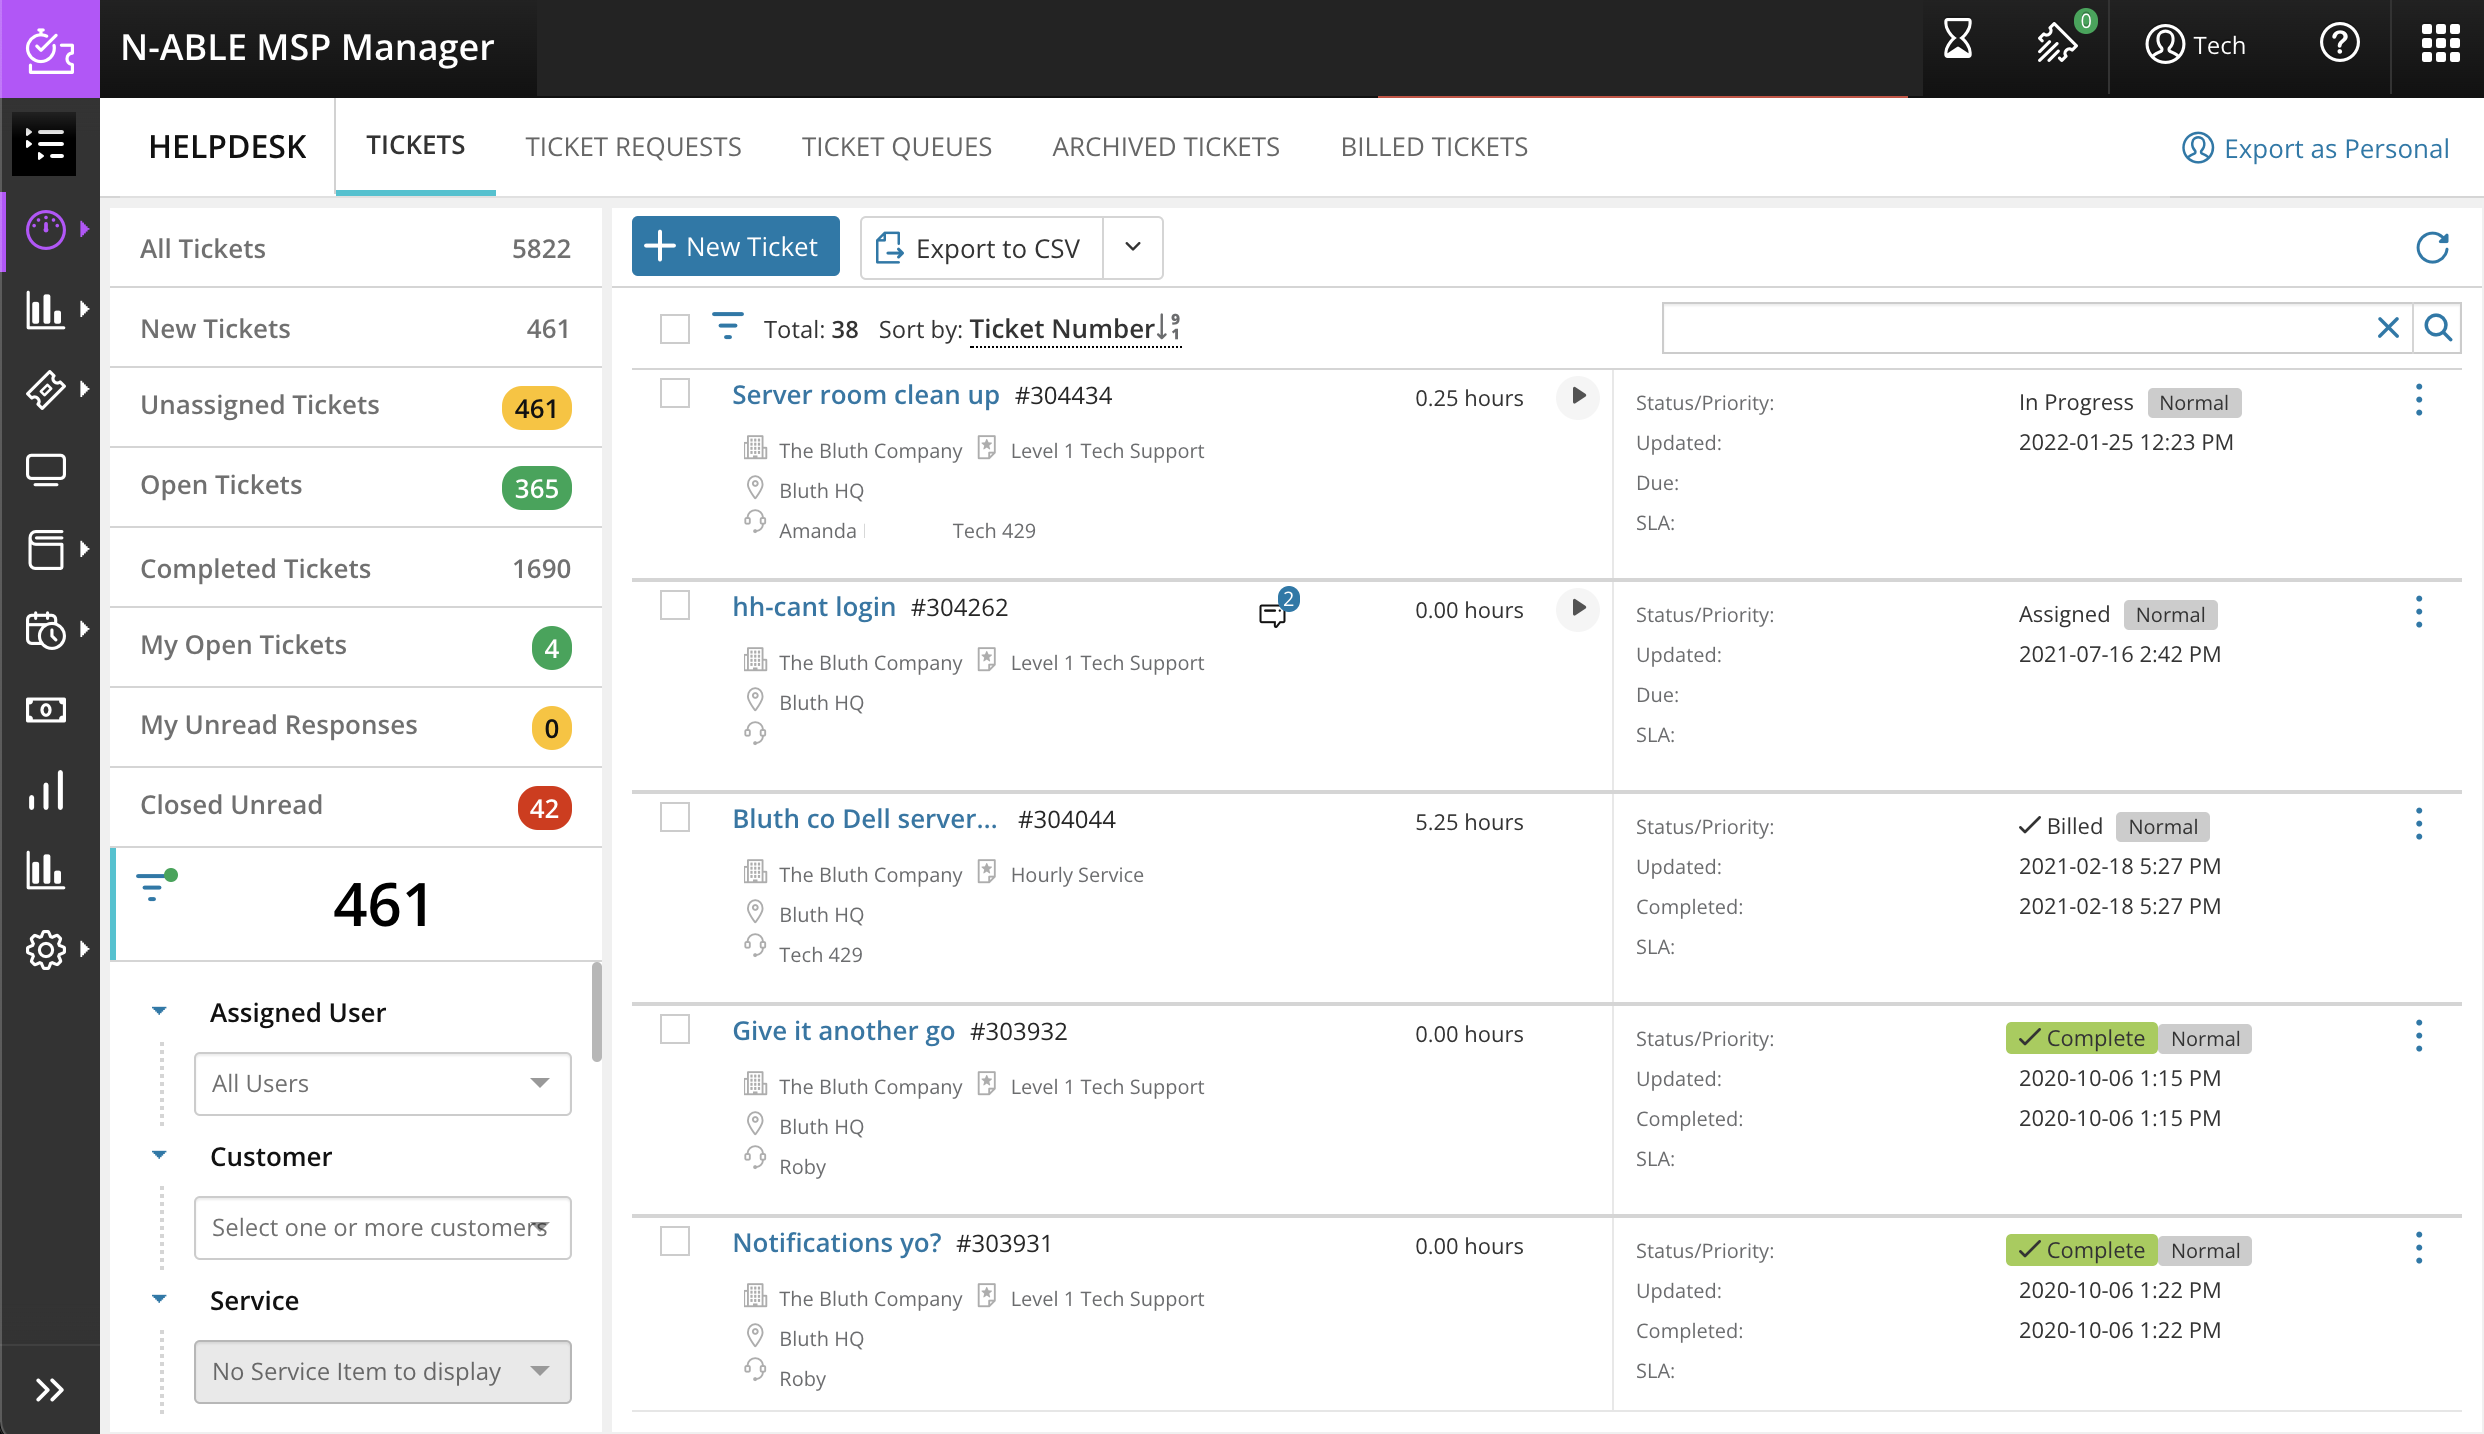
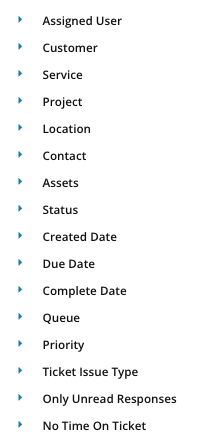
Use the Helpdesk Workspace to create tickets and track your work. The Helpdesk Workspace provides filtering options such as Assets, Status, Created Date, Priority, Ticket Type, Issue Type, and Unread Responses. These filters help you create, monitor, and manage tickets more efficiently.
Key tasks and features include:
-
Manage tickets using advanced filters to improve efficiency.
-
Preview ticket details directly from the ticket list.
-
Use tabs at the top of the ticket list to switch between ticket requests, ticket queues, and billed tickets.
-
Use the Export as Personal button to move the workspace page to Workspaces > Personal and add quick filters.
-
Preview attachments in MSP Manager from the ticket Attachments tab. Supported file types include PDFs, text files, and image.
-
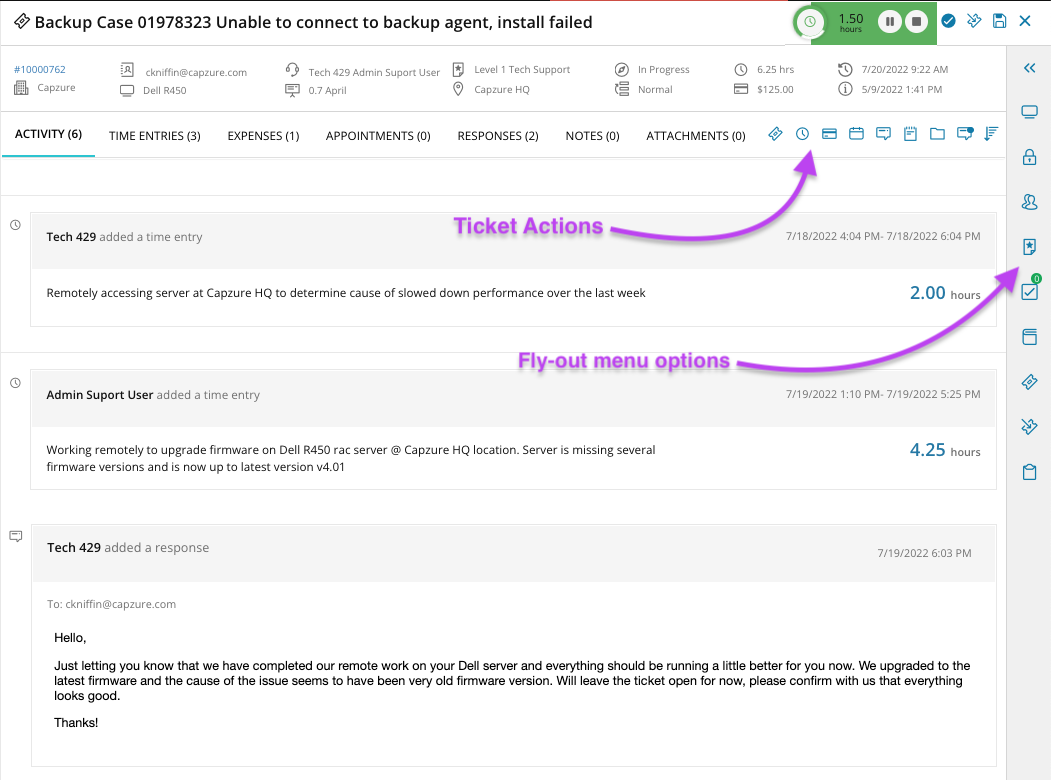
Hover over icons in Ticket Details to view information such as the service item, customer, assets, or location.
-
Use ticket actions to edit details, add time entries or expenses, schedule appointments, and add responses or notes.
-
Use the right-side links to open flyout panels for assets, passwords, contacts, service items, ticket tasks, customer knowledge, related tickets, and the SLA audit log.
To create a Helpdesk Workspace to share with other users, go to Settings > Users & Permissions > Roles, then edit the users' role. Expand MSP Company Management, select Manage Shared Workspaces, and save the role to grant access.
Use Ticket Filters to sort and work on tickets
- Go to Workspaces > System > Helpdesk.
- Select any of the filters to the left of the Ticket List to populate the main list with Unassigned Tickets, Open Tickets, etc. You can also hover your cursor over the filter icon
 to see which specific filters are applied.
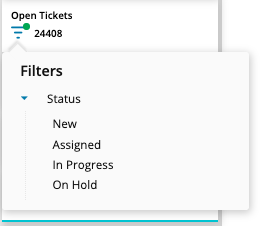
- From the Ticket Filter options in the left menu, click any filter in the list to expand its options and configure its filter settings. Select a specific Customer, Asset or Ticket Status, for instance, and the main Ticket List is updated instantly. You can also use these filters to view tickets with Only Unread Responses, or use the No Time On Ticket filter to view open tickets with zero time.
- Select a ticket and use the Commands Menu
 next to each ticket in the Ticket List for quick access to ticket options.
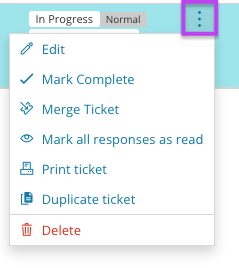
- Select multiple tickets and use the links at the top of the ticket list to access bulk ticket options like archiving tickets or merging multiple tickets for the same issue. You can also easily mark all responses in the selected tickets as read.

- At any time, you can click the New Ticket icon at the top of the Ticket List to create a new ticket.
To help reduce loading times in your Helpdesk Workspace, utilize the Archive option to help limit the number of billed tickets that load each time the page is opened.
What would you like to do ?
- Learn more about opening and managing tickets for your customers from the Helpdesk
- Manage your Helpdesk Workspace with Quick Filters
- Manage your tickets using the Ticket Queue in your Helpdesk
- View and manage rates using the Rate List widget