
Configure the integration with Microsoft 365
Before you can add a M365 monitored mailbox to your MSP Manager account, make sure you have correctly set up the integration with your Microsoft 365 account in order to configure mailbox monitoring. Your M365 ticket mailbox enables you to receive reported issues and requests from your customers via email.
Combine your ticket mailbox with workflows and routing rules and configure your ticket routing settings so that emails from your customers are automatically converted to tickets and assigned to the correct customer and technician within your company.
M365 mailboxes are monitored via the Graph API, which supports Multi-Factor Authentication.
Disable the pop-up blocker in your browser before getting started.
-
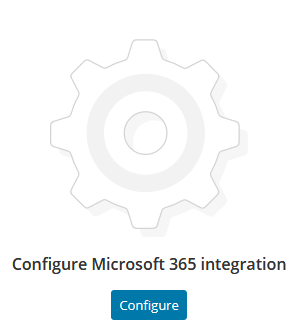
Navigate to Settings > Company Settings > Integrations and select Microsoft 365 from the Business Applications section.
- Click the Configure link in the middle of the page.
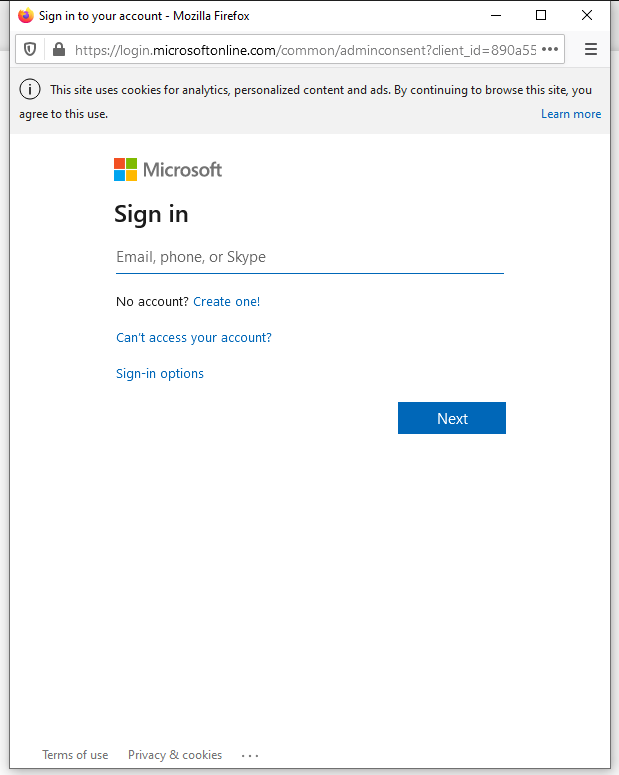
- In the Microsoft pop-up window, enter your M365 credentials and click Next.
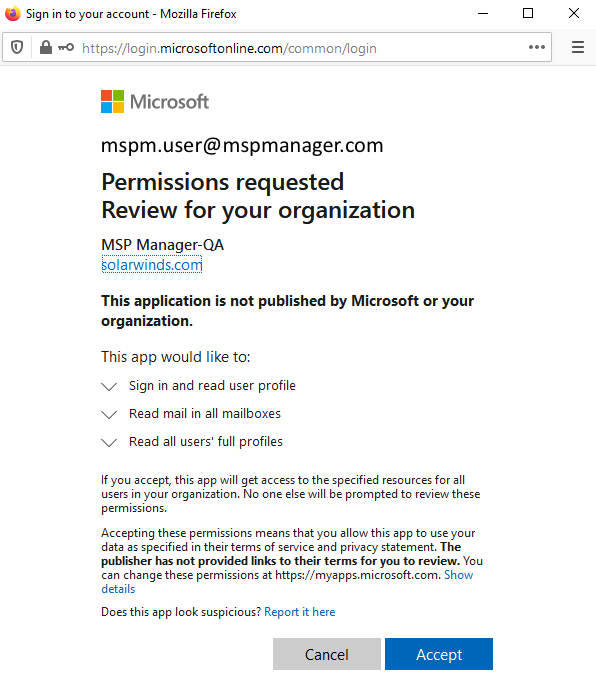
- Review the requested M365 permissions and click Accept.
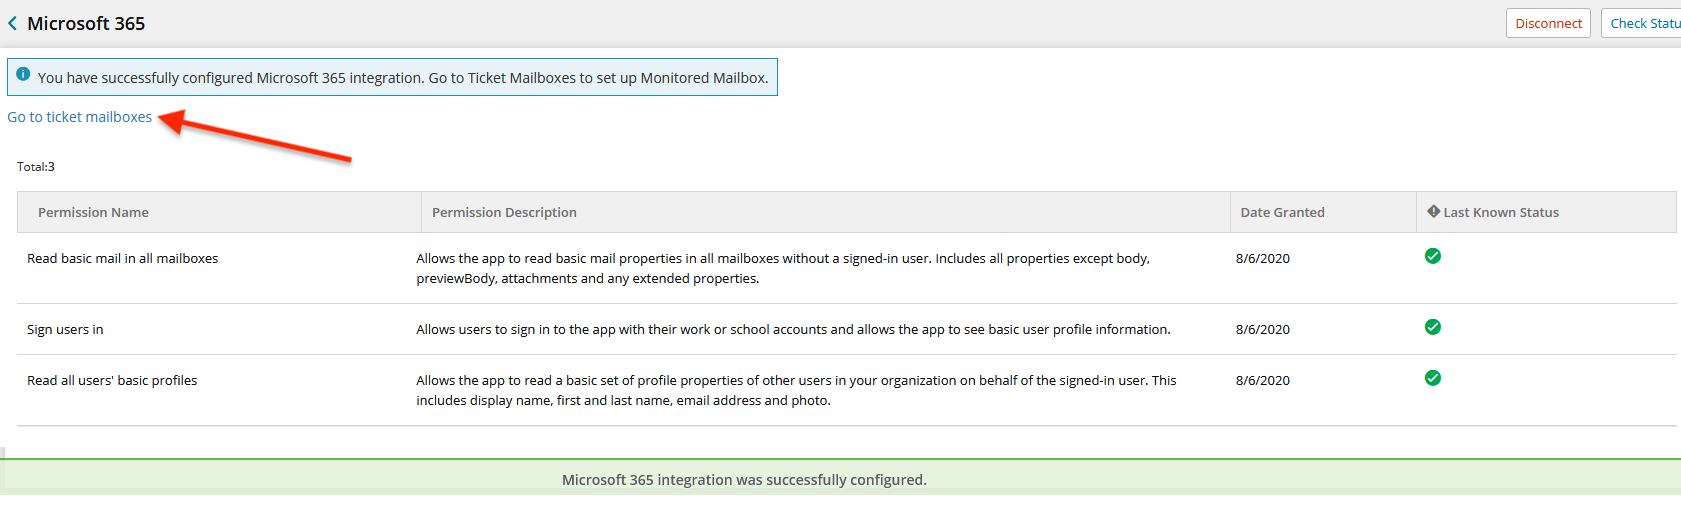
- After the connection is established, the final page indicates the connection was successful and displays the connected account information, as well as the permissions that have been configured.
The prompt received when integrating M365 with MSP Manager is a standard Microsoft Admin consent flow and is necessary to grant MSP Manager the permissions required to access the monitored mailbox(es) associated with your account. More information regarding application consent can be found in this article from Microsoft.
The granted consent is revocable in your Active Directory instance should you want or need to remove the access previously granted through this Admin consent flow.
Use the Go to ticket mailboxes link at the top of the page to navigate to your Ticket Mailbox Configuration page and set up your Microsoft 365 monitored mailbox.
What do you want to do?