
Create and manage Technicians
Multi-Factor Authentication (MFA) is mandatory for all Take Control user accounts.
Add new technicians to your Take Control account, configure their permissions and default settings, and adjust permissions as needed for existing technicians.
From the Technicians section of the Admin Area, you can enable or disable technicians as needed, and grant or take away permissions. This is helpful for setting up new technicians, or if a quick downgrade or upgrade to a technician's account is necessary.
You can also add customers as Take Control End Users with limited access and permissions by assigning the End User Permissions Group to them.
If you use Entra ID, you can link it with N-able Login (MSP SSO) to provision Entra ID users into Take Control as Technicians. See our N-able Login with Entra ID articles for details and instructions.
Add a new Technician to your Take Control account
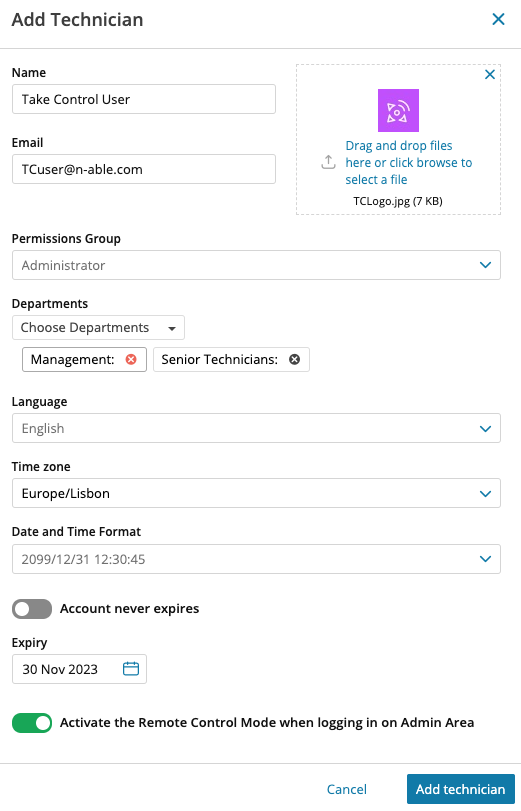
- In the Admin Area, select Management > Technicians and choose Add.
- Enter the name and email address, and optionally add an image file for the new technician.
- Specify a Permissions Group and select one or more Departments to which the technician belongs.
- Set the Language, Time zone, and the Date & Time Format.
- Choose whether the Account never expires or not. For accounts that expire, set the Expiry date.
- Select whether to Activate Remote Control Mode when logging in on Admin Area (which uses Fast Assist) when the new technician logs into the Admin Area.
- Select Add technician to save.
Configure Permissions Groups for technicians
There are five pre-configured permissions groups to assign to your technicians: Administrator, End User, No Access, Read Only, Reports only. You can create customized permissions groups based on these five main types.
Learn more about each specific permission and which areas of Take Control they affect.
- From the Technician Editor, navigate to the Permissions Groups tab. Click the ellipsis icon
 next to a permissions group and select View Group to show all associated permissions, or click Create new from this Group to copy and customize the permissions in a new permissions group.
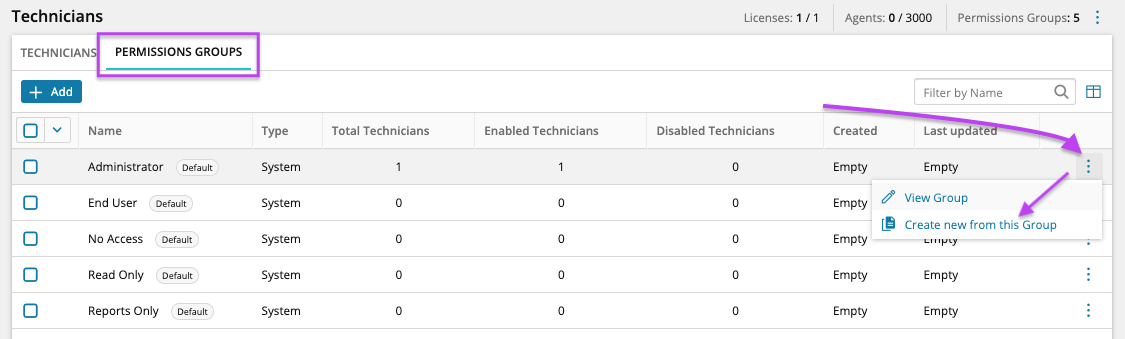
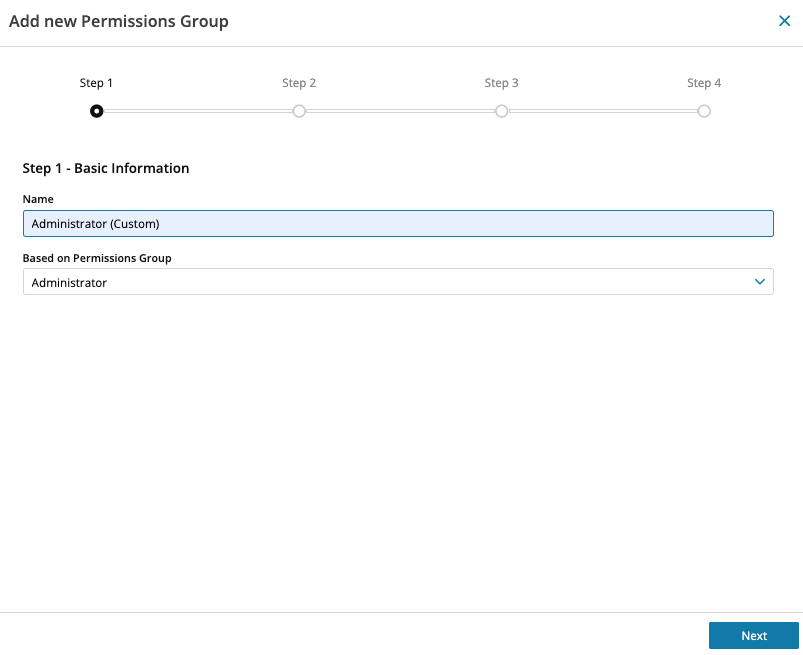
- You can also click Add and select an option from the Based on Permissions Group menu to create a new Permissions Group. Click Next.
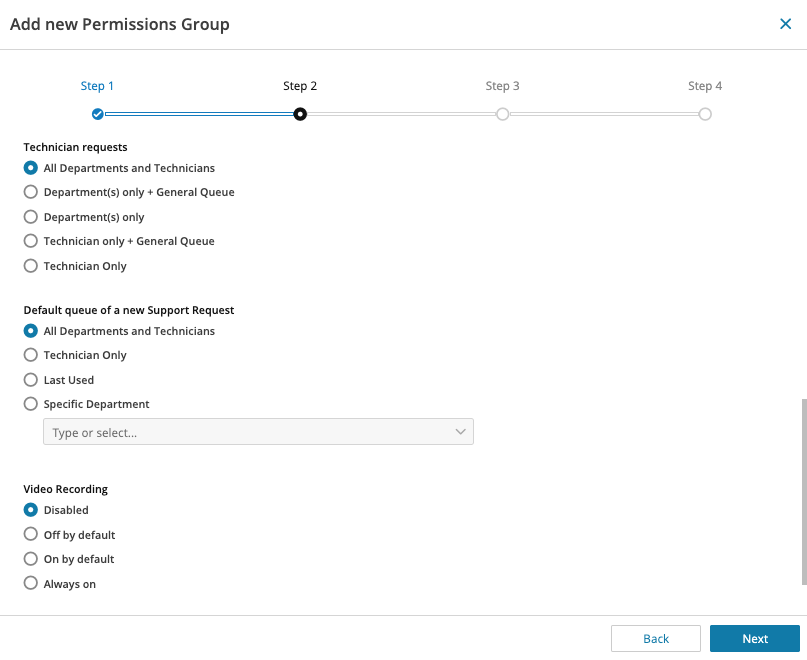
- Configure specific permissions for Session Creation, My Computers Management, Groups/Computers Access, and Miscellaneous, as well as the appropriate queue for Technician Requests and New Support Requests.
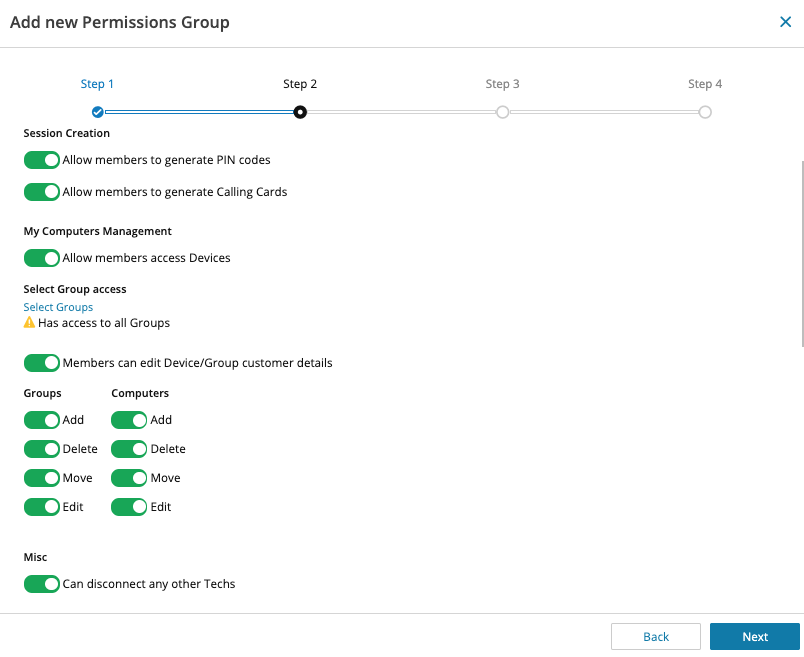
- Scroll down to choose an option for Video Recording (Disabled, Off by default, On by default, Always on) and click Next.
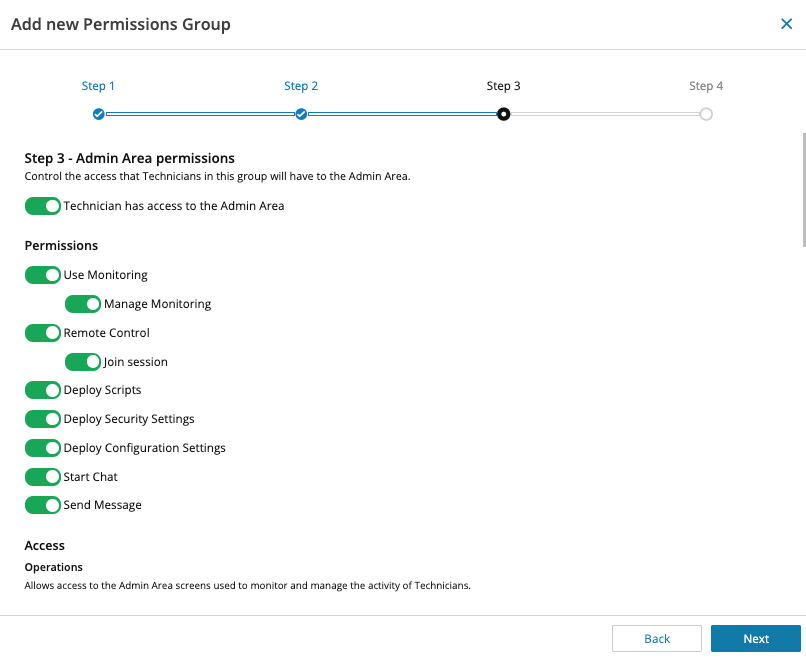
- Select whether the technicians in the Permissions Group have access to the Admin Area, and if so, configure permissions to grant access to specific Admin Area features like monitoring, chat, remote control, script deployment, etc.
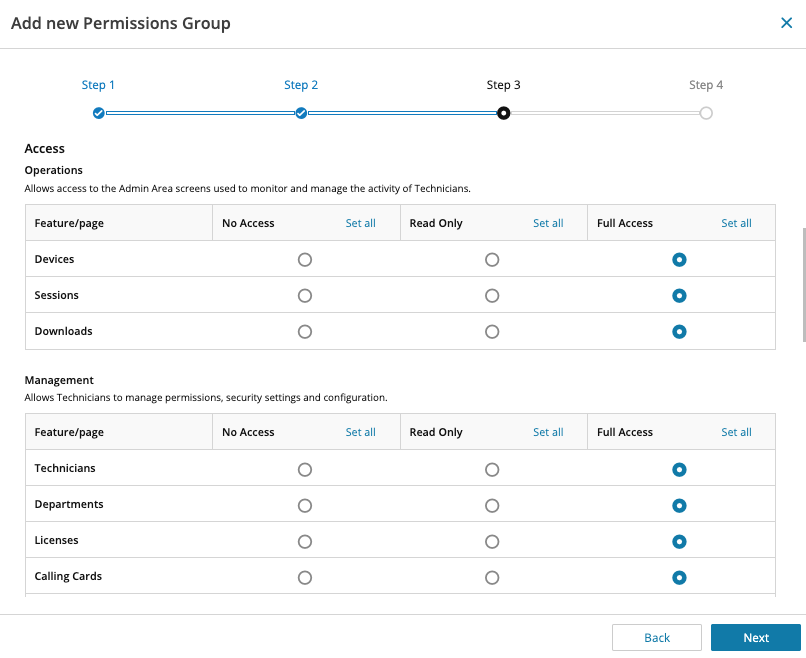
- In the Access section, select which areas of the Admin Area the technicians in this Permissions Group can access. Choose from No Access, Read Only and Full Access, or click Set all to select all features in a specific column. These permissions are granular and provide the option to grant or deny access to each category for all menu options in the left navigation menu of Take Control: Sessions, Devices, Downloads, Management, Profile and Reports. Click Next to move to the final step.
- In the final step, select which features of the Remote Viewer the permissions group can access during a remote support session, as well as features related to support requests.
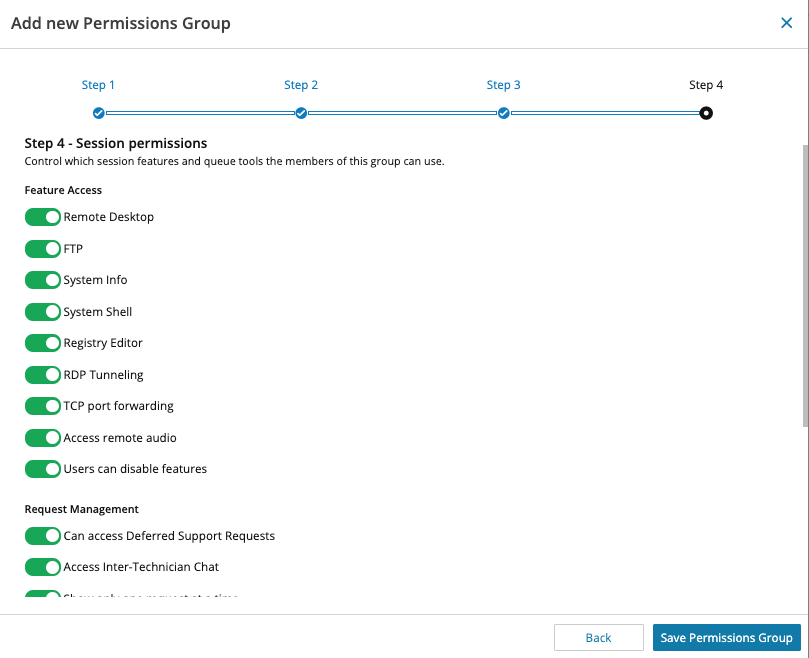
- Select Save Permissions Group to complete the setup and save your configuration.
The new Permissions Group is saved to the list. Select any custom permissions group from the list and click Edit Group from the column on the right, or use the ellipsis icon  next to a group and select Edit Permissions.
Manage Technicians
The Technicians Dashboard offers multiple options to help manage and update your technicians:
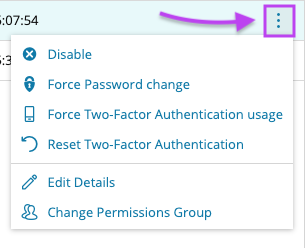
- Use the Additional Options menu next to each technician in the list to choose from multiple configuration options for the selected technician.
- Select a technician from the list and use the toolbar menu options to edit, disable or change the tech's permission group.

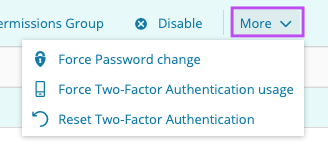
- Use the More menu options from the toolbar to perform some of the same options available in the Additional Options menu.
What do you want to do?