
Create your own Predefined SNMP Checks
It is time-consuming to manually create the same custom SNMP Check on multiple devices. This process also introduces the possibility of human error leading to misconfigured Checks.
To decrease the turn-around time adding an SNMP Check, you can create custom SNMP Checks and add to a repository. Create the Check once, add to the library, then apply the Check across multiple devices. Once created, select a custom SNMP Check from the Predefined Checks section of the Add check dialog.
The SNMP Check uses the target OID to determine the indicator's status. This OID information is contained in the MIB available from the device's manufacturer. We would suggest running an SNMPWalk on the device to return all available OIDs and current expected value. This will enhance the accuracy of any added SNMP Checks.
The All Devices view does not support the upload of MIB files themselves, only the addition of specific OIDs.
Add a Custom SNMP Check
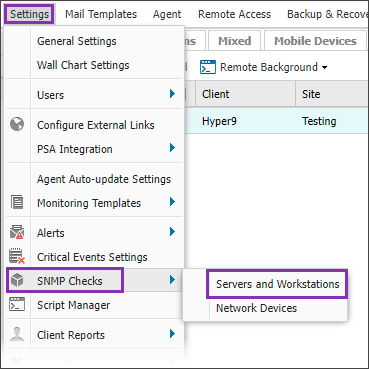
- In the All Devices view, go to Settings > SNMP Checks > Servers and Workstations.
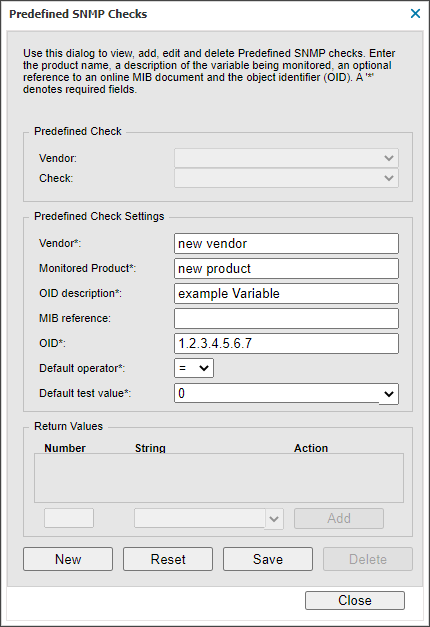
- Click New and populate the Predefined Check Settings:
Enter identification names for the Vendor, Monitored Product and OID Description.
Optionally provide a URL pointing to the online location of a MIB file as a MIB Reference. Where populated, a MIB button is available in the Add/Edit Check dialog. Click the MIB button to go to the online location. This button does not upload MIBs to the All Devices view.
Enter the OID (Object Identifiers) numeric value used to identify the monitored object.
Select the Default Operator arithmetic calculation to apply against returned for the OID value. For example, the Check passes where the Default Operator > 2 or =1.
Provide the Default Test Value returned for the OID. Where the required value is not available from the drop-down, enter a value in the field.
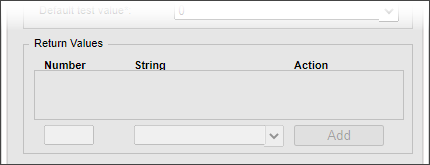
Enter the descriptive name for the OID's Returned Values (optional). Click Add to include, or the X action to remove. Once entered, these values are from the Default Test Value drop-down.
Octet String
Octet string pass conditions are only successful on exact matches, including case. The check fails on the return of any other string. Including those that indicate the element is performing within pass parameters. For example, "good" or "Normal" generate a failure where the pass condition is "Good"SNMP Timeticks
Setup the Test Value comparison in one of two ways. Supply the comparison test value as a number (of tenths of a second) or in the format x:yy:zz.ab
x (int) hours
yy (int) minutes
zz (int) seconds
ab (int) tenths/hundreths of second - Click Save to store or Reset to clear the entered data. Click New to add multiple Checks.
- Click Close to exit the dialog.
Return Values: Where Return Values are not mapped, the All Devices view and Alerts return the actual Expected Value. For example 2 instead of "degraded".
OID (Object Identifiers) To avoid identification problems, exclude the leading period when entering an OID. For example, enter 1.2.3.4.5.6.7 not .1.2.3.4.5.6.7
Vendor: Manufacturer of the product to be monitored.
Monitored Product: Product or product type to be monitored.
OID Description: A description of what the OID monitors.
MIB reference (optional): Enter a URL pointing to the online location of a MIB file. Where populated, a MIB button is available in the Add/Edit Check dialog. Click the MIB button to go to the online location. This button does not upload MIBs to the All Devices view.
OID (Object Identifiers): Numeric value used to identify the monitored object.
Default Operator: Arithmetic calculation to apply against the value returned for the OID for the Check to pass.
Default Test Value *: The expected default value returned for the OID. Enter a value in the field where the required value is not available from the drop-down.
Return Values (optional): Enter the descriptive name for the OIDs returned values. Click Add to include, or the X action to remove. Once entered, these values are from the Default Test Value drop-down.
What do you want to do?