Save custom Device Inventory views
Technician users can utilize filtered device views to organize their day to day work and focus on devices that need their attention, for both proactive estate management and for reactive problem detection and resolution.
Customized views provide an easy way for users to makes their daily jobs more efficient. It means technicians can quickly check through standard sets of device lists and to work on job queues created with custom views and helps ensure customer devices are proactively maintained and monitored and reduce end-user disruption because of IT issues.
Save a customized Device Inventory view
After you customize an Device Inventory view using column filters or complex filters;
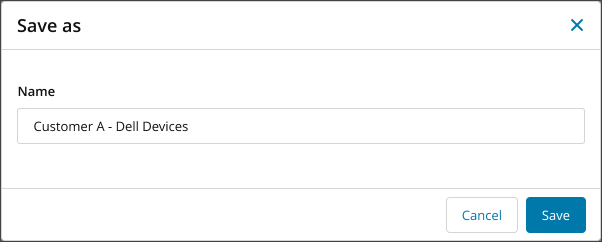
- Click the Save as button located to the top right of the view.
- In the dialog that opens, enter a suitable name for the view (max. 50 characters).
- Click Save. A notification will appear to the top right to advise if saving failed or was successful.
Edit a custom Device Inventory view
When you load a saved view, the Save button becomes a Split Save button.
- Select the Custom View from the drop-down menu.
- Edit the view as you require using the various column filters or complex filters.
- To save the new view configuration, you either
- Click Save to overwrite the existing view with the same name. A notification will appear confirming the save, but no other dialog will be displayed or,
- Click the Split Save down-arrow > Save as to save with a new name, which will trigger the Save as dialog.

- Select Don't Save to exit without saving, or
- Select Save to exit and save the changes.
Rename view and delete view
The Actions menu will provide view related options to:

- Rename: allows you to rename the view.
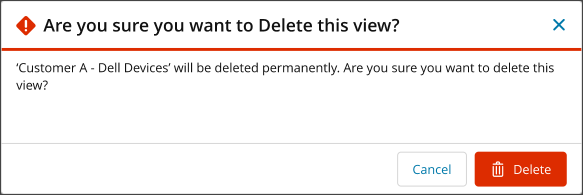
- Delete: Deletes the current view. After deletion, you are returned to either the previous view in the list or a predefined view.
Both these options are disabled for predefined views.
Next steps
Related articles


