
Configure the Connect2Help tray tool
Use the Connect2Help Configuration Tool to create a customized installation package for the Connect2Help tray tool. This includes branding, menu actions, and installer settings.
Requirement
Connect2Help requires a Service Organization ADMIN (SO Admin) account in N-central.
Create a dedicated account so credentials do not unexpectedly change.
Configure the tray tool
- Start the Connect2Help Configuration Tool and choose Next.
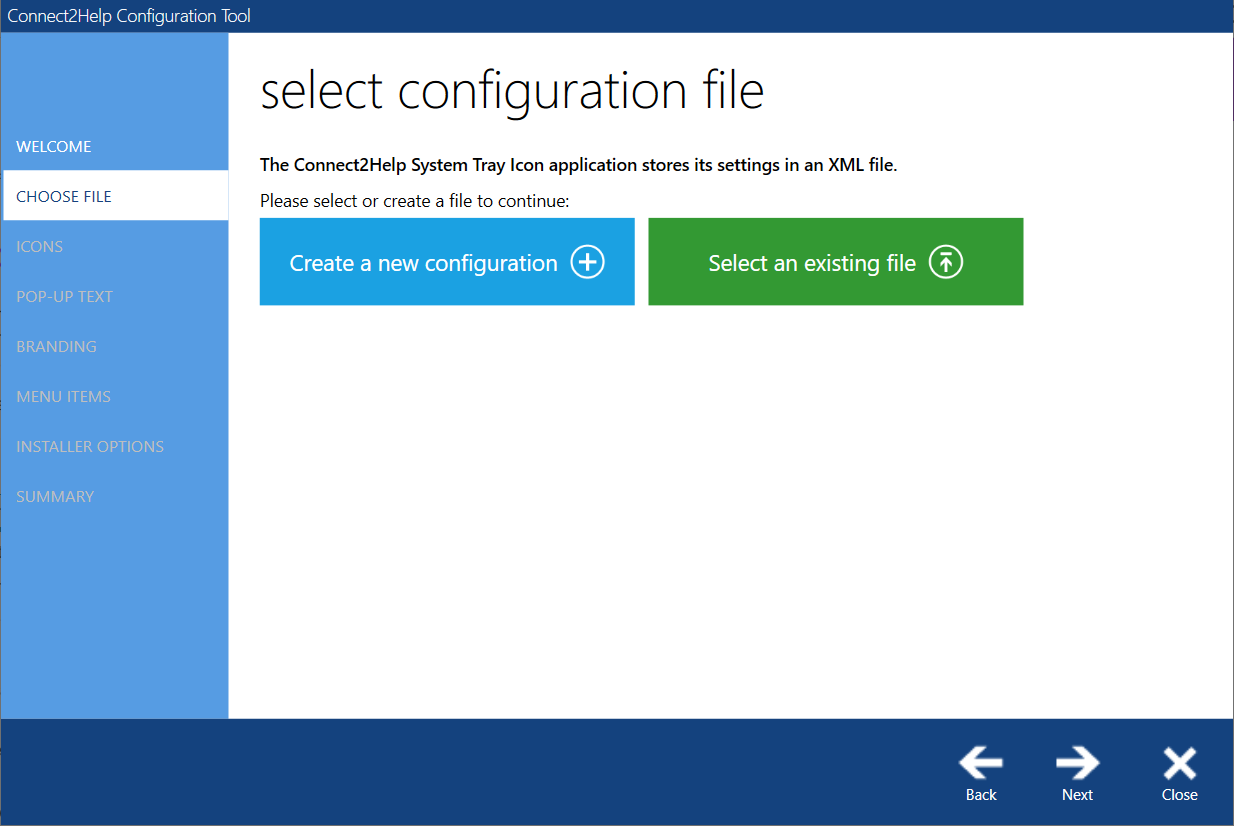
- In the Choose File tab:
- Select Create a new configuration, or
- Select an existing file to edit an existing configuration.
- Choose a location, enter a file name, then select Save.
-
In the Icons tab, Select icon for each status, or Use default icons.
-
Choose Next.
-
In the Pop-up Text tab, enter the tooltip text to display when users hover over the system tray icon.
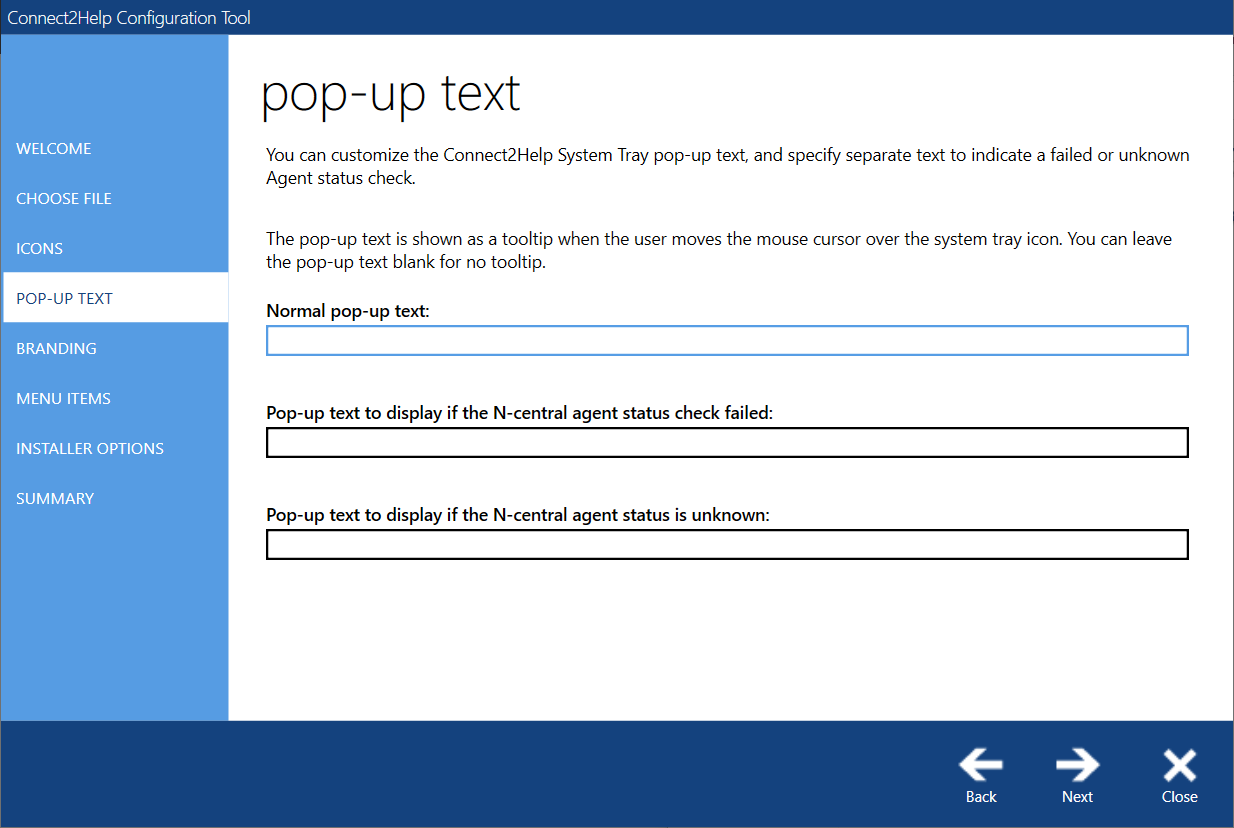
- Click Next.
- In the Branding tab, configure the tray menu appearance, including header text, colors, and logo.
- Choose Next.
-
In the Menu Items tab, add and configure tray menu actions. Select an action type to configure:
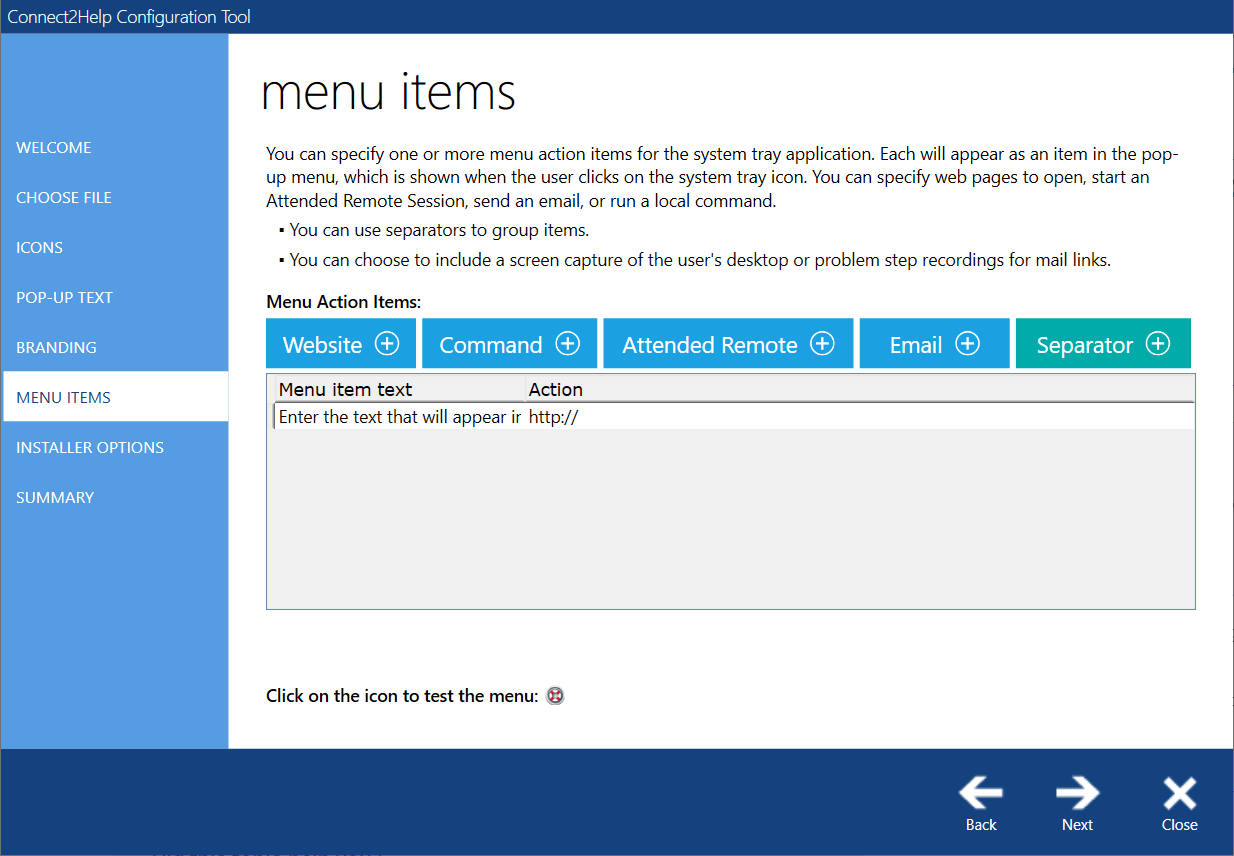
- Choose Next.
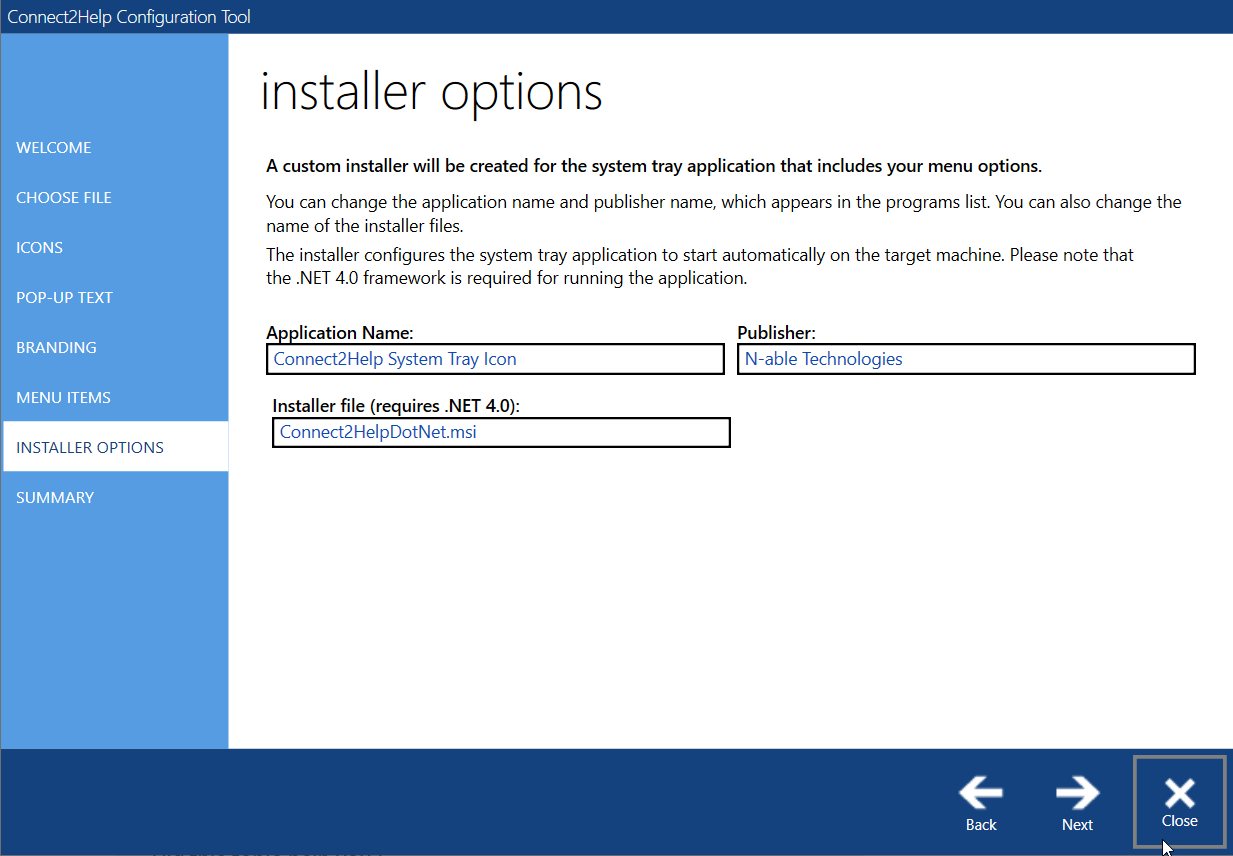
- In the Installer Options tab, configure the application name, publisher, and installer file name used to generate the installation package.
- Review your settings in the Summary tab.
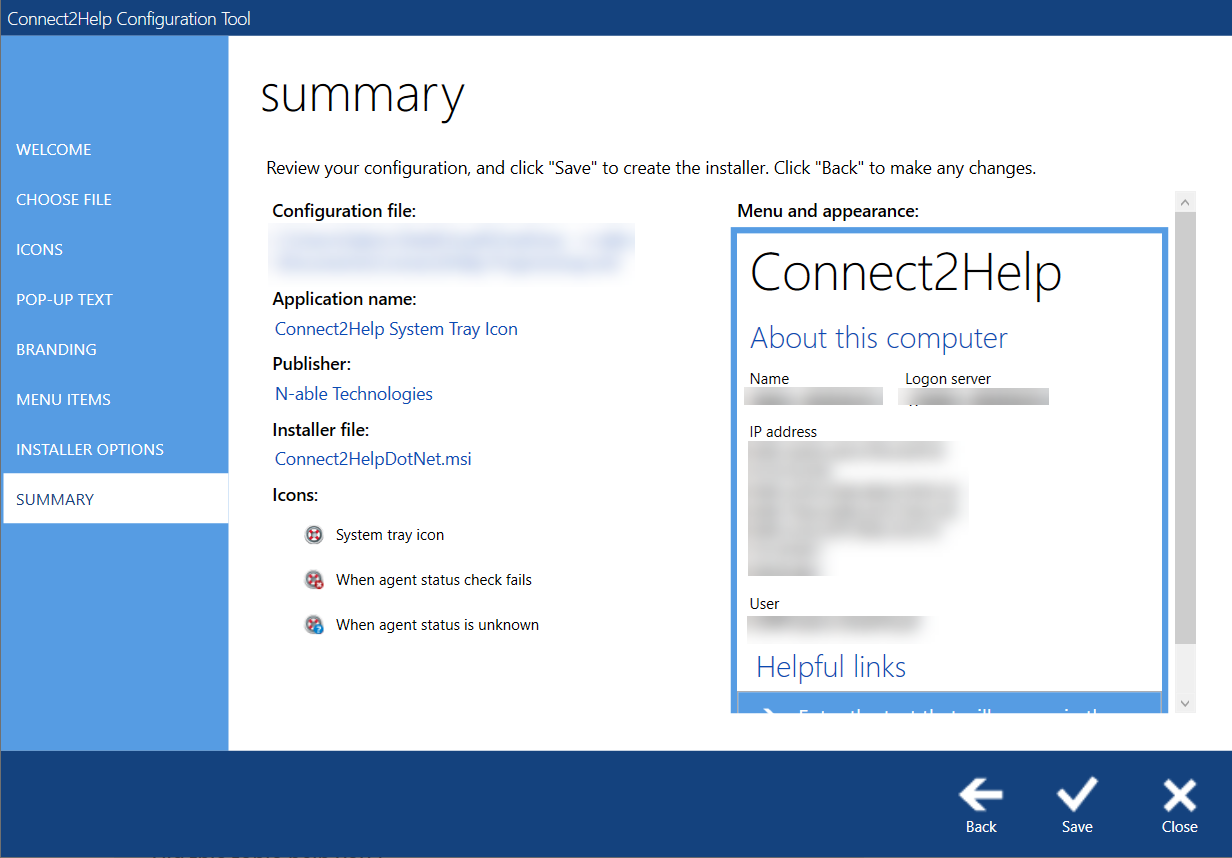
- Select Save then Close.
![]()

After competing a menu, select Menu Items to add more items.
Only one installer file type is required, depending on the operating system of the target device.
The configuration tool generates an .MSI file that you can deploy to managed devices.
Next step
Deploy the Connect2Help tray tool: