
Set up your customer portal
Before your customers can use the portal, you need to create it, personalize it, and grant access to their contacts.
Create and personalize your portal
- In MSP Manager, go to Settings > Portal > General.
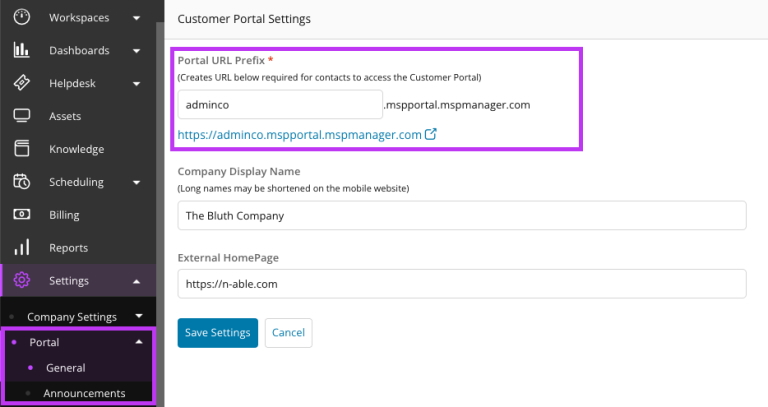
- Add a Portal URL prefix to create the address your customers will use. Click the link below the field to test the full URL.
- Enter your Company Display Name, which appears in the top-left corner of the portal.
- In the Company Logo section, click Choose File to upload a .PNG or .JPEG image. Use a small file for best performance.
- Add your company's website in the External Homepage field. This lets customers click your company name to visit your homepage.
- Set the Primary and Accent colors for the portal.
- Select Save Settings to apply your changes.
Grant individual access to the portal
After you create and personalize the portal, grant access for your customers' contacts one at a time.
- Select the Customer icon
 in the left navigation to view your customer list.
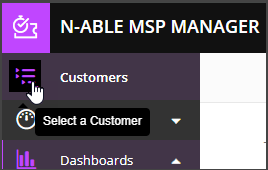
- Choose a customer to open their menu.
- Select Contacts to view the customer's contact list.
- Click Add Contact, or open the Additional Options menu
 and select Edit Contact next to an existing contact.
 - Enter the contact details.
- Under Customer Portal, choose one or both user roles:
- Portal users: Can submit and view tickets for themselves.
- Portal admins: Can submit and view tickets for all users in their company.
- Select save
 to update the contact.
New portal users receive a welcome email with login instructions and an auto-generated password. After logging in, they can change their password by clicking their name in the upper-right corner of the portal and selecting Change Password.
Grant portal access to multiple users
To save time, you can enable portal access for multiple contacts at once.
- From any of your Workspace pages, click
 and choose Add Widget. For details, see Add Widgets to your Page.
 - Click
 for the Contact List widget.
 - Select the contacts you want to enable.
- Click and select Enable Portal.
- In the pop-up window, review the selected contacts and select Confirm.
A message appears at the bottom of the screen to confirm that portal access was successfully granted.
What would you like to do?