Generate an MSI installer to deploy agents
While adding a new device to your Take Control account from the Devices page of the Admin Area, select the Microsoft Windows MSI installer option to mass deploy the Agent to multiple devices.
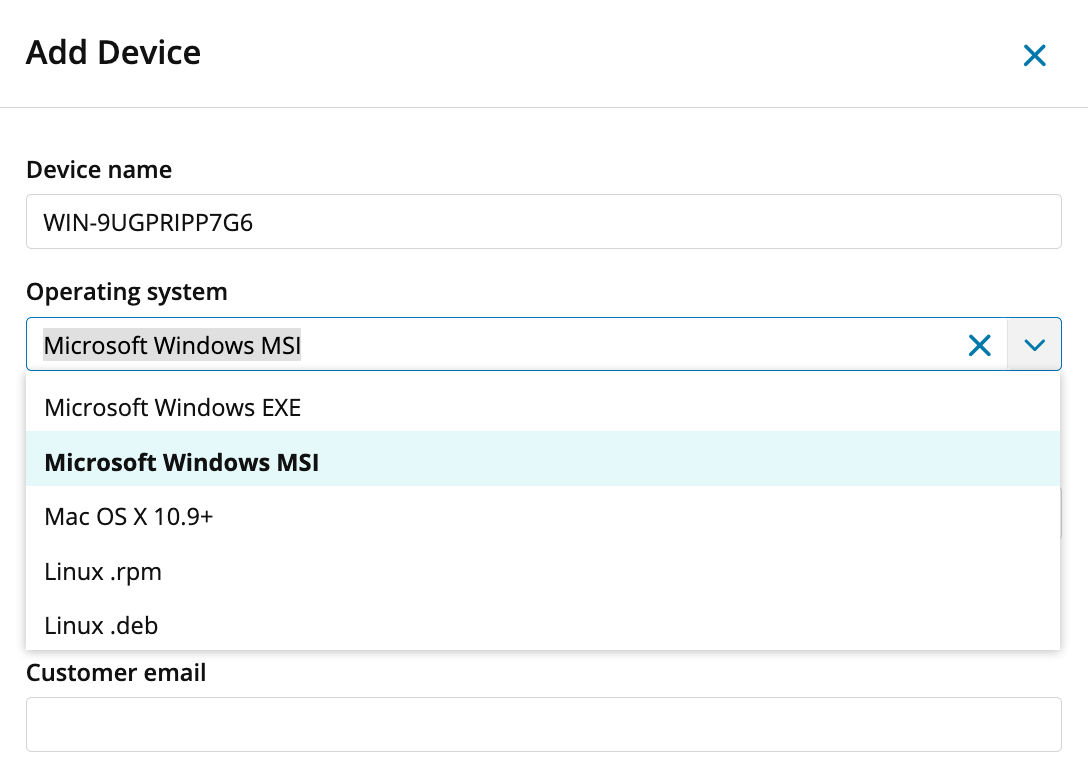
- In the Admin Area, select Devices from the left navigation pane, click Add device and enter a name for the new device.
- In the Operating System section of the new device configuration window, select the Microsoft Windows MSI option.

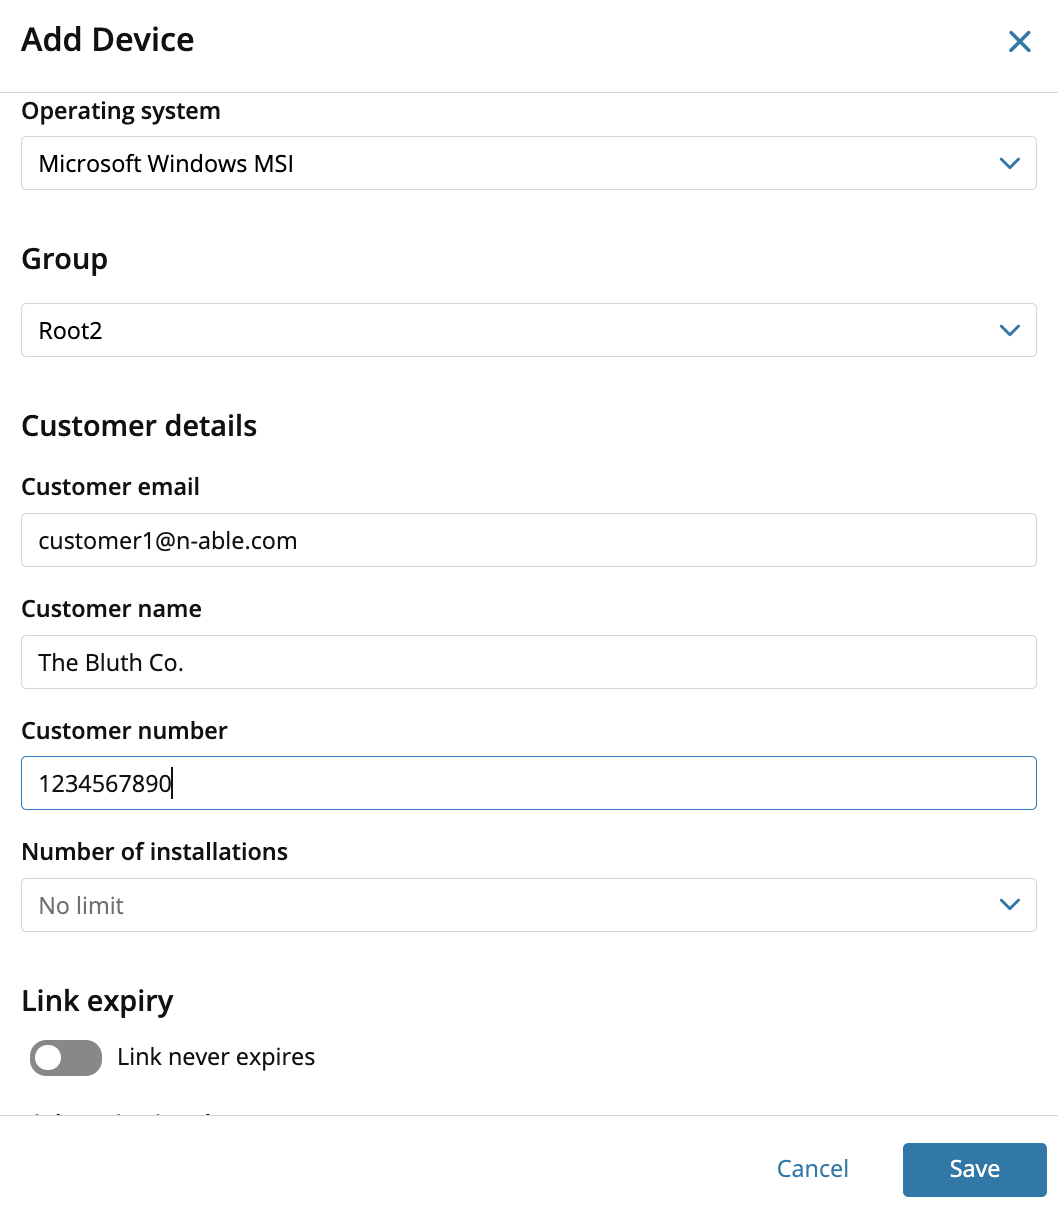
- Enter the Customer Details.

- Specify the Number of installations and in the Link Expiry section, select Link never expires.
- Click Save to open the Install Agent window.

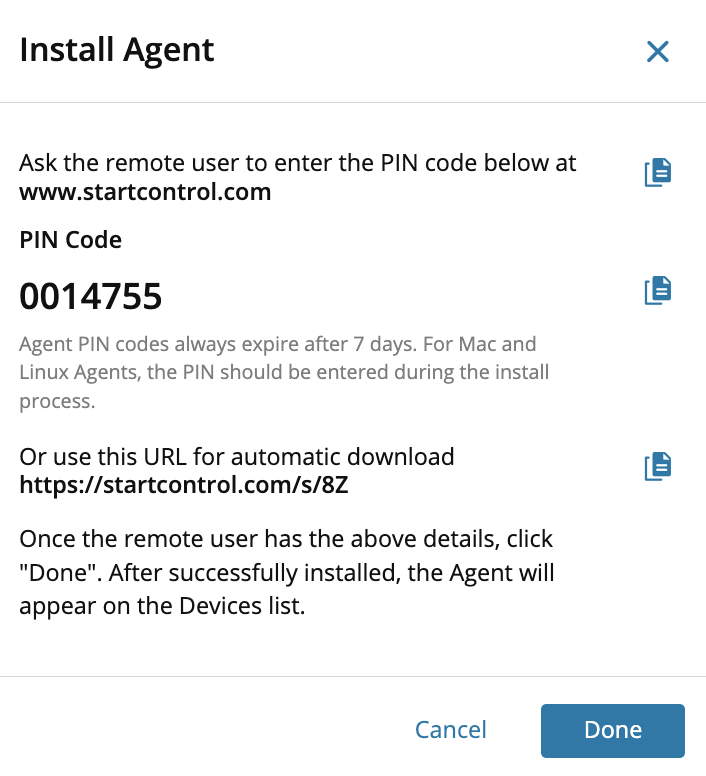
- Send the remote user to startcontrol.com and instruct them to enter the PIN Code listed. Use the Copy icon
 next to both the PIN and URL to copy those items and send them to the remote user.
 - Alternatively, copy and send the Automatic Download URL to the remote user and the download process starts automatically in their browser.
- After the remote user has completed these steps, click Done.
Navigate to Profile > Agent Setup > General to configure the computer name as the default device name. When this is enabled, the supplied device name is ignored and replaced with the computer name.
When the remote user has successfully completed the installation process, the newly installed Agent will appear on the Devices list.
Make sure to configure a Group Policy, as the group policy definition is what actually deploys and installs the Agent on your devices. The deployment pushes the MSI to a group policy controller which populates to all downstream devices and installs the Agent.
Learn more about group policies and how they are used for remote installations.
What do you want to do?
