
As an optional final step, you can create a new policy to enable and deploy Cove Data Protection (Cove) to existing and newly added devices in NinjaOne.
Before creating the policy in NinjaOne, ensure you have:
- Reviewed the Requirements.
- Taken the Preparation steps.
- Created the Custom Field in NinjaOne.
- Generated Installation ID in the Cove Data Protection Management Console.
- Added the custom property value in NinjaOne.
- Generated the deployment script in NinjaOne.
- Run the deployment script in NinjaOne.
Instructions
The below instructions show creation of a default Windows Server Policy. These steps may differ for other policy types.
- In the NinjaOne dashboard, navigate to Administration > Policies > Agent Policies
- Select the policy in which you want to enable the automatic deployment of Cove:
- Linux Policy
- Linux Server
- Mac Policy
- Mac Server
- Windows Server Policy
- Windows Workstation Policy
- In the side menu navigate to Scheduled Automation and click Add a Scheduled Automation
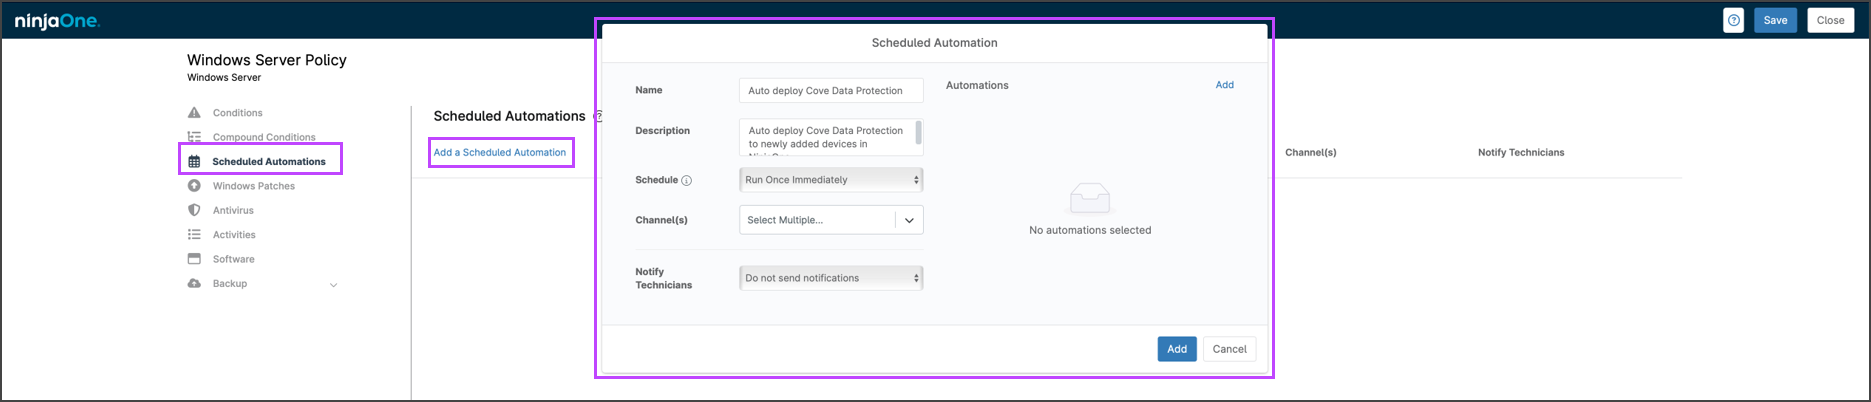
- Configure the automation fields:
- Name: provide a recognizable policy name such as 'Auto Deploy Cove Data Protection'
- Description: an optional description of the use of the automation
- Schedule: apply the schedule of Run Once Immediately
- Notify Technicians: optionally enable a notification upon completion of the automated run
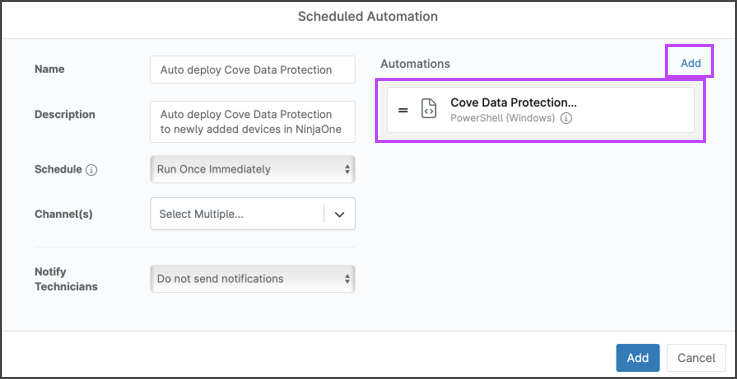
- In the Automations section of the window, click Add and select the Cove Data Protection deployment script
- Click Add to apply the scheduled automation policy
- Save and Close the policy