NinjaOne Integration - Step 2 - Add Custom Property Value

Before adding the Custom Property Value in NinjaOne, ensure you have :

Step 2.1 - Generate Installation ID in Cove Data Protection

  1. Sign in to the console under a SuperUser account belonging to a reseller or end-customer.

  2. Click Add devices, select Servers and Workstations.

  3. Select the Customer to install the device for, from the drop down.

  4. Select a Retention Policy to apply to the device.

    See Retention Policies for full details.

  5. Select a Profile to apply to the device.

    This recommended but optional. See Profiles for full details.

  6. Select the Windows Operating System.
  7. Select encryption method.

    Managed Encryption is recommended. See Self-Managed encryption for an alternative encryption method

  8. Click Next
  9. Confirm the settings, then take a copy of the Cove Installation ID
    This is the section of the Installation Package Name consisting of numbers and letters, e.g. If the Installation Package Name is cove#v1#7210edc5-0b8b-730e-597f-b10d948bfbd0#.exe, the Cove Installation ID is 7210edc5-0b8b-730e-597f-b10d948bfbd0

  10. Click Finish.

Step 2.2 - Add Custom Property Value at the Organization Level

  1. In the NinjaOne dashboard, navigate to Administration > Organizations
  2. Click the customer organization
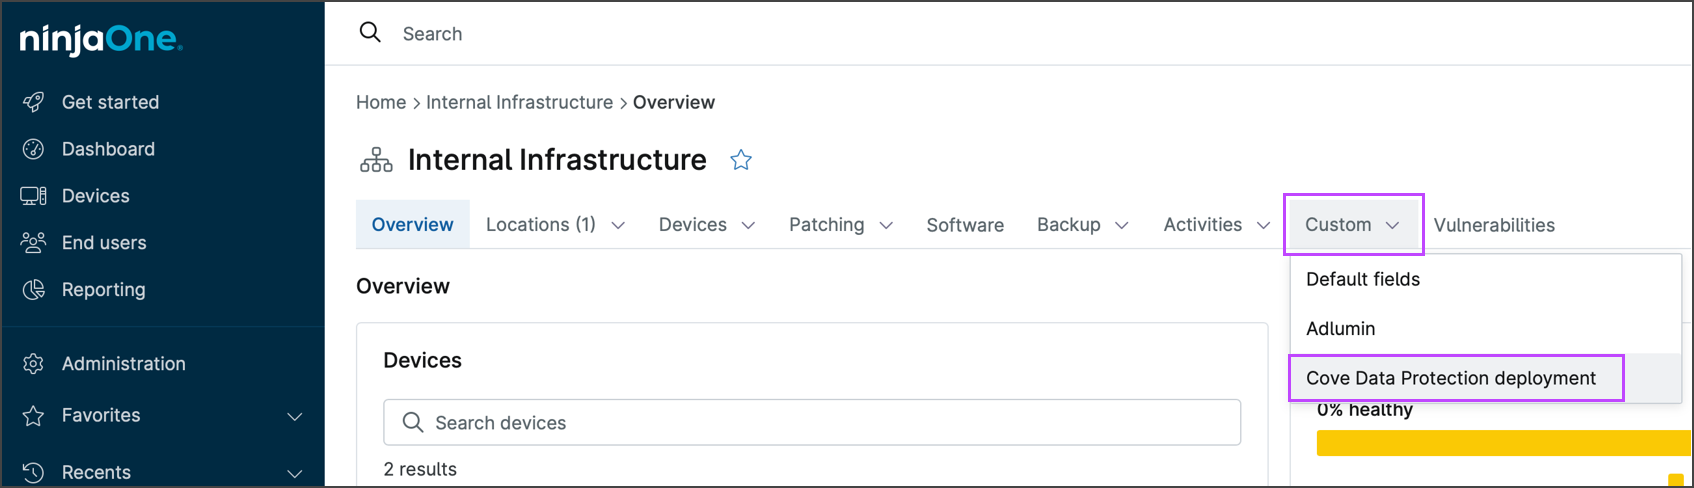
  3. Select the tab name created in Create Custom Fields > step #9 from the Custom dropdown, e.g. Cove Data Protection Deployment

  4. Edit the Organization - Cove Data Protection deployment to add the Cove Installation ID taken from the installation package name

  5. Save the change

Next, generate the deployment script.