We strongly recommend the use of Hyper-V Guest Level backups over Host Level backups, as detailed in Guest Level Versus Host Level Backups.
Backup configuration will differ, depending on which method of backup you have decided on.
Before configuring any Backup to run, check the Pre-backup settings for Hyper-V to ensure these are set.
Guest Level Backup Configuration
For Guest Level backups, the Backup Manager must be installed inside the Hyper-V Virtual Machine. This can be done using Automatic Deployment, or Manual Installation.
Once Backup Manager is installed, you can either configure the device manually by:
- Follow the Enabling backups in Backup Manager instructions on how to Configure backup selection
- Then Configure schedule-based backups
- Set additional device-based preferences, scripts, filters and exclusions
- Apply a profile to the device which sets the data source selection as was previously configured, as well as setting the frequency of backups and any filters and exclusions
As Backup Manager is installed within the VM, the data source selection will look just like the selection for any physical device, where we strongly recommend selecting the Files and Folders and System State data sources.
Or
Host Level Backup Configuration
If using Host Level backups, the Backup Manager is installed on the hypervisor, via Manual Installation.
Once the Backup Manager is installed on the host, backups must be configured manually by:
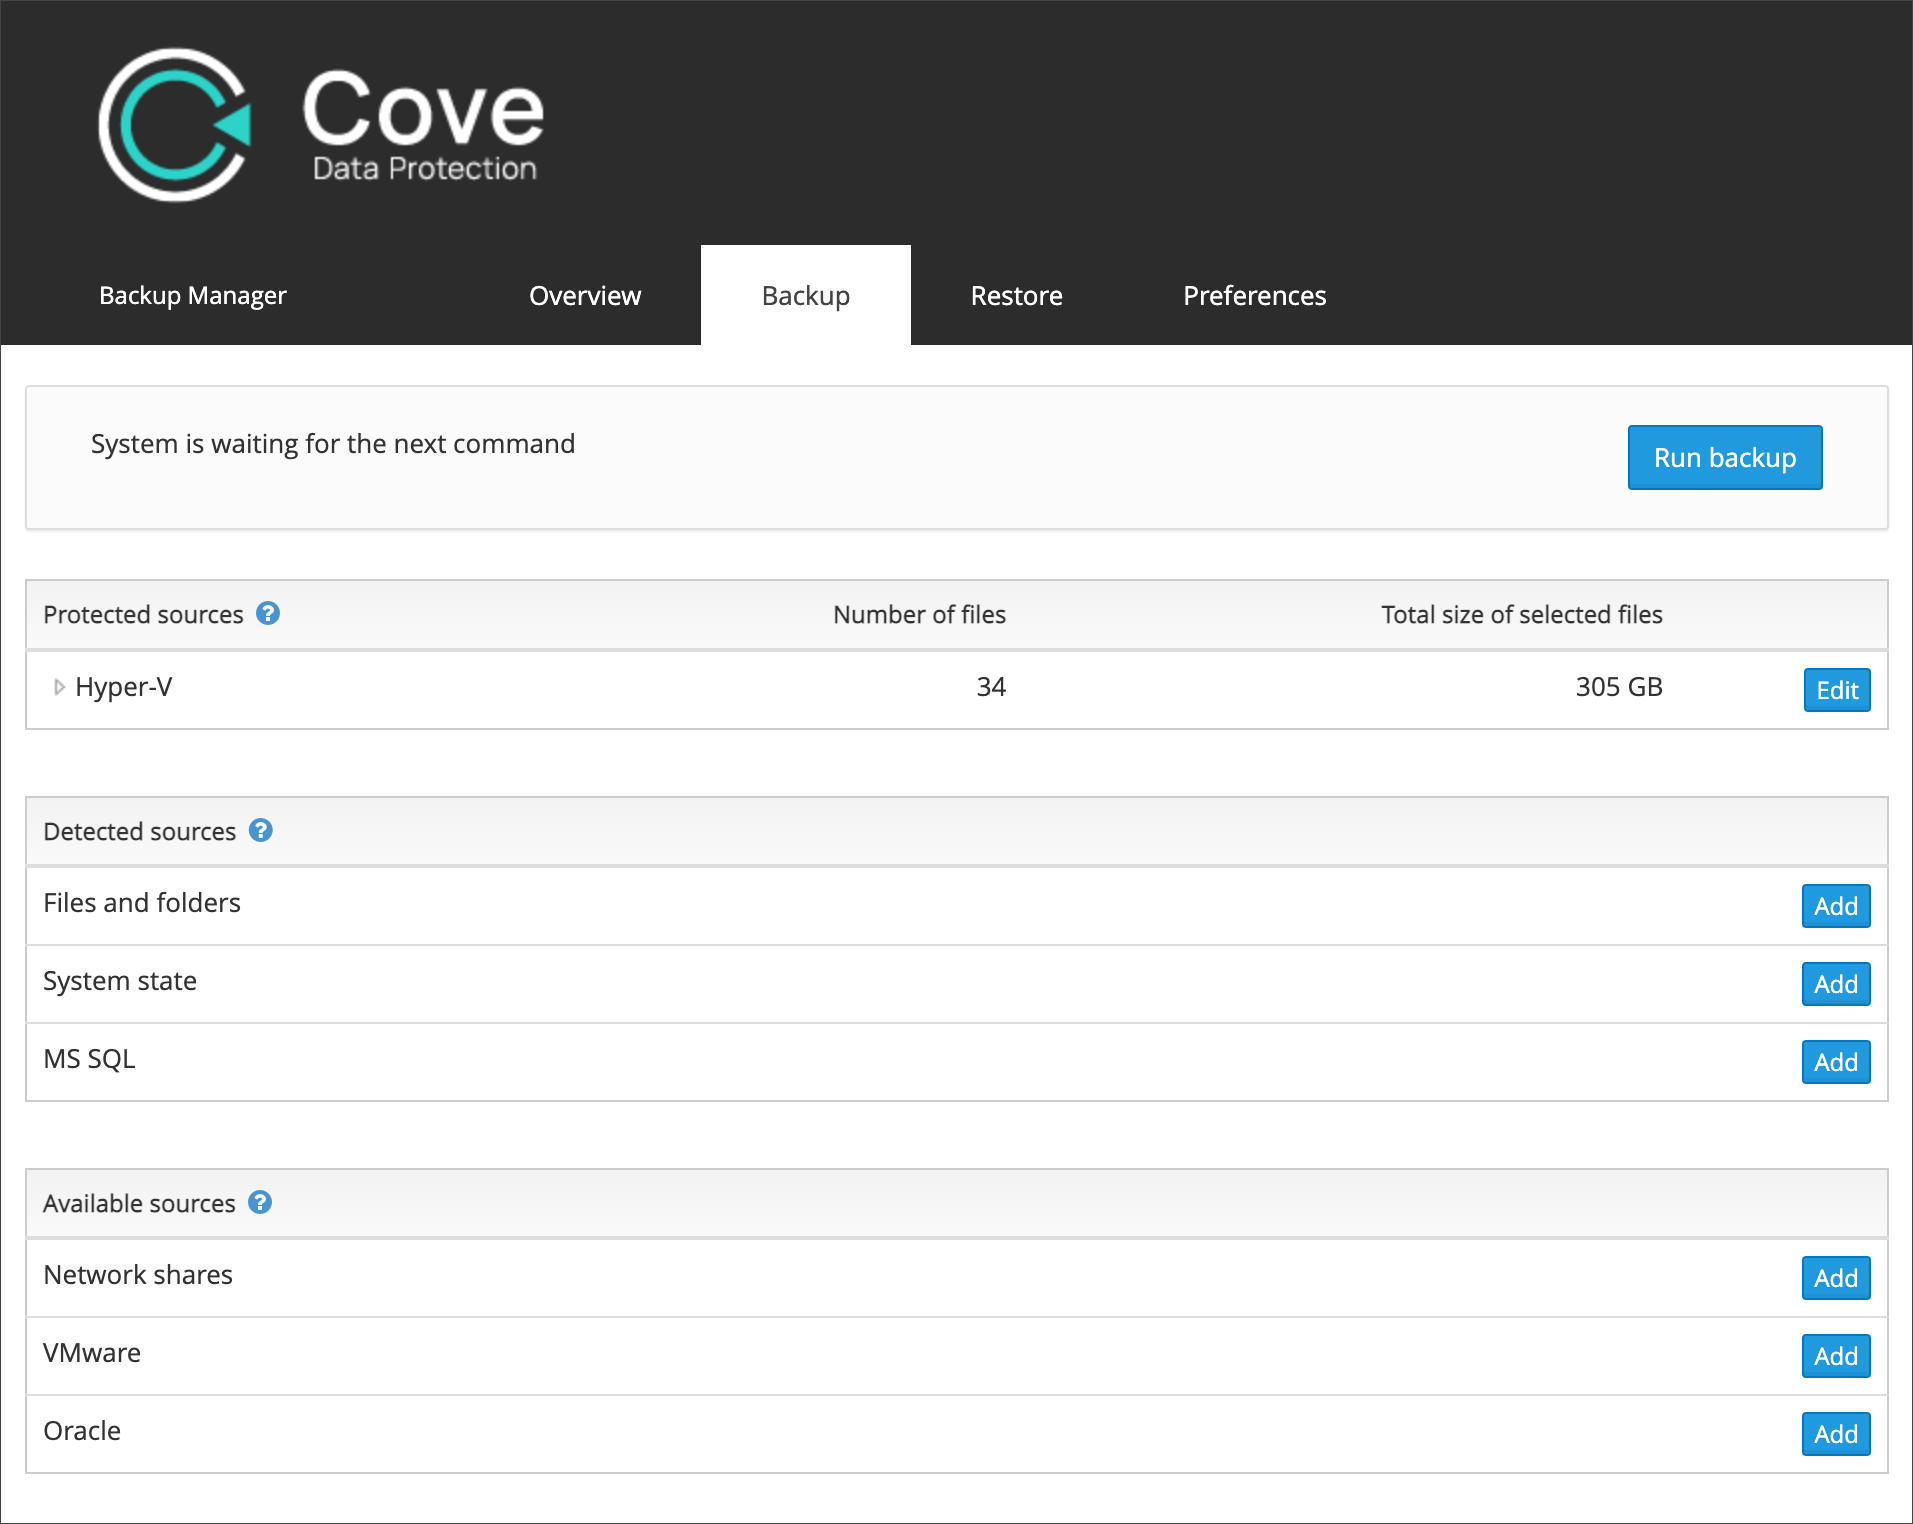
- Launch the Backup Manager for the device
- Open the Backup tab
- Click Add next to the Hyper-V data source
- Expand the VssHyperV folder and make your selection of which Virtual Machines to back up by placing a tick in the box to the left of each VM name
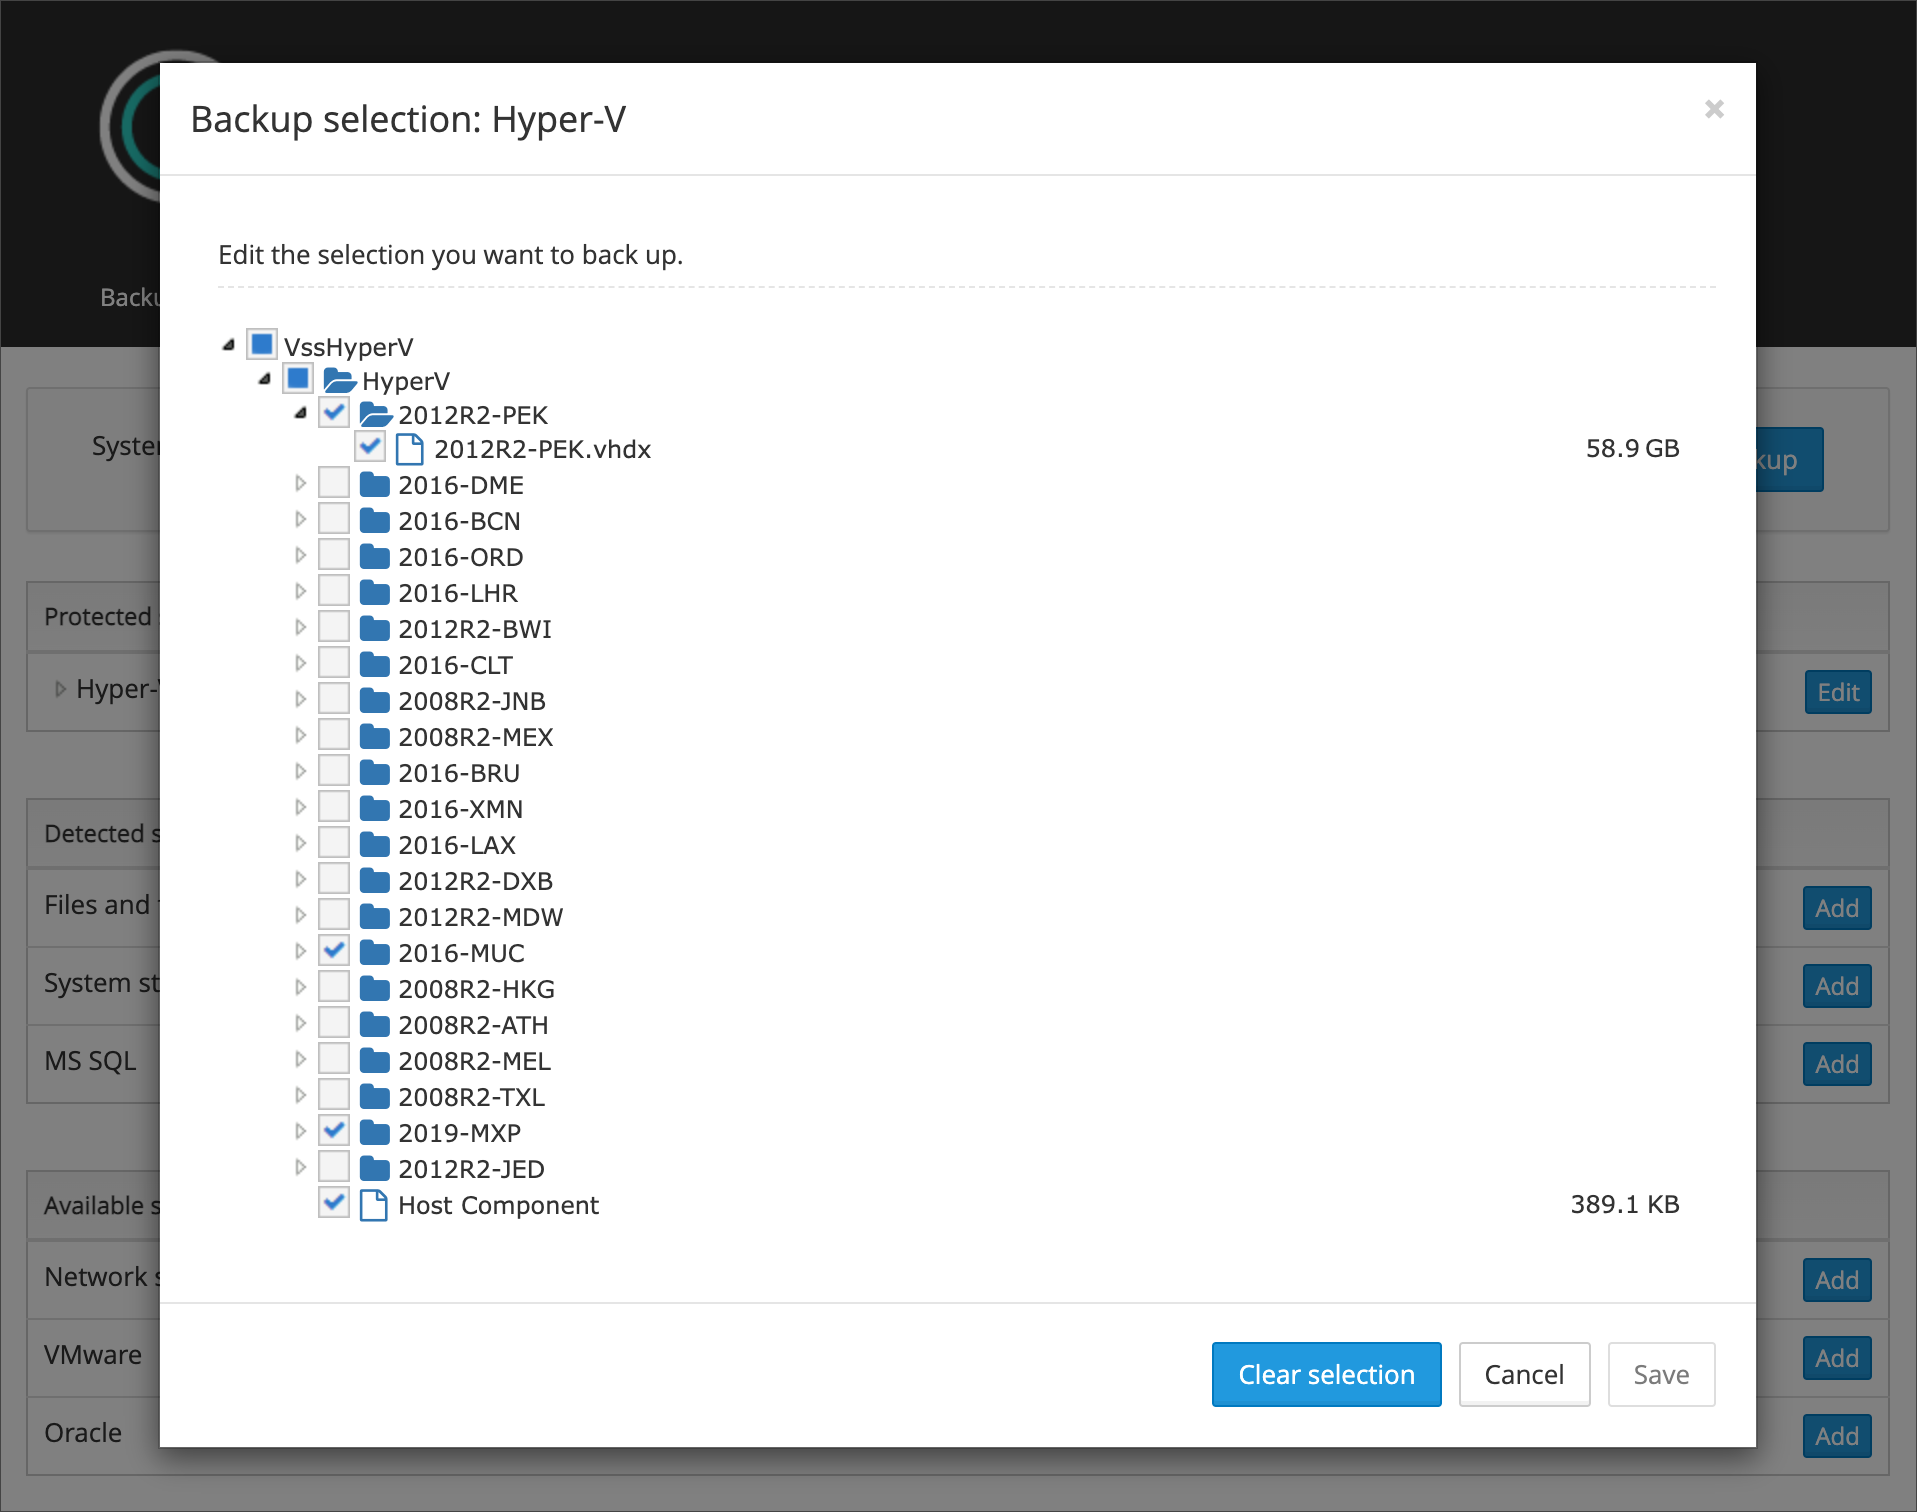
- Click Save
Hyper-V machines are backed up together with their snapshots. This lets you return a machine to a previous state after recovery.
- Now navigate to the Preferences tab and Configure schedule-based backups, being sure to add Hyper-V to the Backup field
- Save the new schedule
The Hyper-V datasource will be detected automatically, there is no need to authenticate
The data source will now display in the Protected Sources section