Configure the application for auto-provisioning
Entra ID (formerly Azure AD) supports both automatic and manual user provisioning, providing flexibility in how you manage user accounts and access permissions.
- Log into Microsoft Entra admin center.
- Navigate to Enterprise applications.
- Select the N-able application from the list of configured apps.
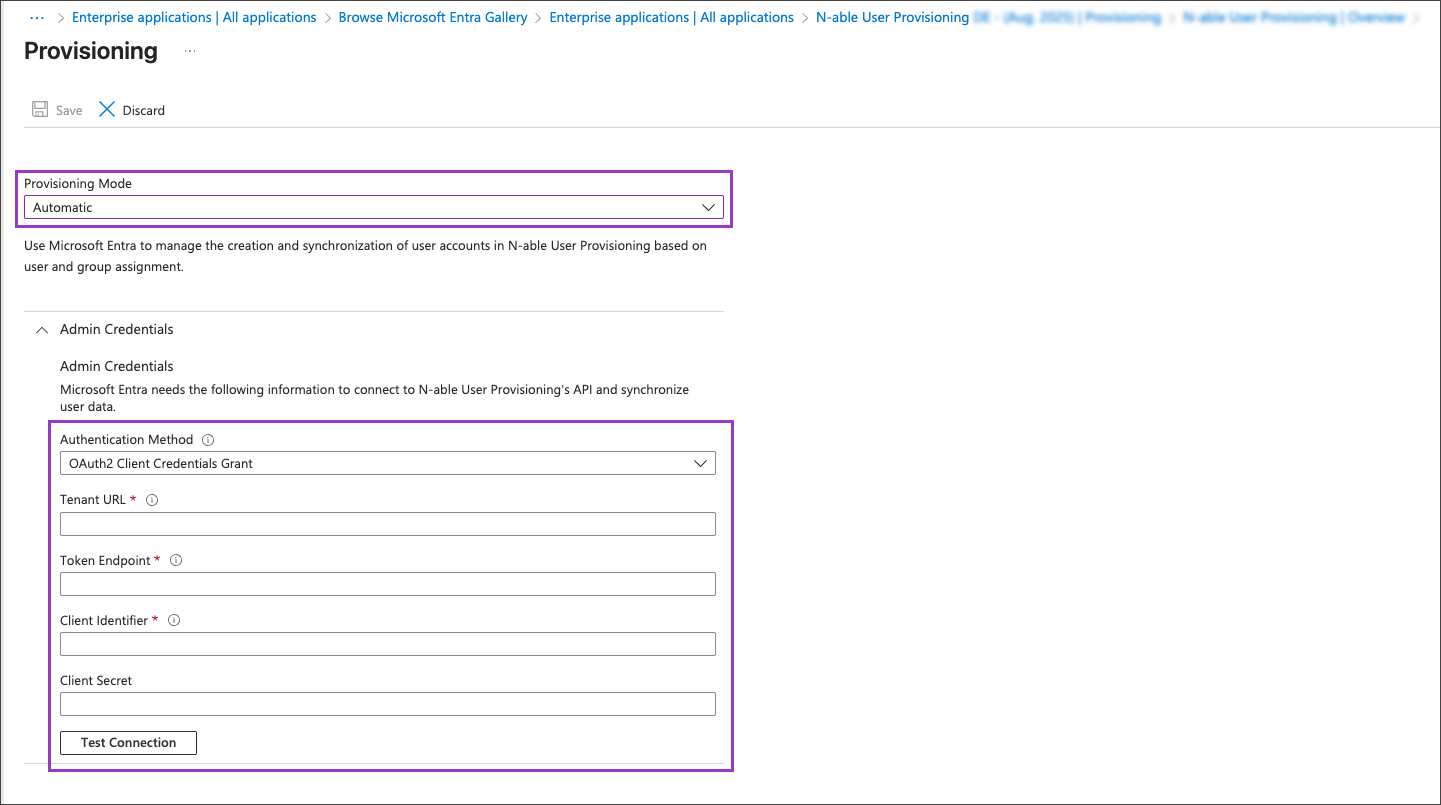
- From the left-hand menu, choose Provisioning.
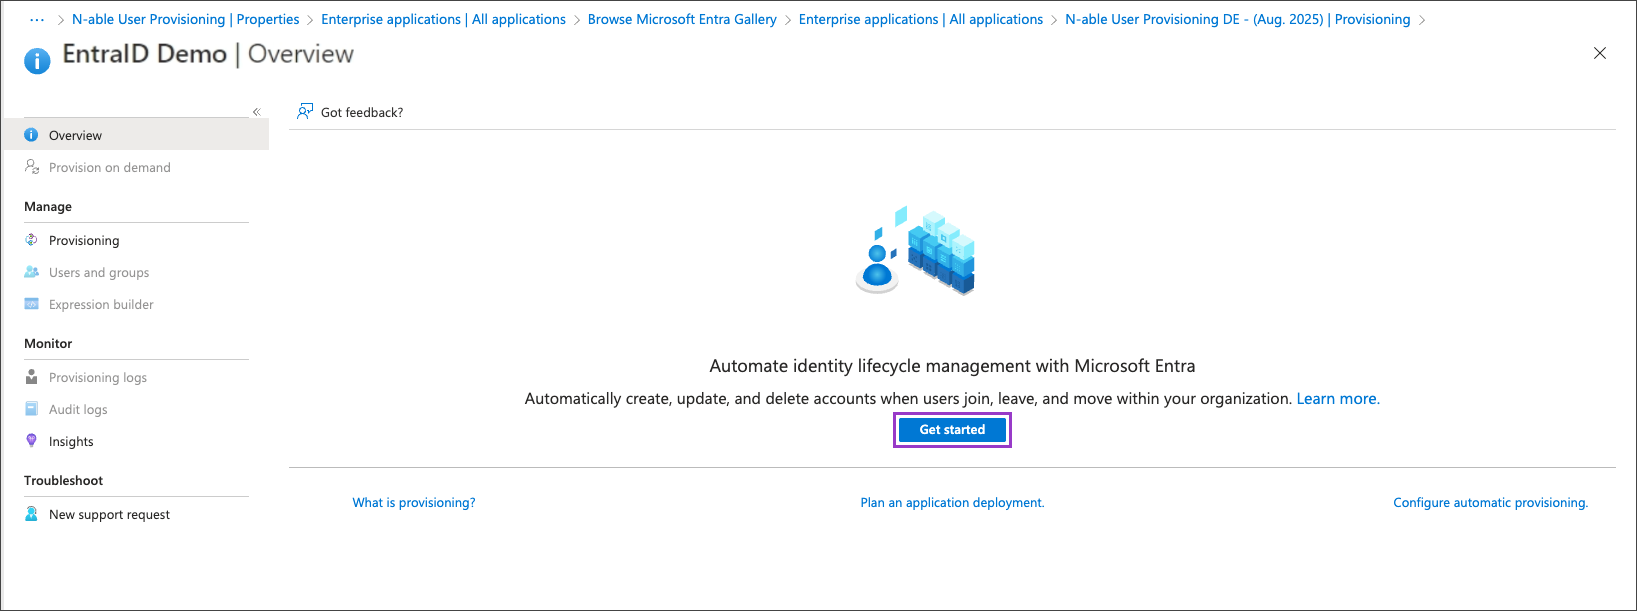
- Click Get started, if provisioning isn't already configured.
- Change "Provisioning Mode" to Automatic and enter the credential information that you copied to the clipboard when you Set up N-able Login with Entra ID as an IdP. This is the Tenant URL, Client Identifier, Client Secret, and Token Endpoint.
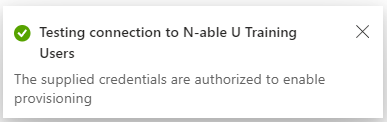
- Click Test Connection to complete the process. Microsoft will return a successful result if all settings were correctly applied.
- Click Save.

Make sure that your authentication method is set to OAuth2 Client Credentials Grant.