
Create Agent Installers from the Installer Repository
From the Take Control installer repository, you can view and manage all the Agent installers created in your account. Create and add new Agent installers, and easily view their associated information like the PIN code and URL for automatic download.
-
Log in to the Admin Area and navigate to Management > Installers.
- Click Add Installer.
- In the Add installer window, enter the Installer name and specify the Operating system and Group to which the installer will belong.
- Fill out the Customer details section and select the Number of installations to apply to the Installer.
- Choose whether the link expires or not, and if not, select a Link expiration date and click Save.
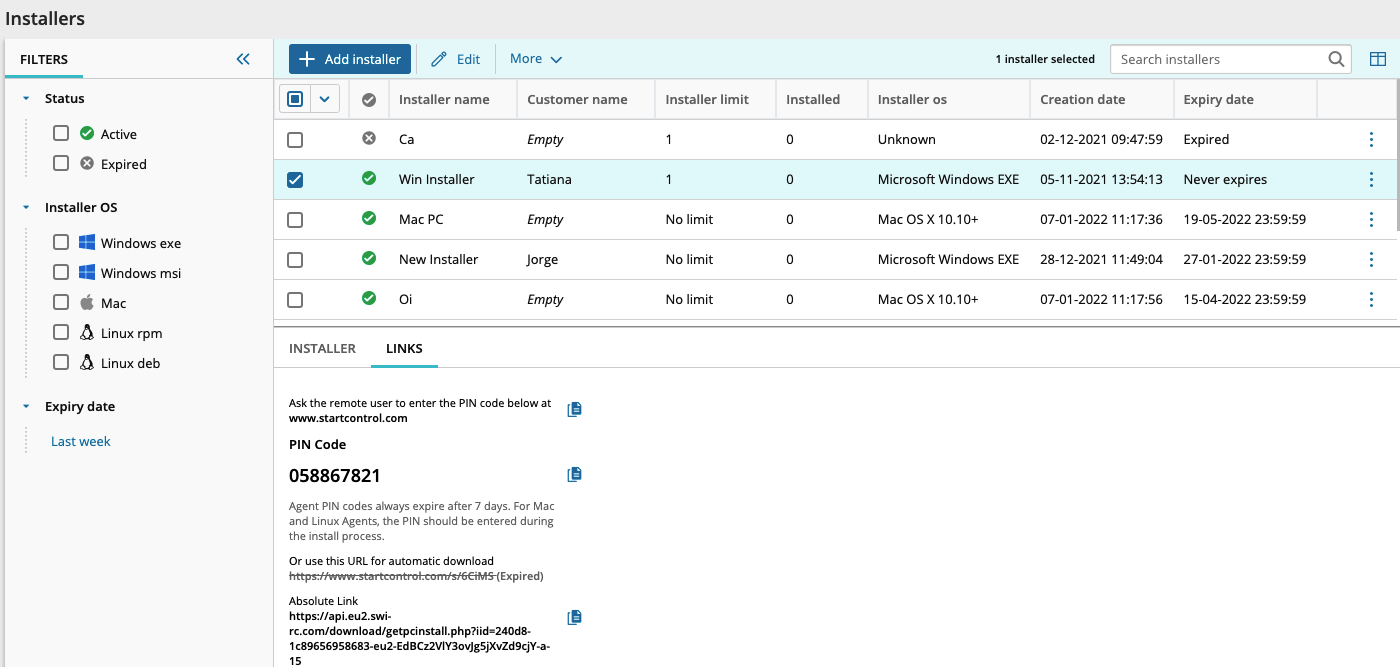
After successfully saving, you can view the installer's details and its associated PIN by selecting it from the list, and viewing its information in the lower pane of the installer window.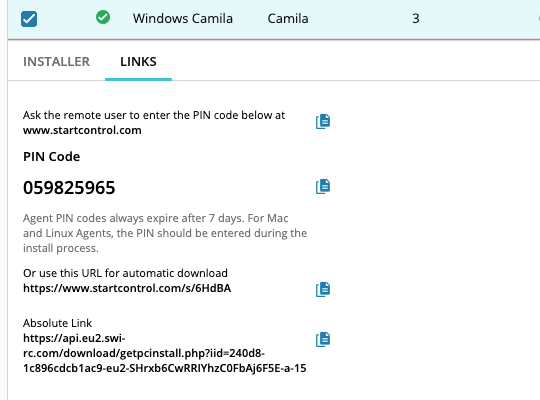
Additionally, you can use the filters to sort your installers and click  > Expire to easily deactivate the selected installer.
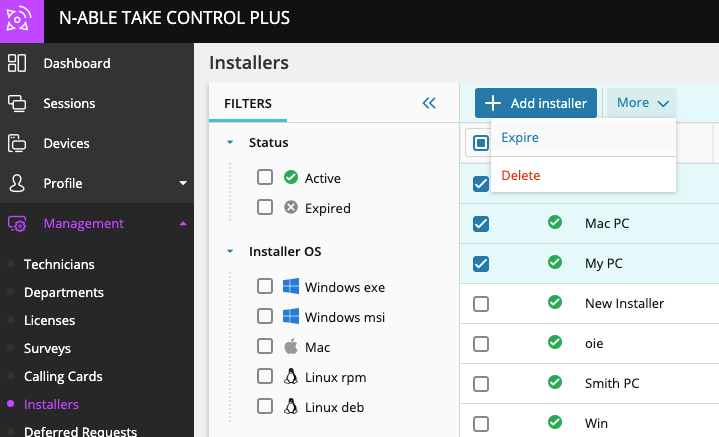
To edit, expire or delete a single installer, click  next to the installer you would like to edit and select the appropriate option.
What do you want to do?