
Create the seed backup from the target device
If Backup and Recovery options do not appear in N-sight RMM, use Cove instead.
To start a 30-day free trial of Cove:
- Open the app switcher in the Product Bar.
- Select Cove Data Protection (Cove).
Optimize USB disk speed performance by enabling Write Caching in the Device Manager (improving access and write speeds to and from the disk) and we suggest configuring this option before running the seed backup.
Prepare the USB drive
-
Enable Write Caching in the Device Manager to improve USB disk performance.
-
Configure this option before running the seed backup.
Launch the Backup Manager
On the device:
- Go to Start > All Programs > Backup & Recovery > Backup Manager, or
- Select the Backup Manager icon on the desktop (if available).
From the All Devices view
- Right-click the device in the North-pane, or use the Server, Workstation or Device dropdown menus.
- Select Backup & Recovery > Open Backup Manager.
Enable seeding
- In Backup Manager, select the Preferences tab.
- From the left menu, select Seeding.
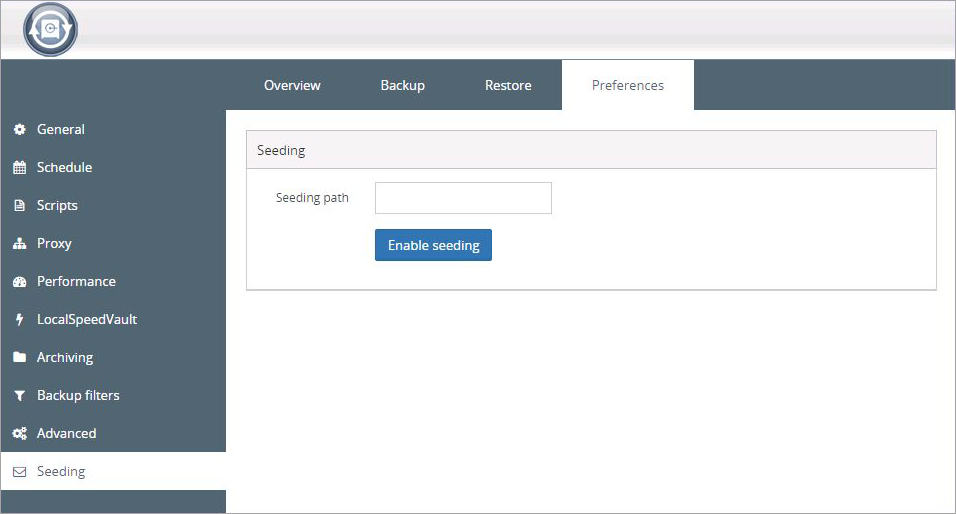
- Enter the location where the seed backup will be saved in Seeding path.
- Select Enable Seeding.
If the Backup & Recovery logon account does not have access to the network location (such as a network share or NAS), you may need to change the logon account for the Backup Service Controller service when you enter the UNC path, starting with
\\(for example\\Storage1\seeding).
Confirm seeding
- Accept the seeding confirmation.

- After initialization, Backup Manager seeding mode a blank page is returned with the message: Backup & Recovery is being initialized, please wait....
-
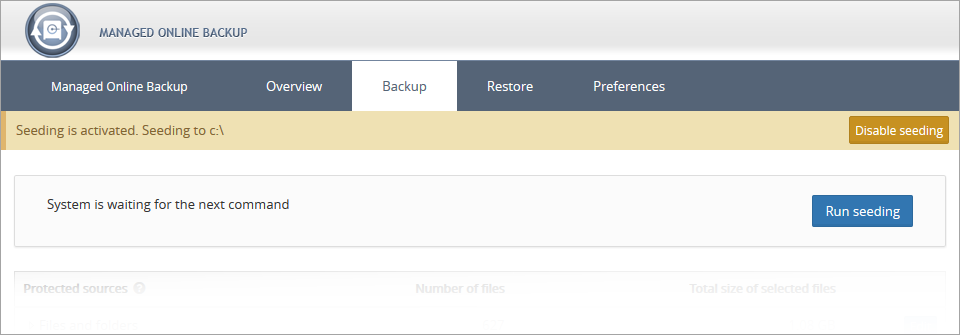
After initialization, Backup Manager displays a yellow notification bar confirming that seeding is activated, showing the seeding path and an option to disable seeding.
Run seeding
- Go to the Backup tab.
- Verify all required data source are selected.
- Select Add for new sources or Edit to modify existing sources.
- When ready, select Run seeding.
Depending on the backup size, this process may take time.
Complete setting
- After the process finishes, select Complete seeding in the yellow notification bar.
-
A seeding folder with a unique identifier for the Backup & Recovery account is created. This identifier appears in Backup Manager under About > User name and in Reports > Contract.
Seed loading details
- A unique config.ini file is created in the backup folder. It contains identifiers and an encrypted copy of the Backup & Recovery username. The Seed Loading Tool uses this file to identify and track the seed backup.
-
Upload the data from the storage device to the cloud by following the instructions in Upload the seed backup to the data center.
-
You can configure LocalSpeedVault before running the seeding load to retain a local copy.
Additional devices
-
You can back up additional devices to the same USB drive if Seed Loading was requested for those devices. Repeat the steps above for each device.