
Configuring an Automated Workflow
Each Automated Workflow is constructed by configuring:
- A Trigger: The event that triggers an automated response. Please see Automation Workflow Triggers for further details.
- A Filter (optional): Set Client, Hostname, Folder Name and other specifics for the trigger event. Please see Automated Workflow Filters for further details.
- An Action: The response given when the workflow has been triggered. Please see Automated Workflow Actions for further details.
To configure an Automated Workflow:
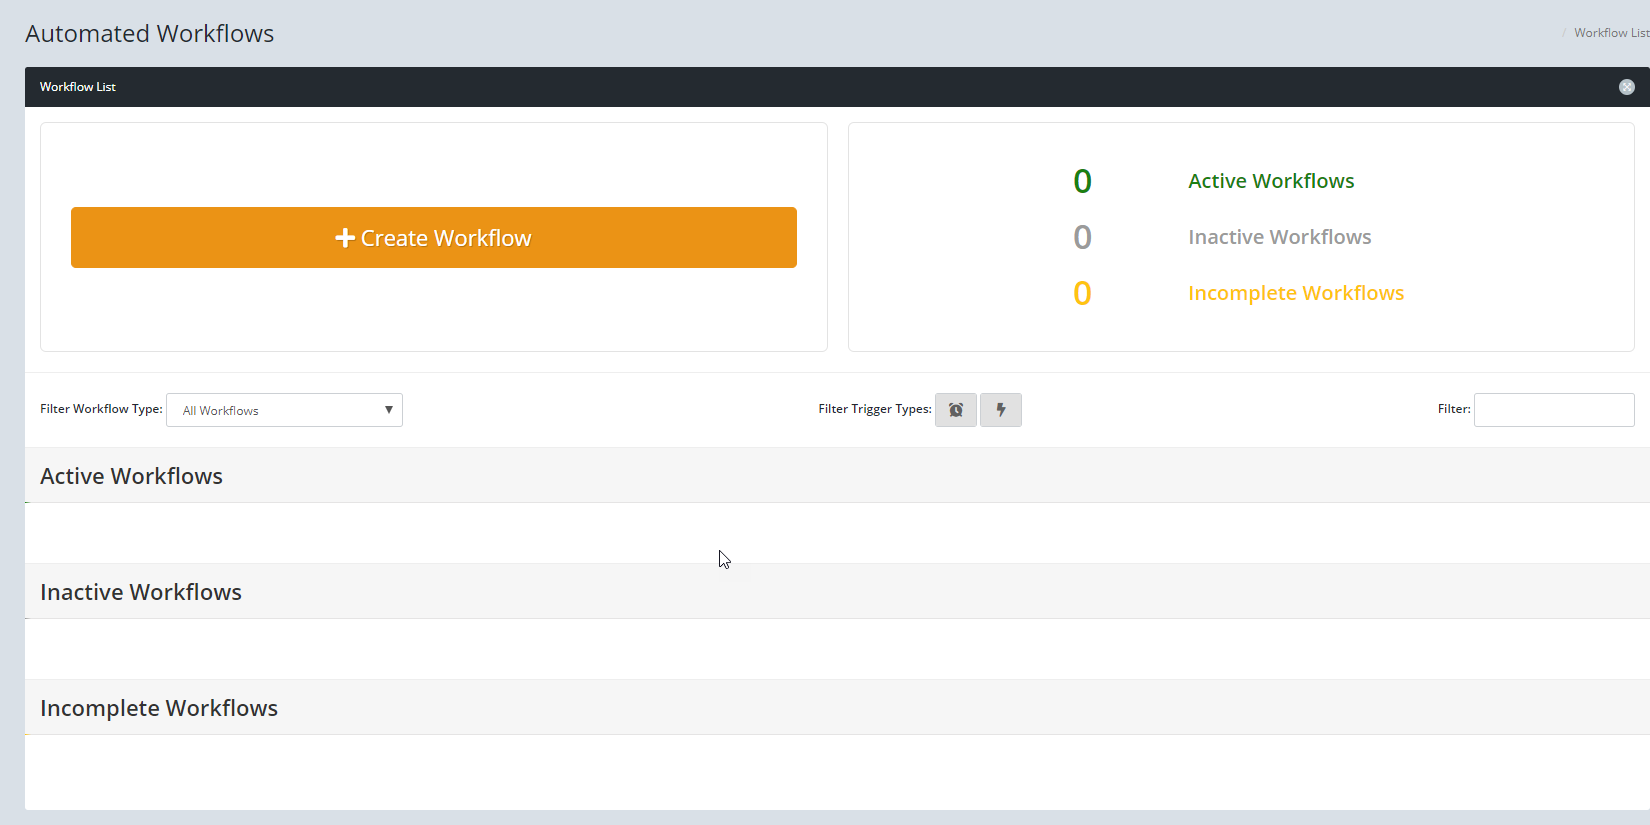
- Select Settings in the left-menu.
- Click Automation Workflow.
- Click the + Create Workflow button.
- Enter a Workflow Name to identify it - this is a required field.
- Enter a Workflow Description to give more detail on the workflow's purpose.
- Enable the Send Email on Alert Failure if required and select the required recipients from the drop-down menu.
- Click + Add Trigger to open the trigger dialog where you select from the available triggers. Select the required Trigger type and then click Continue.
- Depending which Trigger you select, you may be prompted to provide further information. Populate or select the desired items as required. Please see Automation Workflow Triggers for details.
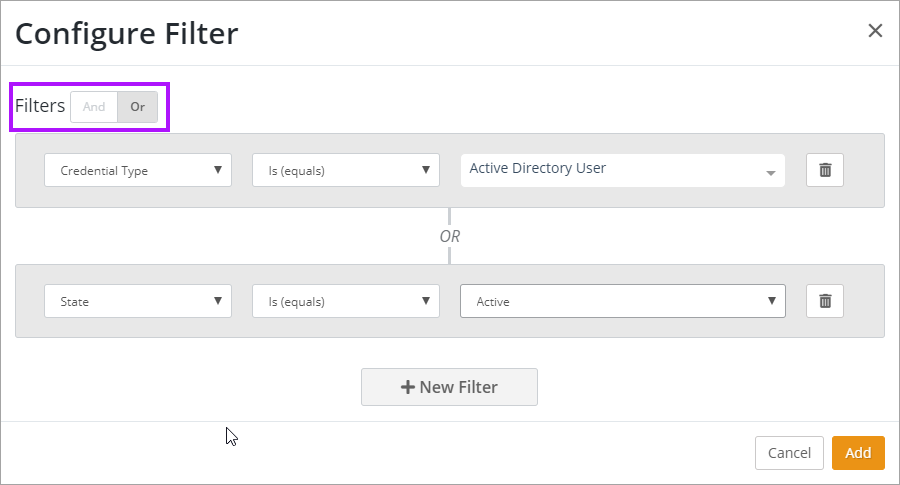
- If you need to narrow the Trigger condition, click + Add Filter. Select the required filter items from the available sub-set. Please refer to Automated Workflow Filters for details of what can be filtered on for each Trigger. If you require more than one filter condition, you can add more by clicking + New Filter. All filter conditions are either all 'AND' or all 'OR' conditions, and are set by selecting And or Or at the top of the Filter Configuration dialog. Once configured, click Add.
- Click + Add Action to configure the desired outcome when the Automated Workflow is triggered.
- The Trigger you selected will determine which Actions are available. Select the Action you require and click Continue. See Automated Workflow Actions for more details on these.
- Configure the Action as per your requirements and then click Add to complete the configuration. You may also test the workflow by clicking the Test Alert button at this stage.
- Once the Automated Workflow is fully configured as you desire, click Save Workflow.


You can save the Automated Workflow during it's configuration and come back later to complete it by clicking Save Workflow. This will then be populated in the Incomplete Workflow list.
Example: When selecting Domain, you will then be prompted to select which event with Domains to trigger on, such as Domain Expiration. Click Continue after making the required selection. Domain Expiration will prompt you to then enter the Number of Days before expiry. Once all configurations for the Trigger have been set, click Add to add the Trigger to the workflow.
A new or edited Automated Workflow may take up to 5 minutes to become fully functional.