
Create New User
Your organization employees (engineers, administrators, managers, etc.) can each have a Pro-user account in Passportal. These can be created using a variety of integrations (see our pages on Autotask or ConnectWise integrations) or you can create them manually.
In the event the new user does not action their activation email and needs a new activation email, use the Reset User option from the Edit User options to begin the activation process again.
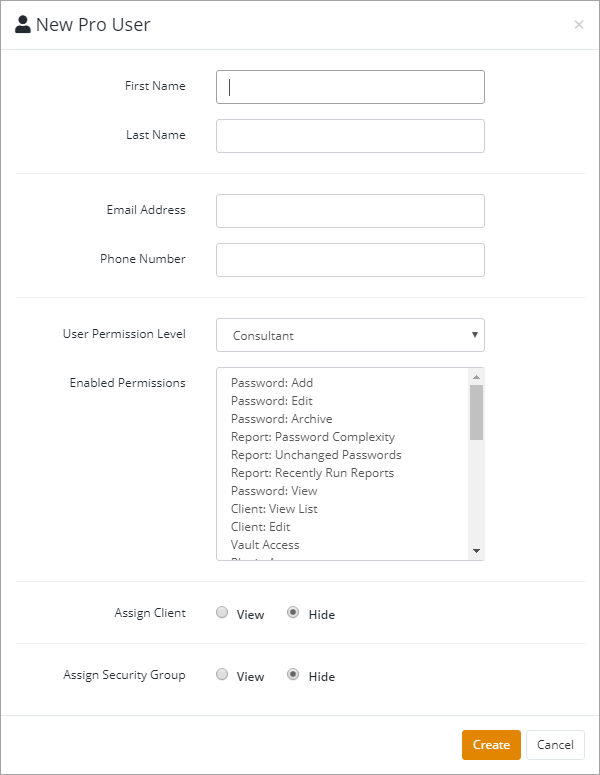
- Click the +New User button.
- The New User screen opens. Populate the users Name, Email and Phone Number as these are required fields.
- Set the User Permission Level to the required level for the user. The Enabled Permissions information will update to reflect the User Permission Level set. For more information please see: Managing Permissions Levels
- Set Assign Client radio button to View to see the list of clients that can be assigned to or removed from the user. Set the radio button to Hide to close the selections menu.
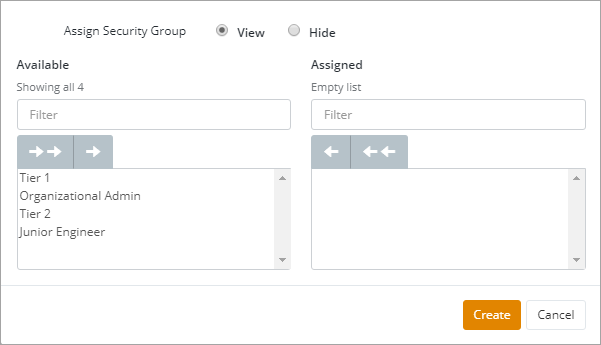
- Set Assign Security Group radio button to View to view the available Security Groups that can be assigned to the user. Set the radio button to Hide to close the selections menu. For more information on Security Groups please see: Best Practices for Security Groups and Folder Structures.
- Click Create once the user is configured as required. An activation email will be sent to the email address entered to guide the user through steps to login to Passportal for the first time.

Customizing permissions is not available at the user level. A custom Permission Level needs to be created and assigned to the user.
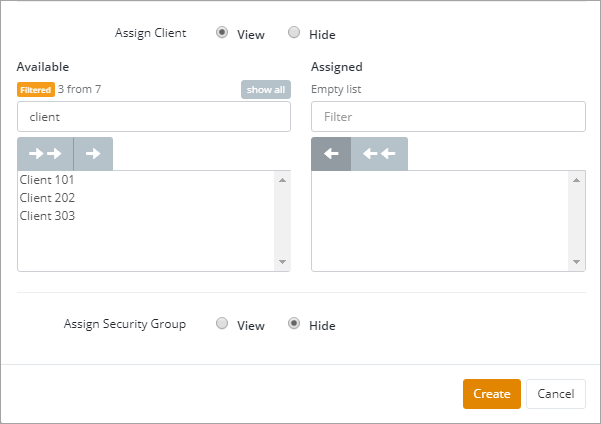
Clients can be assigned to users directly, or using Security Groups. Best practice is to use Security Groups to assign clients in order to keep your user access easy to view and change.
Both the Assign Client and Assign Security Groups lists are displayed in the order the entries were created. There is a filter to allow you to easily locate the required entry.