We strongly do not recommend downgrading Backup Manager to a lower version after installation is complete. In cases where the Backup Manager has been downgraded, we cannot guarantee the application will function correctly.
System administrators can quickly install the Backup Manager on multiple machines using the Automatic Deployment method (also known as quick installation).
This automates the operations for device creation, installation and – optionally – setup.

A single executable file is good for an unlimited number of installations for the specified customer
Quick Installation is available on Windows, macOS and Linux operating systems.
Quick Installation vs. Silent installation vs. Manual installation
Three installation methods available are:
- Quick Installation – The Automatic Deployment feature lets you install Backup Manager on multiple devices simultaneously
- Silent Installation – lets you install one device at a time using the command line on Windows
- Manual Installation - lets you install one device at a time manually
Please see the table below for the differences between these options.
| Quick Installation | Silent installation | Manual Installation | |
|---|---|---|---|
| Supported versions | All Windows, macOS and Linux on which Backup Manager works (full list) | All Windows, macOS and Linux on which Backup Manager works (full list) | All Windows, macOS and Linux on which Backup Manager works (full list) |
| Feature availability | Only resellers and end-customers | All types of customers | Only resellers and end-customers |
| Number of installations | Multiple devices simultaneously | One device at a time | One device at a time |
| Details required for installation |
Installation command (generated automatically) |
|
|
We do not store the Encryption Key/Security Code or Passphrase of a device, this must be kept by yourself as it cannot be retrieved in our system if lost.
Requirements
- A SuperUser account is required at the reseller or end-customer level
Please request assistance from your service provider if your access permissions are insufficient.
- The Automatic Deployment option must be enabled at the customer level. See Enable Automatic Deployment for further details
Instructions
Adding devices for installation:
- Log in to the Console under a SuperUser account belonging to a reseller or end-customer
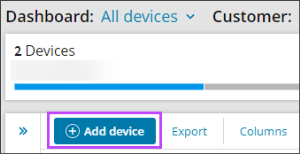
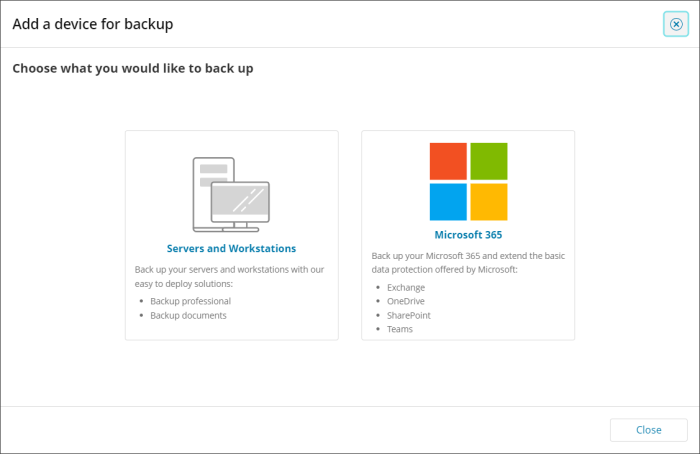
- Click Add devices, select Servers of Workstations
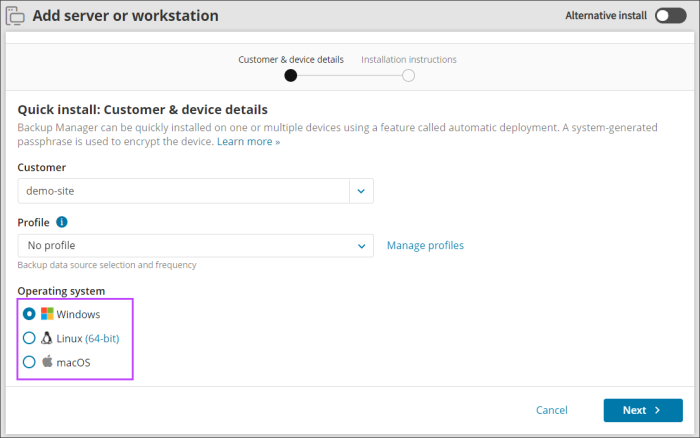
- Select the Customer to install the device for from the dropdown
- Select a Profile (optional)
Backup profiles let you configure multiple devices for backup simultaneously (learn morelearn more).
- Select a Retention Policy
Custom Retention Policies let you configure different retention to the default 30 days.
- Select the Operating System for the device
- Click Next
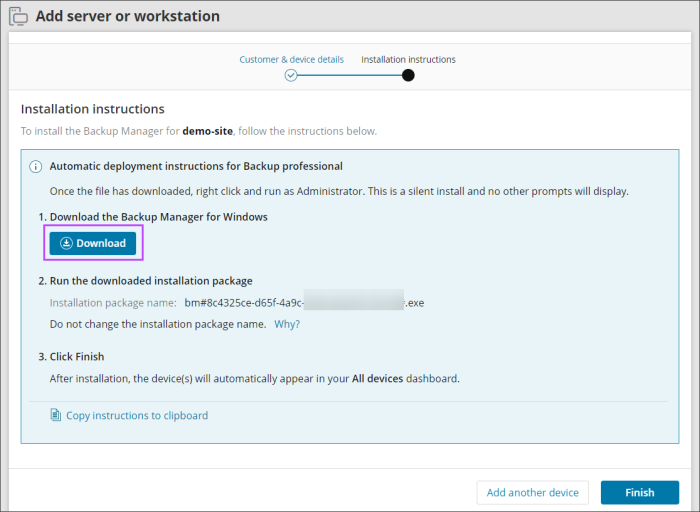
- Download the installation package from the download link and take a note of the installation package name
- Click Finish
- Run the Installation package on the device where the backup is required
Do not change the installation package name from the one provided on your dialog. This is because the package name is a unique identifier for the specific customer and doing so would stop the installation from functioning appropriately.
If the installer does not run after downloading, check the file has not been renamed by your system and check properties of the install file to ensure that it has not been blocked by your system upon download. Attempt to run as the Administrator on the device.
Ways to run the installation package:
- Double-click on the installer executable
- Submit the name of the installer to a terminal emulator or a software distribution system. For example:
demobm#a55x00rf-d604-429e-lf87-n800004e755#5038#.exe
Please note, the installer name will be specific to you.
Windows Only
On Windows devices you can run the installation command as-is or, optionally, you can add additional parameters to it if required.
Parameters
Required parameters
| Parameter | Description | Supported values |
|---|---|---|
-unattended-mode
|
This flag activates the Quick Installation feature. It also prevents the Backup Manager from starting automatically after the installation. | N/A (enter the parameter as is) |
-partner-uid
|
This is a unique ID generated for the partner (required for authorization). You can regenerate the UID as often as necessary. This will not affect any of the previous installations. |
Text (copied from the management console) |
-unattended-mode-partner-uid (legacy) |
This is the parameter used instead of -partner-uid prior to the May 2017 release. It is still supported and can be used in the same way as -partner-uid. |
Text (copied from the management console) |
Proxy settings (optional)
| Parameter | Description | Supported values |
|---|---|---|
-use-proxy
|
This setting prompts the Backup Manager to connect to the Internet through a proxy server. |
|
-proxy-type
|
The type of the proxy server |
|
-proxy-address
|
The host name or IP address of the proxy server | IP address or host name, for example 192.188.33.55 or some.server.com |
-proxy-port
|
The port number of the proxy server | Number (0 by default) |
-use-proxy-authorization
|
Prompts the Backup Manager that the proxy requires authorization by username. |
|
-proxy-username
|
A username for access to the proxy server | Text, for example domain\username or username |
-proxy-password
|
A password for access to the proxy server | Text |
Misc. optional parameters
| Parameter | Description | Supported values |
|---|---|---|
-profile-name
|
The name of the backup profilebackup profile you want to assign to the new device(s). This setting lets you configure devices for backup during installation. | Text |
-profile-id
|
The ID of the backup profile you want to assign to the new device(s). To use the parameter, you need Backup Manager installer version 17.4 or later. Profile IDs are generated automatically when the automatic deployment is enabled. You can use the profile ID and profile name interchangeably. |
Number (copied from the management console) |
-product-name
|
The name of the product to assign to the new device(s). To use the parameter, you need Backup Manager installer version 17.4 or later. |
Text (copied from the Console) |
-storage-id
|
The ID of the storage pool used for the device(s). | Number (automatically inserted during the executable creation) |


