
Backup profiles let system administrators configure backup settings for multiple devices as one.
Backup profiles are available to the following types of customers: Distributors, Sub-Distributors, Resellers and End Customers.
Once a backup profile has been created, it cannot be moved to another partner. Profiles created at the Reseller level can be applied to End Customers underneath this Reseller, but profiles created at End Customer levels cannot be applied to other end customers or Resellers.
Instructions
Step A: Add a backup profile
- Sign in to the Management Console using a SuperUser account.
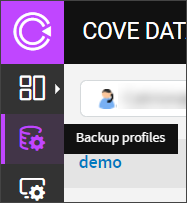
- Select Backup profiles from the vertical menu
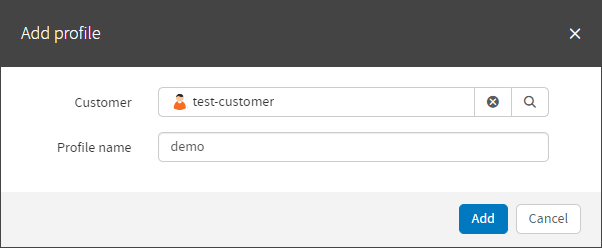
- Click Add profile
- Assign a name to the profile and specify the name of the customer the profile will be available to
- Click Add
Create a separate backup profile for each operating system.
Step B: Configure the backup profile
Next, select a backup policy for each data source and configure the settings that apply.

There are 3 backup policies altogether:
- Backup - a force backup policy (overwrites local settings). It covers both the backup schedule and the backup selection. It is unavailable for data sources that require access credentials (such as Network shares)
- No backup - excludes a data source from backup, even if it is included in the backup selection locally
- Keep local settings. This is a mixed option using which the backup schedule is configured through the profile while the backup selection is configured locally
In an emergency situation, such as a natural disaster or ransom-ware attack, it is best to have every data source where data exists selected to backup.
The selection of scheduling options varies depending on the data source (see the table below for details).
| Data source | Frequency options | start time | Do not start backups during working hours |
|---|---|---|---|
| All (full automatic backup) and other separate data sources | Every 15 minutes, 30 minutes, 1, 2 or 4 hours | Unavailable | Available |
| Every 6 or 12 hours | Available | Available | |
| Every 24 hours | Available | Unavailable |
Step C: Assign the profile to devices
When the profile is ready, you can assign it to devices:
- In Backup > Dashboard, select the devices to assign the profile to
- Click Assign profile on the toolbar
- Select the profile from the list
- Click Save

You can edit, rename and delete existing profiles. Only those profiles that are not assigned to any devices can be deleted.