
Backup Manager users can recover data on request or enable automatic recovery (Continuous Restore).
The Continuous Restore requires an additional computer (or a virtual machine) on which the same backup device is installed in restore-only mode or where Recovery Console is installed.
For more information on configuring the continuous restore from Recovery Console, this can be found here.
The computer or virtual machine used as the restore location cannot be used for other purposes.
The Backup Manager automatically synchronizes with the source computer. If any changes are detected between the source backup and current restored version, a restore takes place: this way the additional computer always has the most current version that mirrors the data on the source computer.
Feature availability
The Continuous Restore feature can be used on all backup devices.
Due to the nature of the System State data source, it needs to be restored to a different computer (not the one on which Continuous Restore is set up). Otherwise all files and settings would get overwritten and it would not be possible to continue the auto recovery.
Limitations
There is a particular case of Continuous Restore that has some usage limitations. This is system state restore to a virtual machine (Virtual Disaster Recovery). The target virtual machine is not supposed to be in use while the Continuous Restore mode is active. If the Backup Manager (or the Recovery Console) detects that the virtual machine was started in-between restore sessions, further restores will be blocked and you will get an error message. This is done to prevent possible data loss.
Unblock the Continuous Restore process
- Make a copy of the virtual machine that is currently available at the target location. Skip the step if the VM was accessed for test purposes and no important changes were made
- Run an additional restore manually to the same location. This will be a quick delta restore that will overwrite the changes at the target location (if any)
After this, the continuous restore process will be fully functional again.
Enabling the Continuous Restore
- Install Backup Manager in restore-only mode or if it is already installed, launch the Backup Manager from the device
- Open Backup Manager
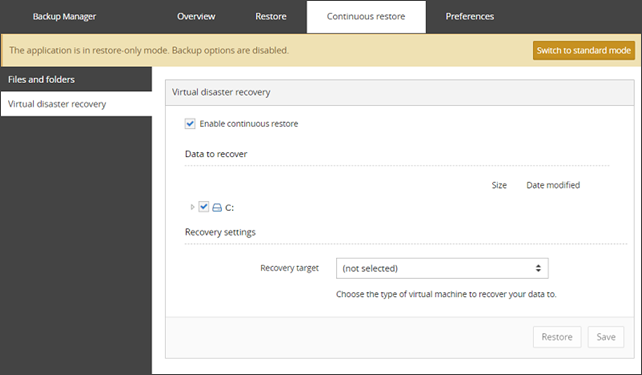
- Go to the Continuous restore tab
- Select Virtual disaster recovery from the data sources tab on the left hand side
- Click Enable continuous restore
- Select a recovery target
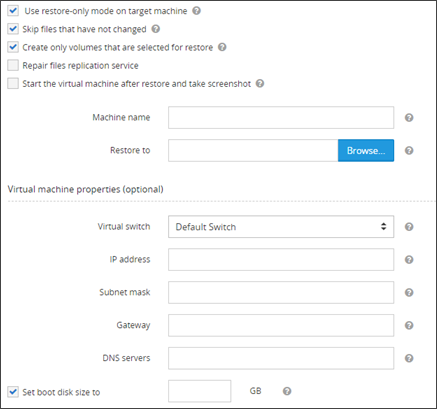
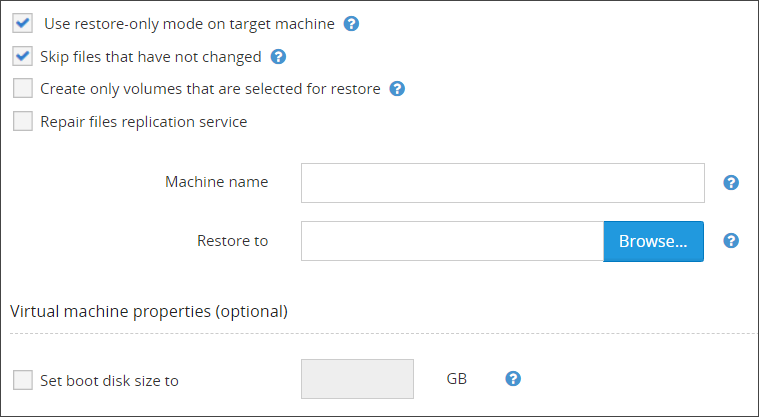
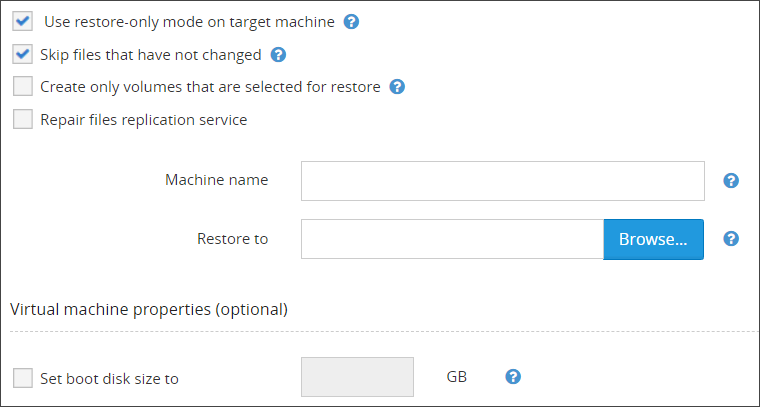
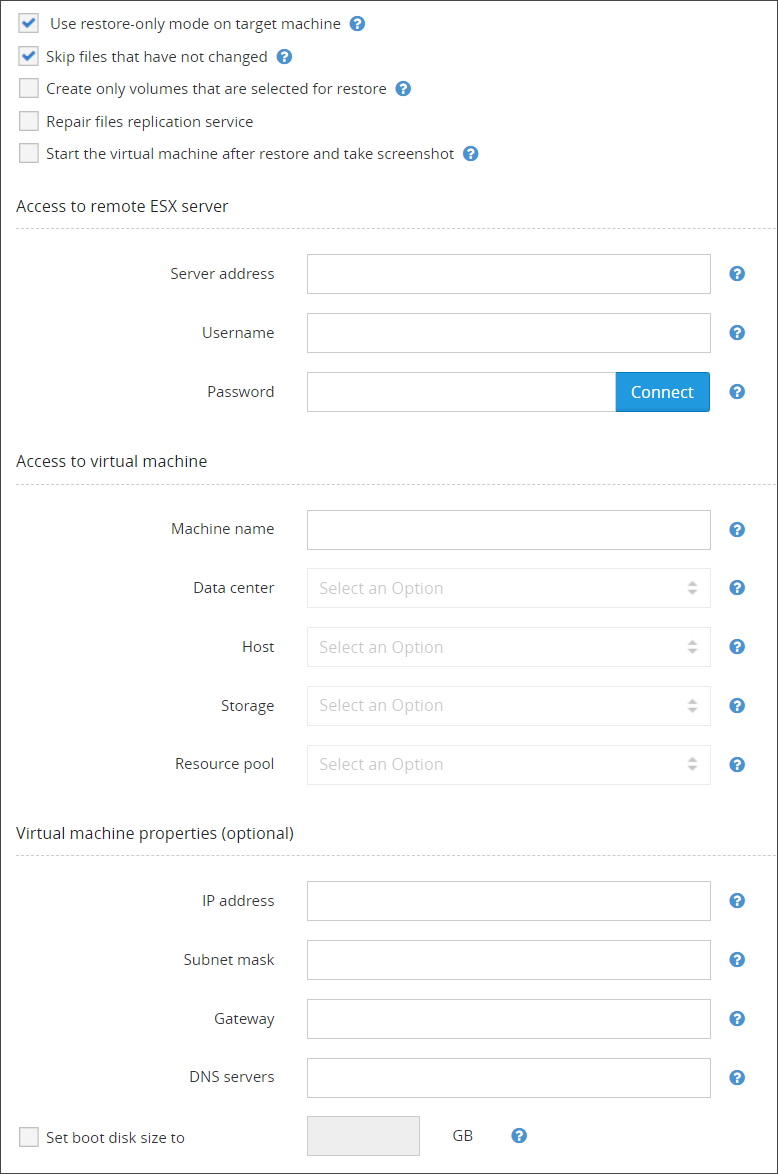
- Fill out all settings fields for the target used before clicking OK. See the Virtual Disaster Recovery Settings for full details on required and optional settings for each recovery target. For example:
- Click Restore to start a recovery process
To disable the continuous recovery process, go back to the Continuous restore tab and deselect the Enable continuous restore checkbox.
Customization options
When the Continuous Restore feature is on, the Backup Manager connects to the Cloud every 30 minutes and checks for updates. This time interval can be customized through the configuration file (in seconds).
[General]
SessionsUpdatePeriodicityForReadOnlyModeInSeconds=900
When configuring the continuous recovery process, you can enable the Remove obsolete data from target computer option. If this is enabled, the software will free some disk space on the target machine by deleting files that have been deleted from the source computer.
Continuous Restore for multiple devices
If you have multiple devices to enable continuous restore for, consider using the Recovery Console instead of the Backup Manager. This tool allows you to add a number of devices to run continuous restores.