Define your prices with rates
Rates are attached to service items and determine the price of your services. You can attach one or more rates to a service item, which are available when tracking your time in tickets.
Create rates on a per-customer basis, or create templates that can be applied to new customers or multiple customers at once.
Add a new rate
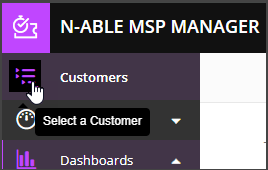
- Select the Customer icon
 in the left navigation to view your customer list.

- Choose a customer from the list to show that customer's menu.
- Select Rates > Add Rate to add a new rate from an existing template, or create a new one.
- Enter the associated service item, name, dollar amount, and status.
- If you have integrated your accounting software, select the correct Mapped Item to map this rate to.
- Select Add to save the new rate.
Adding a mapped item to a rate or rate template overrides the default mapping you have previously selected in the Default Mappings section for your accounting integration. If you have items in QuickBooks for each individual rate that you charge your customers, for instance, utilizing mapped items for rates is a good way to accurately run reports in QuickBooks to track your revenue.
Add a new rate template
- Navigate to Settings > Billing & Financial > Rate Templates.
- Select Add Rate Template.
- Enter a name and dollar amount.
- If you have integrated your accounting software, select the correct Mapped Item to map this rate to.
- Click Save Rate Template.
Update and apply rates to in progress tickets
Edit rates when your prices change and the service items associated with those rates are updated. This does not change rates for billed tickets. To apply an updated rate to in progress tickets, edit the rate, change the price, and find the associated tickets to update.
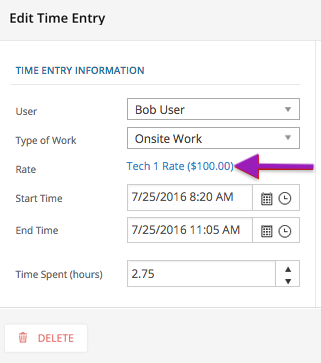
- Open the ticket and click the time entry you would like to edit.
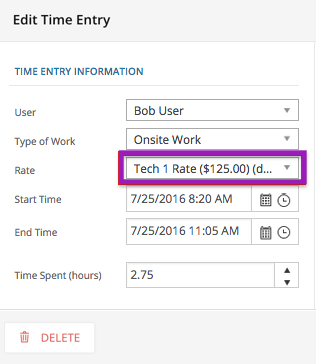
- Click the Rate to make the field editable.


- Select and apply the updated rate to the time entry.
- Save the time entry.
The new rate is applied to the time entry. Repeat for each time entry in tickets that require the updated rate.
What do you want to do?
