
SNMP Lite
SNMP Lite allows you to add a SNMP check to a single device without having to use the SNMP Check wizard. This means you can configure a SNMP check for testing on the device to ensure that it meets the requirements you have for the SNMP check without it being added to a template or the catalog.
Once you have the SNMP check working as desired, you can then edit it, and save it to the Custom Checks Library where can then be selected for other devices.
Using SNMP Lite
SNMP Lite assumes you are familiar with and understand SNMP functionality, configuration and uses. Please see SNMP Information and OID Identification for further information to help become better orientated with SNMP.
- In the All Devices viewNorth-pane, go to the Network Devices tab.
- Select the device where you wish to configure and test a SNMP check.
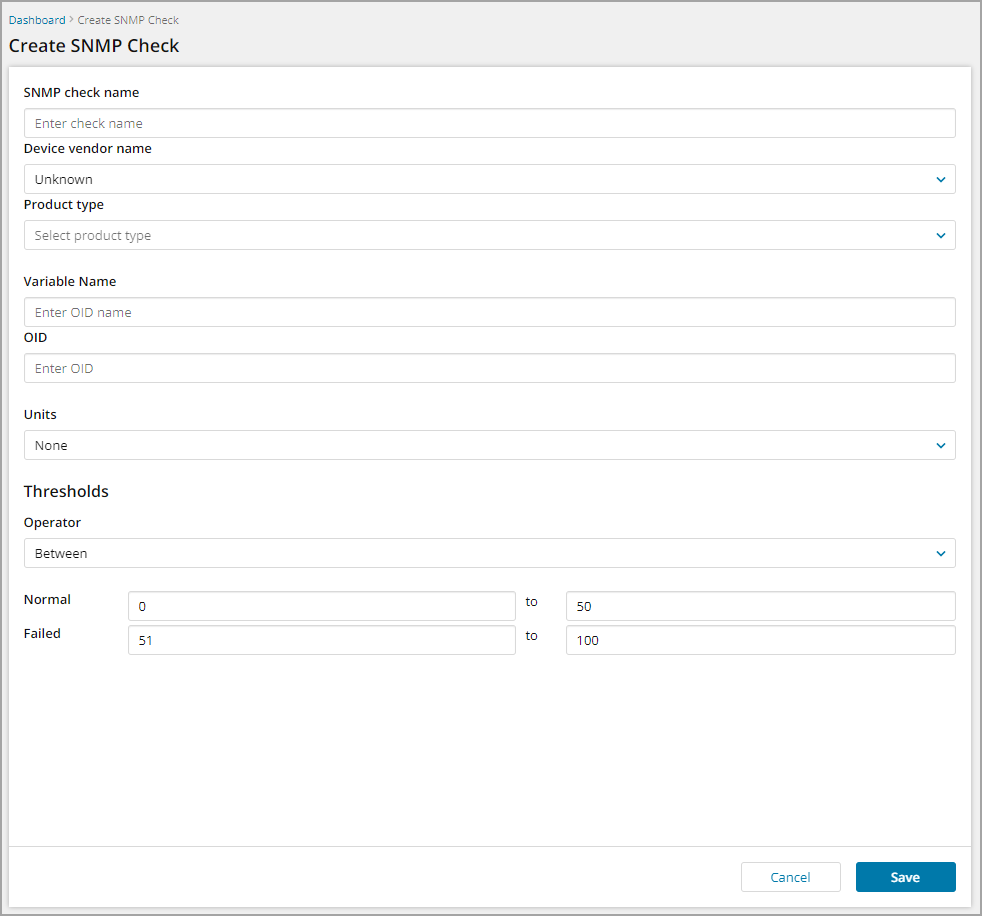
- In the South-pane Checks tab, click +Add Check > SNMP Check (Lite) - The Create SNMP Check dialog is shown.
- In the SNMP check name field enter a name for the check - make this something which is easily identifiable.
- Select the vendor from the Device vendor name drop-down (or select Unknown if the vendor is not listed).
- Choose the Product type from the drop-down (or Unknown if the type is not listed).
- Enter the OID name in the Variable Name field.
- In the OID field enter the OID to be queried.
- Select the appropriate units in the Units field (this will be dependent on the OID being queried.
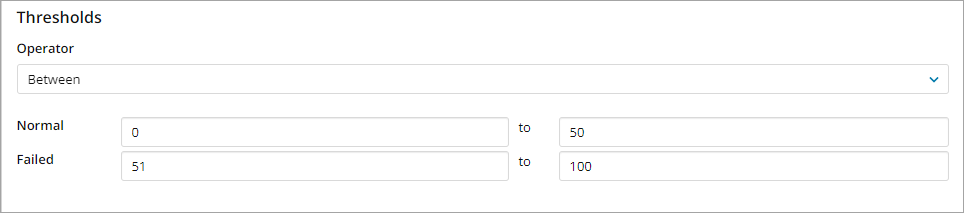
- In the Thresholds section, set the Operator via the drop-down (select Equals or Between)
- Between:
- Set the lower and upper bounds for the returned result that equates to Normal operation (i.e. the result that indicates the monitored item is as it should be).
- Set the lower and upper bounds for the returned result that equates to a Failure (i.e. the result to indicate that the monitored item is failing).
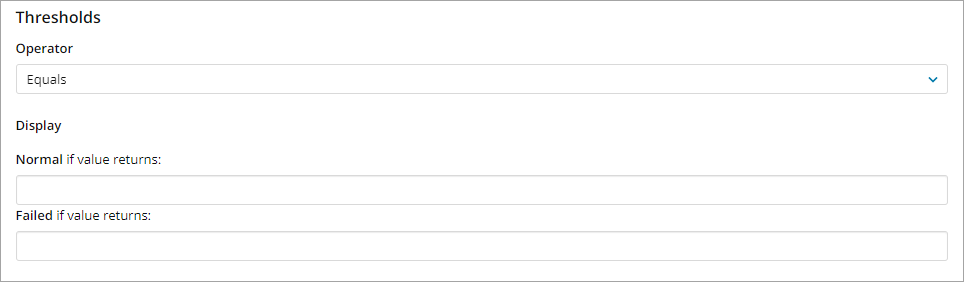
- Equals:
- Set the returned result equating to a success in the Normal field.
- Set the returned result equating to a failure in the Failed field.
- Between:
- Click Save.
SNMP Validation
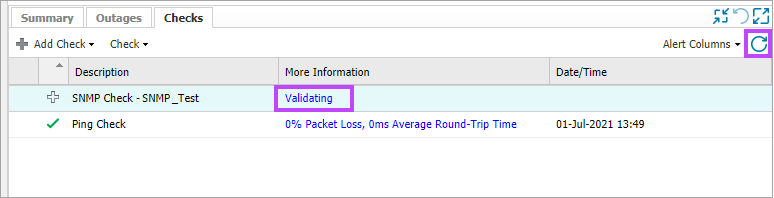
After you have saved the check configuration, you may need to refresh the South-pane Checks tab to see the added check. It will show as Validating while the check is tested against the network device. This should take no longer than a few minutes to complete.
SNMP is Valid
Where the add SNMP check is valid, it will show as Awaiting first run in the More Information column, and then update to the check result after it has run.

SNMP is Invalid
After the validation is complete, if the check is found to be Invalid, this is reported in the More Information column.
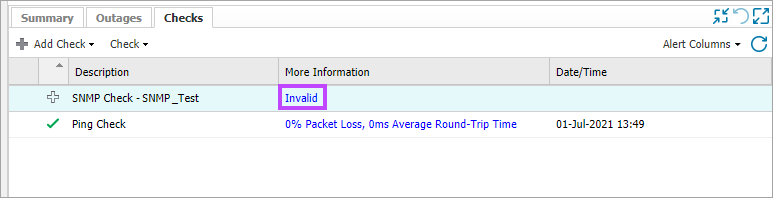
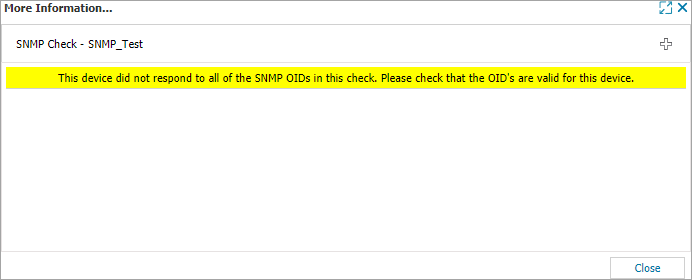
Click the Invalid link to see more information as to why the check configuration has been determined incorrect so you know what needs to be rectified.
Next Steps
Should you be happy with the check and wish to add it to the Custom Check Library, or if you need to amend the check configuration as it has been deemed invalid, you will need to Edit the check.
Adding to the Custom Check Library
- Right-click the check and select Edit Check - the Edit Check wizard is shown.
- Tick the Save check to custom checks library checkbox.
- Click Next to proceed through the wizard sections - you may update these sections as needed.
- Click Save and Apply to complete the process.

Editing the check to resolve an Invalid configuration
- Right-click the check and select Edit Check - the Edit Check wizard is shown.
- Click Next to proceed through the wizard sections - update the sections as needed - for more detail on these please see Add Custom SNMP Checks (Device).
- Click Save and Apply to complete the process.