Enable Backup & Recovery
If Backup and Recovery options do not appear in N-sight RMM, use Cove instead.
To start a 30-day free trial of Cove:
- Open the app switcher in the Product Bar.
- Select Cove Data Protection (Cove).
Before attempting to backup the data, please ensure Backup & Recovery is enabled for the device, creating the storage account the data will be backed up to as well as the encryption key used to secure this information.
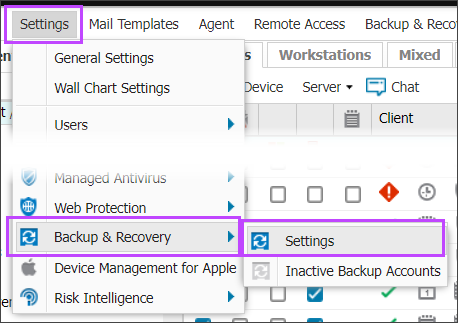
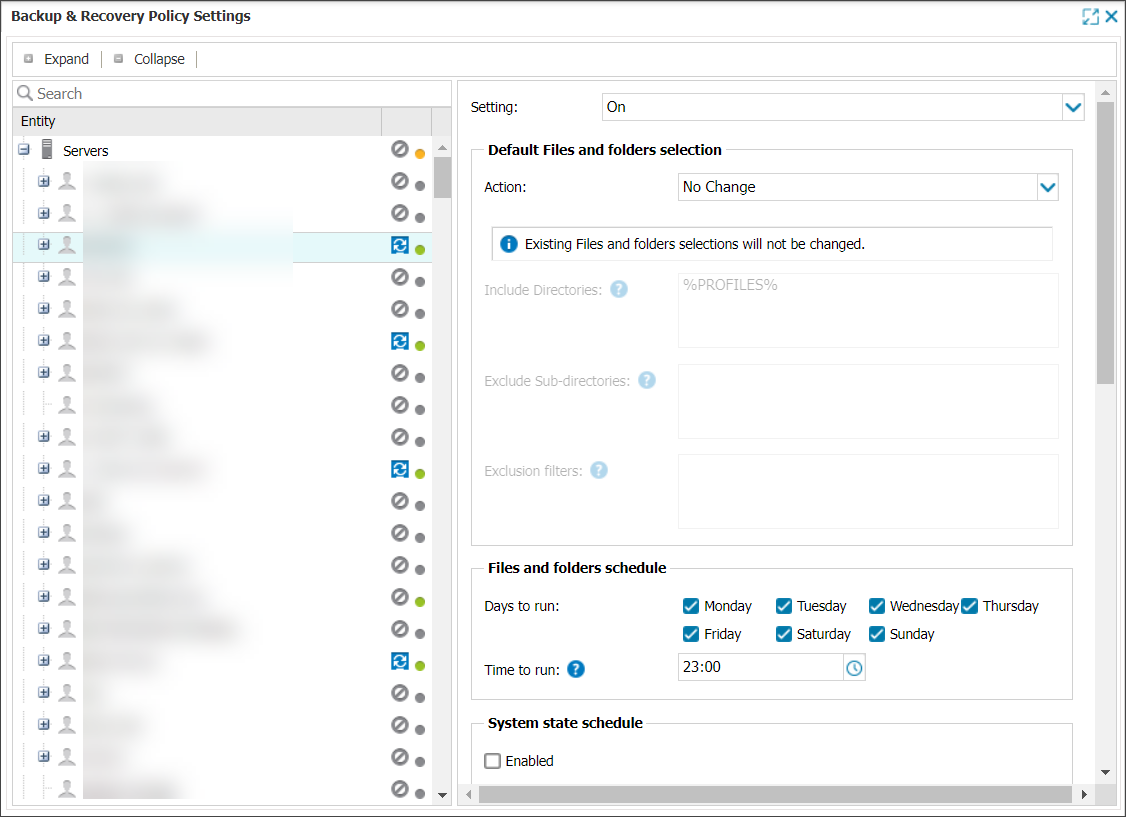
Backup & Recovery is setup from the Dashboard and can be applied to the overall device type server or workstation down to specific Clients and Sites from Settings, Backup & Recovery, Settings. Select the plugins (data sources) and files to back up along with the backup schedule.
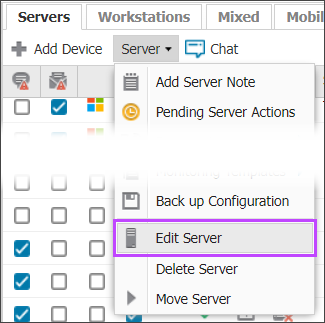
Backup & Recovery can also be enabled on individual machines. Select the device in the main Dashboard window and from the Server or Workstation drop-down (or Edit menu or double or right-click on the device) go to Edit Device, Backup & Recovery.
Change Setting: to On and complete the backup and schedule information. It is also possible to request the Seed Loading Service at this point, with the submission taking place after the device settings are applied.
Once enabled the installation status is displayed in the Summary tab for the device the Backup & Recovery column in the North-pane, available for that Dashboard session from Columns, Backup & Recovery as well as the Device Inventory Report. Please go to Display devices running Backup & Recovery for further information.
After the activation is complete, a Backup tab containing information on the backup jobs is added against the device.


