Configure the N-able User Provisioning application
Microsoft Entra ID supports automatic and manual user provisioning, which gives you flexibility in how you manage user accounts and access.
- Sign in to the Microsoft Entra admin center.
- Browse to Identity > Applications > Enterprise applications and select New application.
- From the Microsoft Entra Gallery, search for N-able and select N-able User Provisioning.
- Enter a meaningful Name for the application and select Create.
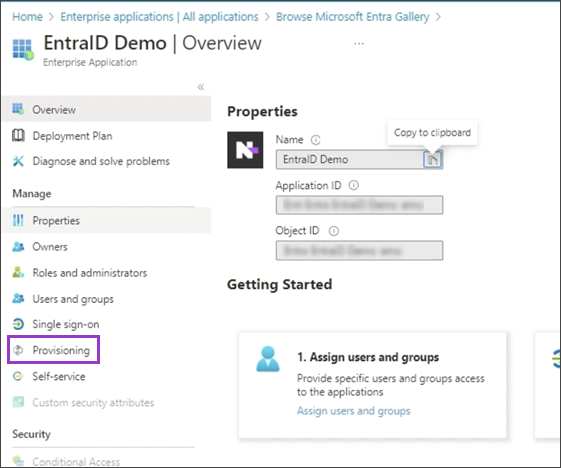
- Open the application and go to Manage > Provisioning.
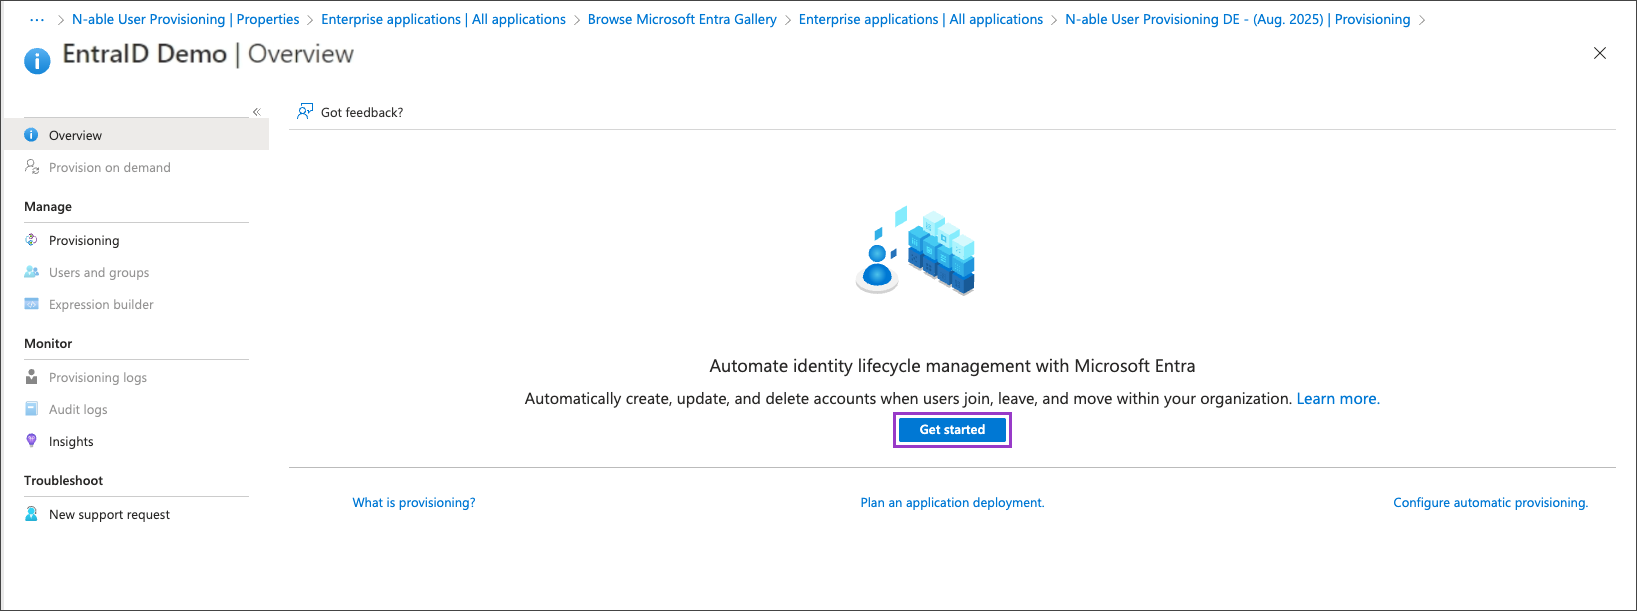
- Select Get started if provisioning is not already configured.
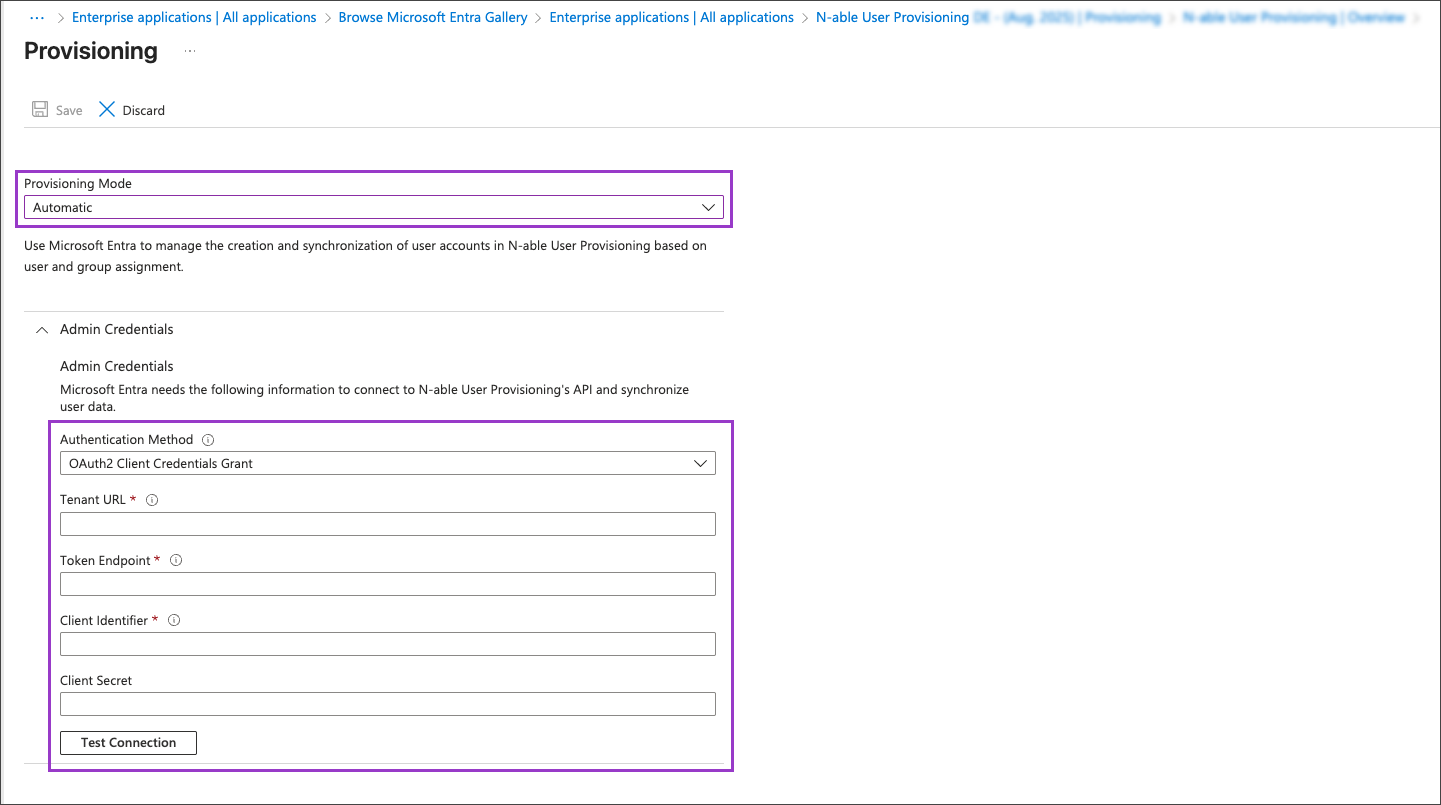
- Change the provisioning mode to Automatic.
- Confirm that the authentication method is set to OAuth2 Client Credentials Grant.
- Enter the information you saved when you Set up N-able Login with Entra ID as an IdP. This includes the Tenant URL, Client Identifier, Client Secret, and Token endpoint.
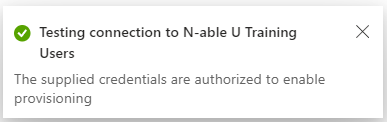
- Select Test Connection. Microsoft returns a success message when the configuration is valid.
- Select Save.