
Importing Data
Usage of the Document Importer is intended for importing new Passportal customers data, and then subsequently, importing data of new clients that join your service
Passportal allows you to import your data directly into Documentation Manager through our Document Importer tool.
You can import data to each of the Documentation Manager sections for each client as well as the Company Vault:
| Credentials | Articles | Assets | Domains | SSL Certificates | Active Directory |
| Application | Backup | Custom Docs | File Sharing | Internet/WAN | |
| LAN | Printing | Remote Access | Virtualization | Voice/PBX | Wireless |
| Contacts | Licensing | Locations | Vendors | Files |
Import CSV Templates
The import template CSV files used to import data are dynamically generated by Passportal from the Document Templates as they are configured in the console. This means that the import is customizable to match your requirements.
Best Practice: Configure the Passportal Document Templates as detailed in Using and Managing Document Templates in Documentation Manager prior to downloading the import CSV's so that they are set to match your preferred Document Template setup.
Downloading the Import CSV Templates
- Set the Passportal Document Templates to your preferences as per Using and Managing Document Templates in Documentation Manager
- Navigate to Settings > Import / Export.
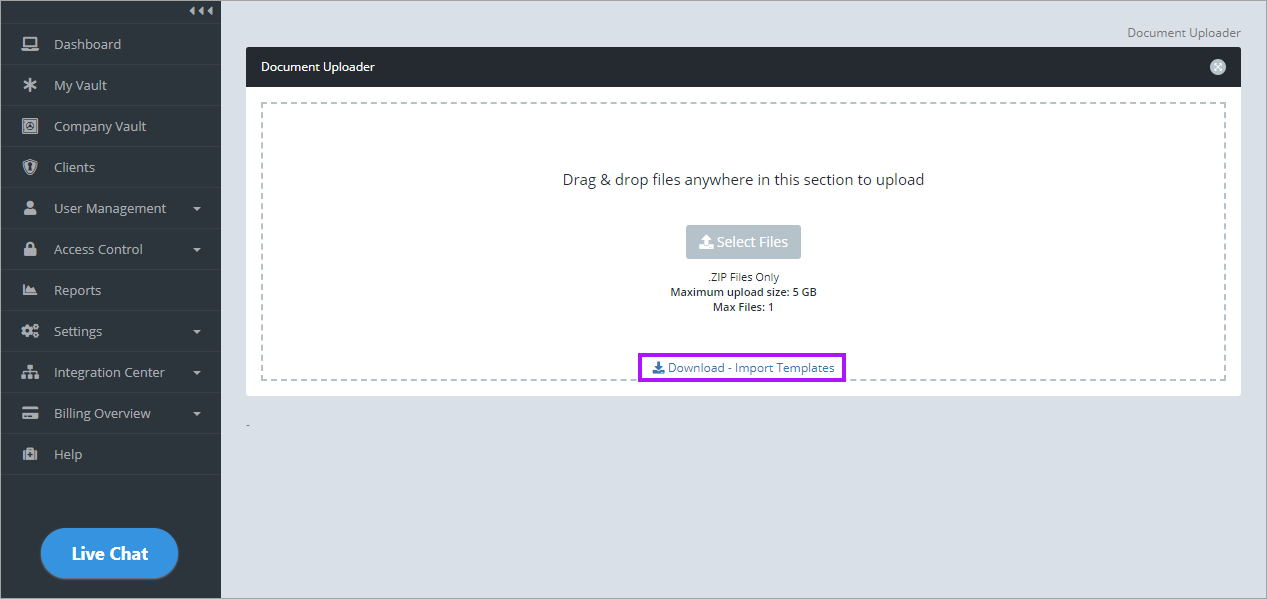
- From the Import/Export screen, select Document Importer in the Other Imports section to launch the Document Importer
- Click Download - Import Templates - a ZIP file automatically downloads containing all the import CSV's

Populating the Import CSV Templates
As there is currently no capability in the import process to match data being imported to data already present in Passportal, we strongly recommend that all imports are performed prior to installing AD sync agents or integrating Passportal with any supported PSA or RMM software in order to prevent duplication of data. Further to this, avoid importing data that would also be synced into Passportal from such an integration with an RMM/PSA solution, or AD agent sync.
Depending on your data to import, you may not require to populate all the import CSV templates, but only those for which you have data, or an export from a previous solution. You can omit any non-required import CSV templates from the ZIP file when uploading, or include them but unpopulated.
As each import CSV template is generated from the configured Passportal Document Templates, the headers of each import CSV template (when downloaded) match to the Element Label Name of the Passportal Document Template.
- Please see Import CSV Templates for further details for each CSV file
Important: Although we have provided the CSV templates and mechanism to upload these files to Passportal, we are not responsible for creating, sanitizing or arranging your data for import.
It is solely the responsibility of the person performing this operation to recognize, understand and verify the integrity of the data in any CSV file prepared for import. Regardless of whether this information was manually created or exported from an alternative solution.
Support can check to ensure CSVs and the manifest are properly configured, and offer advise on how to rectify. Support cannot amend the data for you.
Uploading the populated Import CSV Templates
Once all the required Import CSV Templates have been populated, place them all in a single ZIP file and upload using the Document Importer:
- Navigate to Settings > Import / Export in the main menu
- From the Import/Export screen, select the Document Importer in the Other Imports section to launch
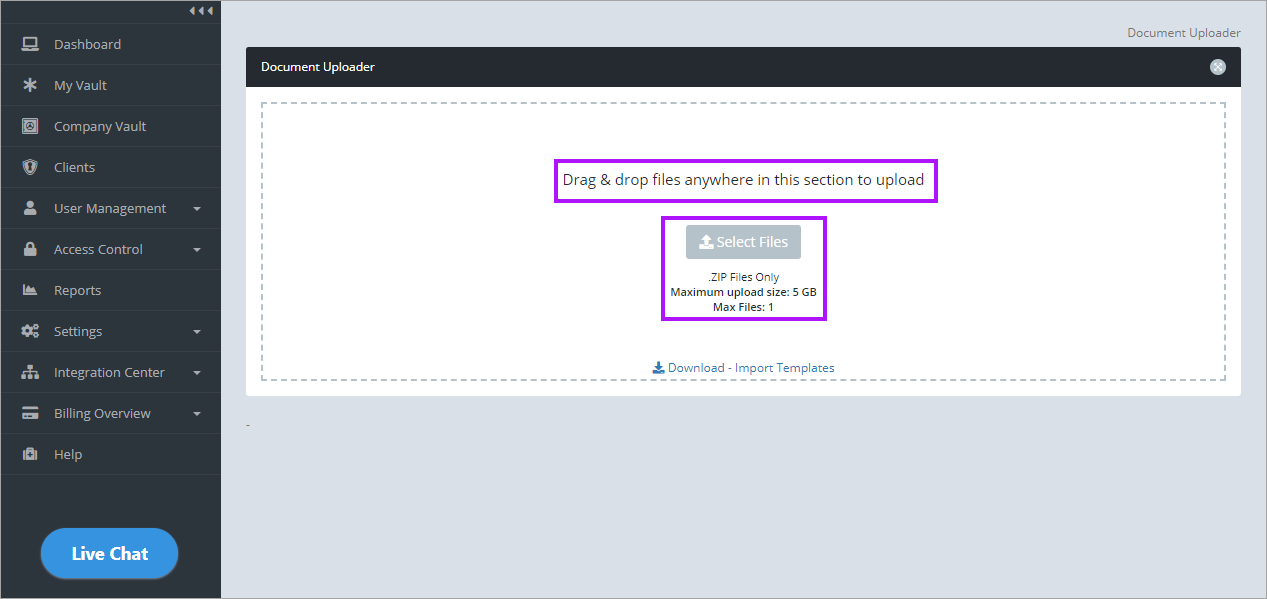
- Either drag and drop the ZIP file containing the import CSV templates into the Document Uploader, or click Select Files to browse to the ZIP for upload
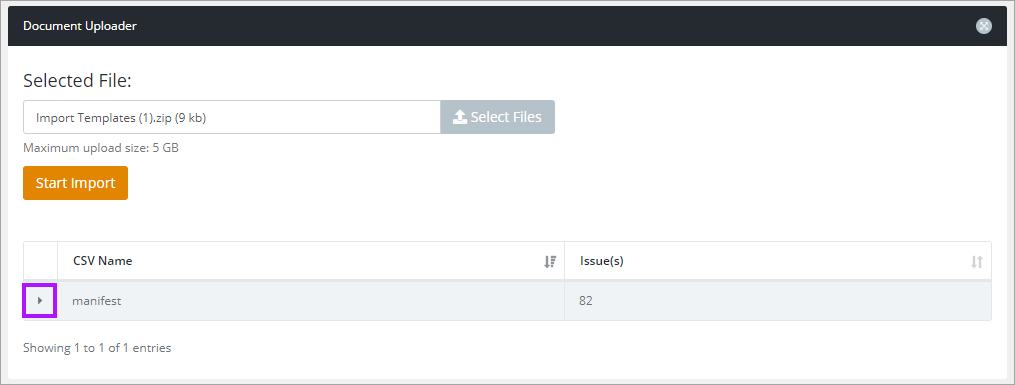
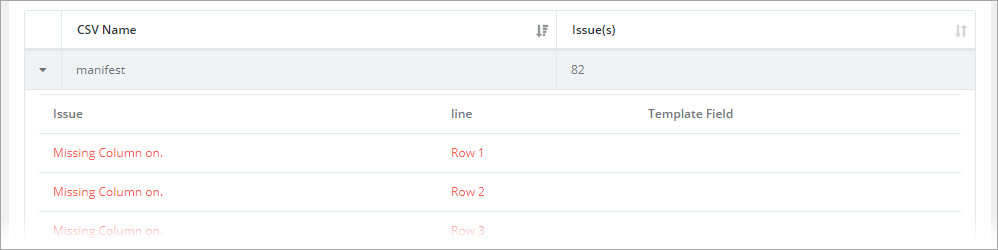
- In the event that there is something wrong with the imported data, you will be presented with a table denoting which CSV contains issues and a total count of the issues per CSV.
- Use the left hand arrow to expand each entry to see the issue details - rectify the issues in the CSV files and then re-upload
- Once uploaded, click the Start Import button
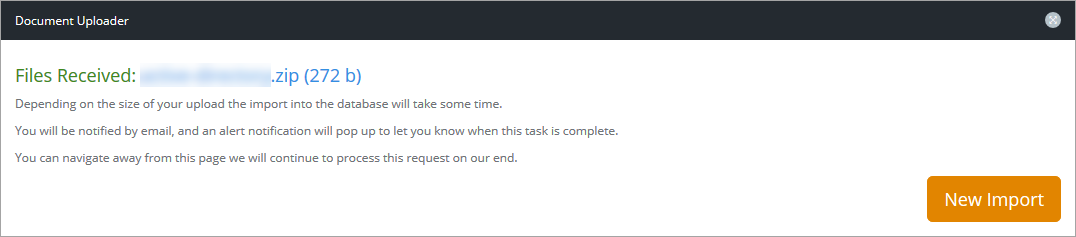
- The data will now begin uploading to the Passportal servers - please stay on the page until the upload has completed
- Once the upload is completed you will see an import in progress page - you can now navigate away if you wish to
- Once the import has completed you will receive an email notification - return to the Document Importer screen - Settings > Import / Export > Document Importer
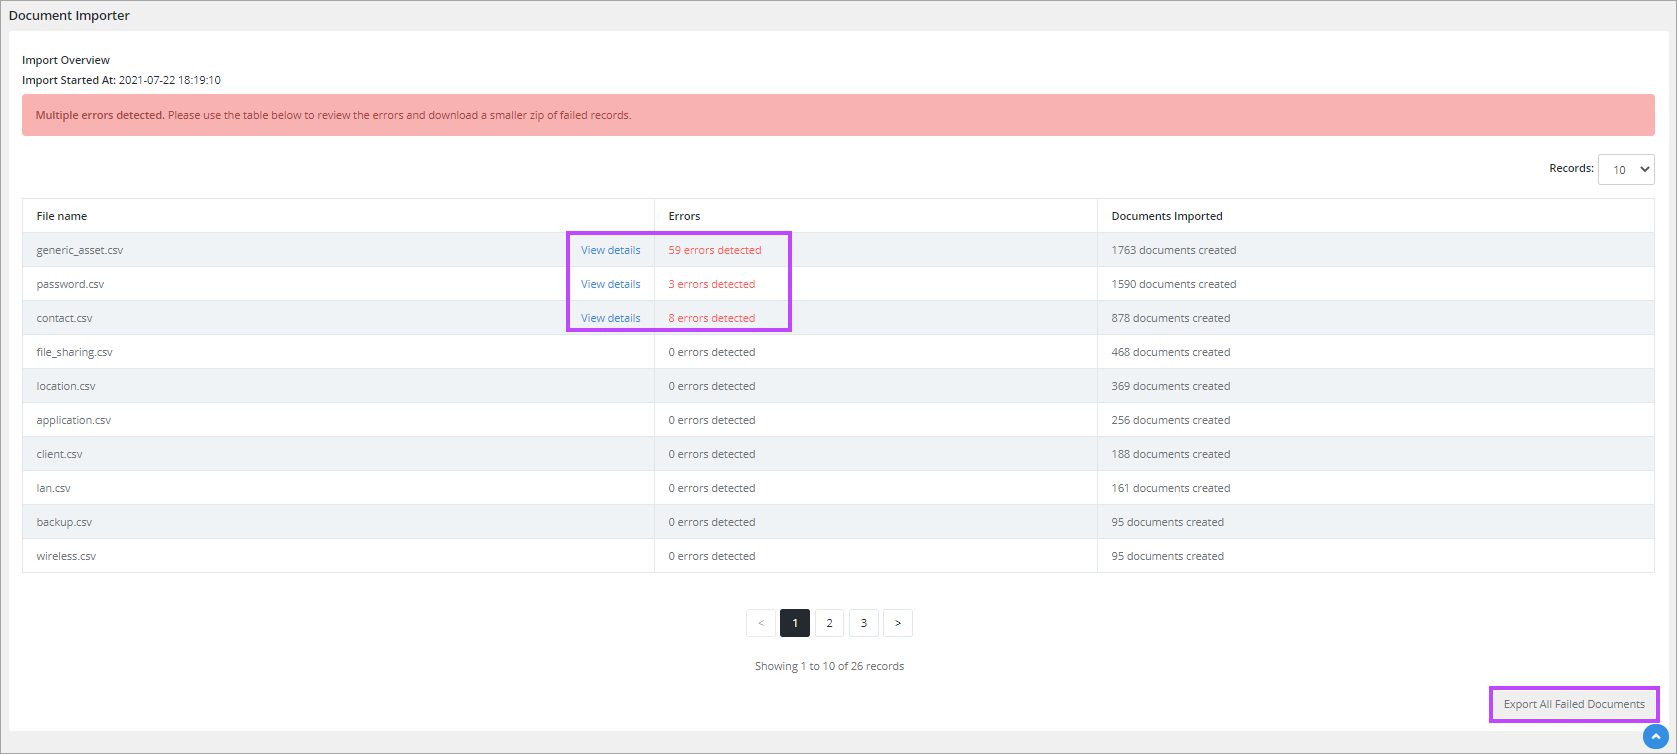
- In the lower half of the screen you will see the Import Overview which details the import result - including details of failed items.
- Click Export All Failed Documents to download
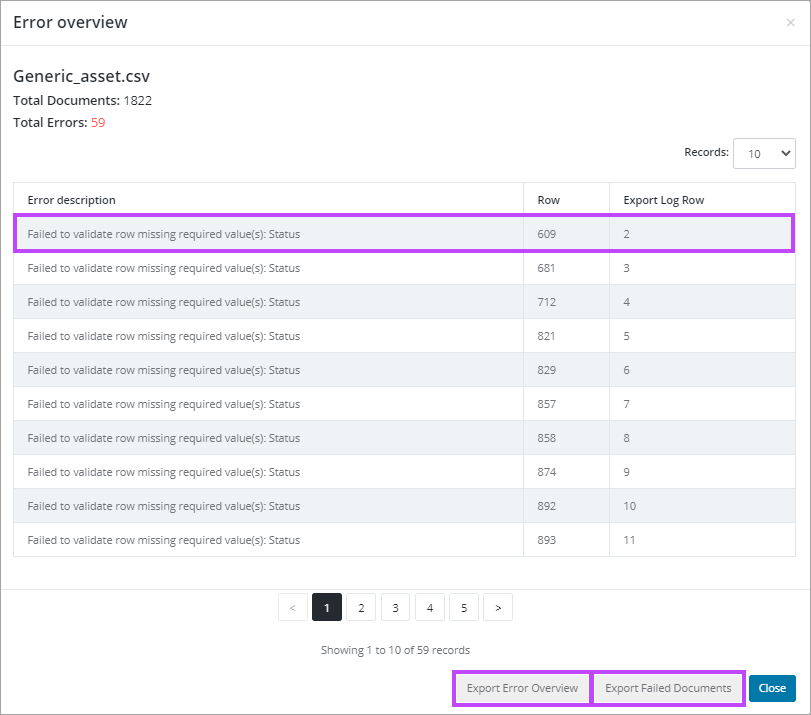
- Click View details to see the Error overview which displays each issue encountered for the particular CSV imported:
- Click Export Error Overview to download a CSV version of the Error overview, which can be used as a reference between the original import CSV and the Failed Documents CSV export
- Click Export Failed Documents to download a CSV containing the failed items, which is then used to amend the items to correct details and re-import
Note: The Export Error Overview and Export Failed Documents buttons in the Error overview only download the CSV's for that particular imported CSV being viewed
- Item description details the issue encountered
- Row refers to the row of the CSV that was initially imported
- Export Log Row refers to the row of the created CSV of failed items
- Use the Export Failed Documents CSVs to correct the failed items, and then use these to import (from step 3)

.CSV's containing only the fixed failing items should be used. Re-uploading any previously successfully uploaded items will create duplicates