Using and Managing Articles in Documentation Manager
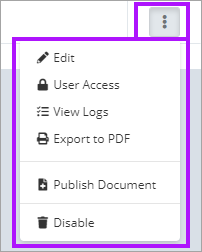
The Articles section is a secure store for all the documentation for each of your clients, and allows easy access to them for permitted users. Once an Article has been created, dependent on your profile permissions, you have the following options via the 3 dots menu in the Actions column:
- Edit: Allows editing of the document.
- User Access: Set which users have access to the document.
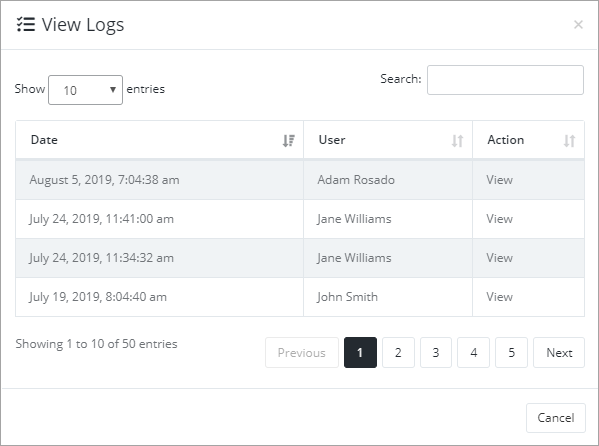
- View Logs: Audit of who viewed or changed a document.
- Export to PDF: Create a PDF from the article.
- Publish Document: Publish the article . For more details on publishing, please see: Public Document Publishing
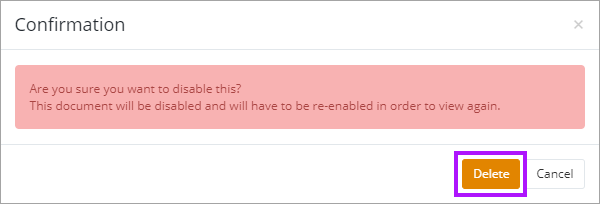
- Disable: Remove the document from Passportal.
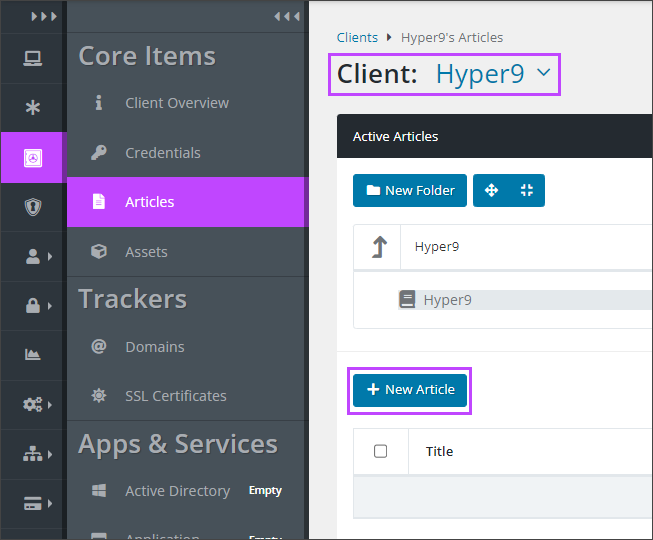
- Navigate to the Client or Company Vault, and then select Articles.
- Ensure you are in the correct Client using the drop-down menu.
- Click the + New Article button.
- The article editor opens. Write your article here. The toolbar allows various actions and formatting, including the ability to add in hyperlinks, external sources and images. The article can be linked to other items using the right side menu options.
- Add Tags and select a folder via the Details tab if required.
- Click Save when finished.
- Select Edit
- The article editor opens. Make the required changes.
- Add Tags, and link other items if required via the tabs on the right.
- Click Update to finish.
- Click User Access.
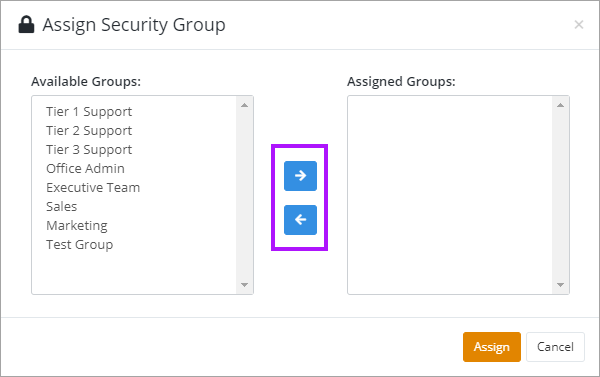
- In the Assign Security Group window, you control who has access with Security Groups. Highlight the group in either the Available Groups or Assigned Groups lists and then use the arrow buttons to move them between the lists. You can use Ctrl+Click and Shift+Click to select more than one at a time.
- Click Assign once you have set the required Security Groups.
For more information on Security Groups please see: Managing Security Groups.

