Assets
Assets appear on nearly every page so having a good start here will serve you well throughout the rest of the product. An Asset is any device, from Printers, Domain Controllers, Servers, Firewalls, Switches, to any other device you need a record of.
There is a Generic Asset Template to aid you recording device details. You can create custom asset templates to help ensure a standardization of recorded details for different device types. For further information on custom templates please see: Using and Managing Document Templates in Documentation Manager.
To record asset details:
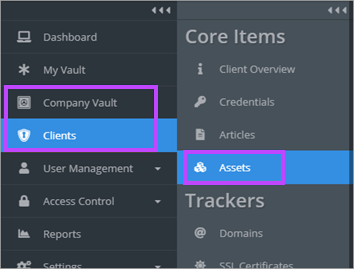
- Navigate to the Assets area via the main menu. This can be accessed via the Company Vault or Clients.
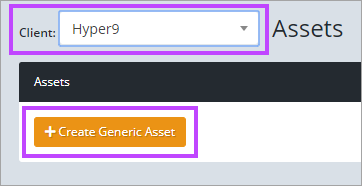
- Ensure the correct client is selected in the Client drop-down at the top of the screen. Click the + Create Generic Asset button.
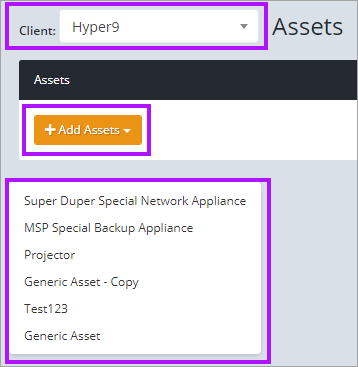
- If you have created custom templates for assets, click the + Add Assets button to see a drop-down menu of available asset templates to select from.
- The + Create Generic Asset option is used for the remainder of this section of the guide.
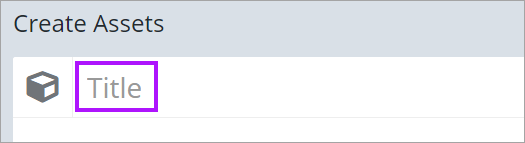
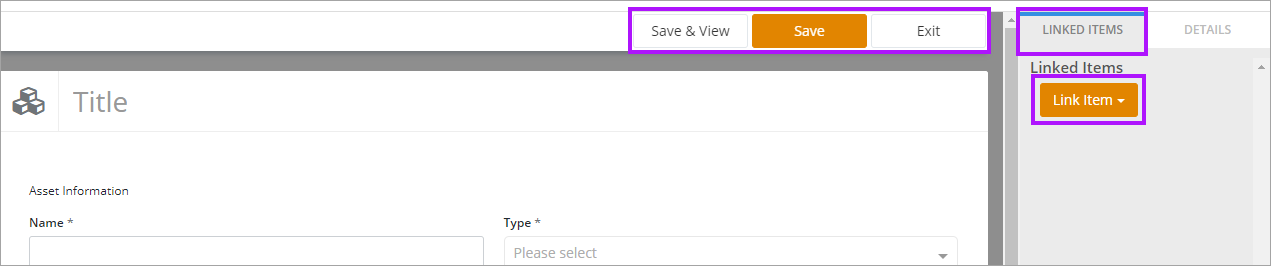
- Enter the Asset Title.
- The Generic Asset Template contains various sections to record the asset information. Enter the asset details for each section. (These sections may be different if using a Custom Template).
- Asset Information:
- Purchase Information:
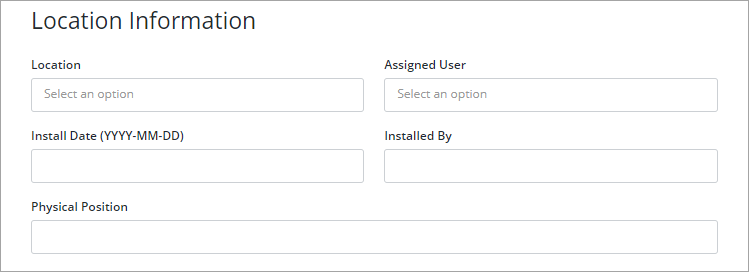
- Location Information:
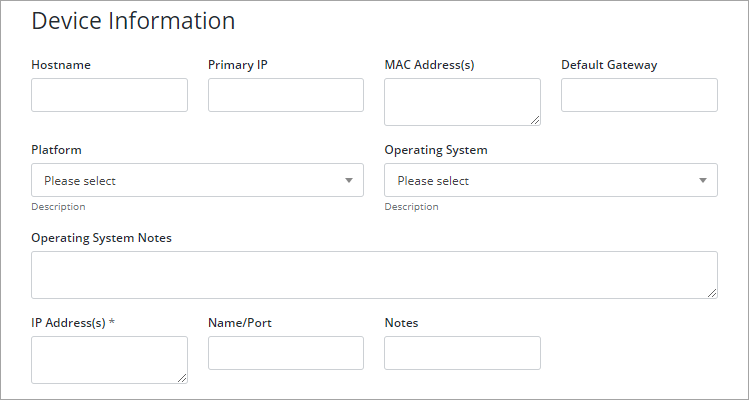
- Device Information:

Type - You cannot edit the "Generic Asset" template to add more asset types. If there is an asset type you would like included in your template, we would recommend cloning the "Generic Asset" template to create your own custom template. Once created, you can then add the required asset types and use this custom template instead of the "Generic Asset" template. See Editing Templates for template management information and Select Box (drop-down) for details on adding to the drop-down menu.
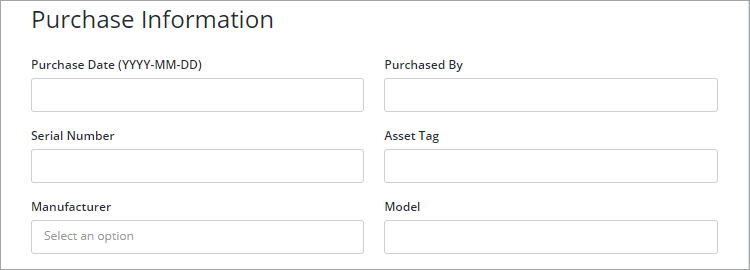
The Manufacturer drop-down is a list of the recorded Vendors.
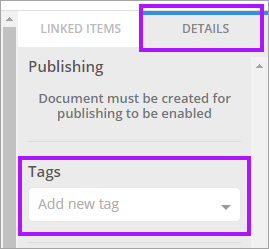
- You can link other items although this will happen naturally as you complete the Apps & Services section or add Tags via the Details tab for easier searching.
- Click Save to finish.