Editing Templates
You can manage default and custom templates in the Templates section. Once the template has been updated, you choose when the existing documents based on that template are updated to the new version.
If you delete an element to remove it from the template or change it to a different element, the information stored in this element will be lost when updating your documents based on the template. Re-adding the same element will not retain the information in the document. If you remove an element in error, recommendation is to close the template editor without saving, and start your template edit from the beginning.
Some templates include a clone option, which allows you to create a custom template from the original. You can then follow the below edit steps to configure the custom template as required without affecting the original's settings.
Please be aware that the "Generic Asset" template only supports the "Clone Template" option. To make changes, we would recommend cloning the "Generic Asset" template, then editing the clone to meet your requirements. For example, including additional "Asset Types".
To edit a template:
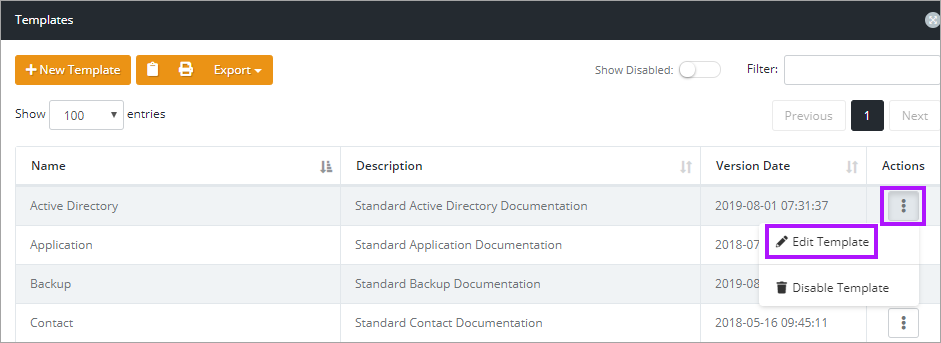
- Navigate to Settings > Templates.
- Click the Edit Template option in the 3 dots menu in the Actions column of the Templates list.
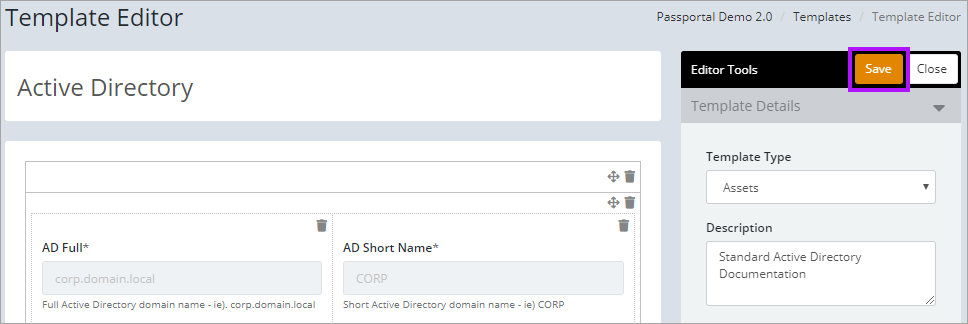
- The Template Editor screen is displayed. From here you can edit the template, the controls are the same as described in Using and Managing Document Templates in Documentation Manager. Details on the element options are available in Element Options
- Once the required changes have been made click Save.
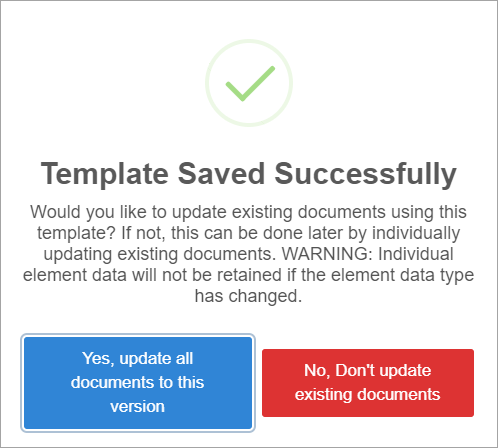
- You will now be prompted to select whether or not to update the existing documents based on the template. Select Yes to update now, or No to update them one by later.
- If you selected No, please see Updating Existing Documents with Edited Templates for details on updating the documents at a later time.