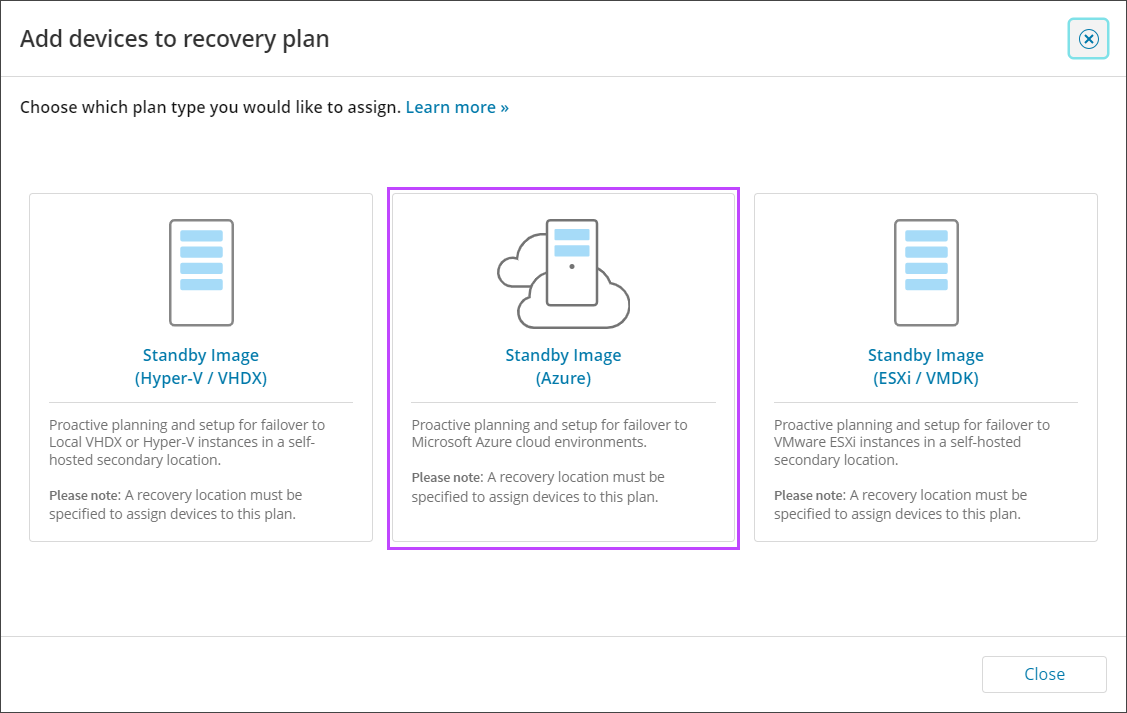
Devices cannot be added to a Standby Image plan if already assigned to a Recovery Testing plan.
Devices can be assigned to multiple Standby Image plans at once, i.e. Standby Image to Hyper-V and Standby Image to Azure.
From Main Dashboard
To enable Standby Image to Azure on a device from the Management Console's main Dashboard, follow the steps below:
- Log in to the Management Console under a SuperUser or Manager account
- In the Backup Dashboard, tick the checkbox to the left of the device(s) you wish to assign a plan to
- Click Add to recovery plan from the Toolbar
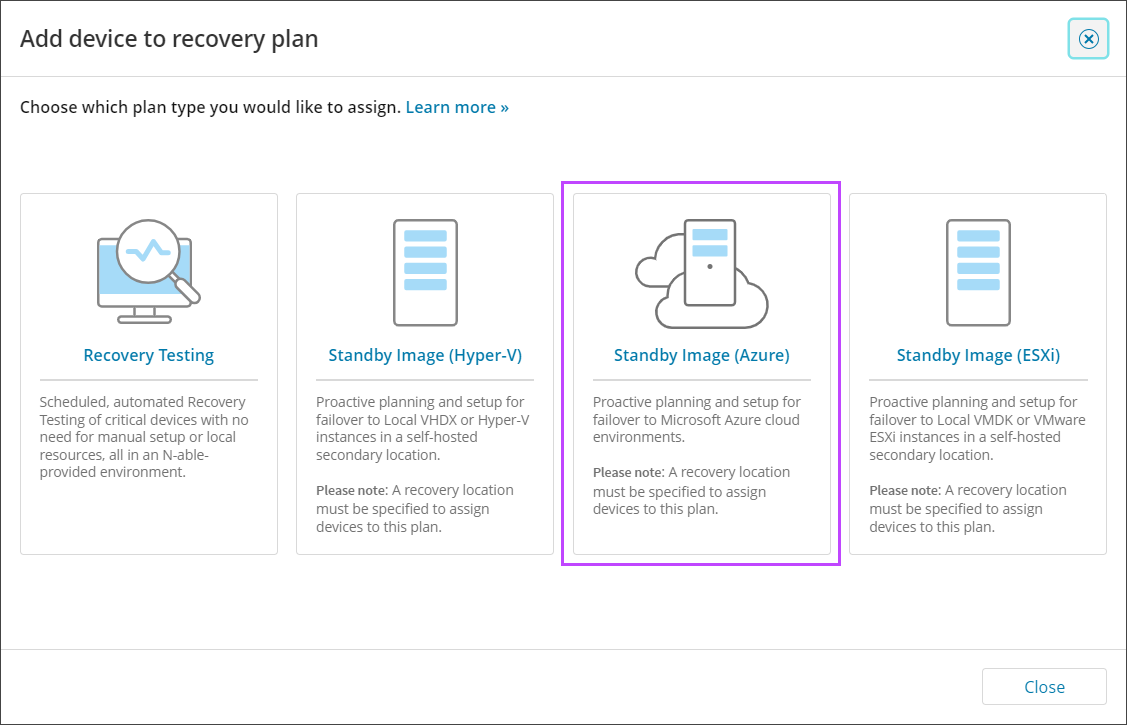
- Select Standby Image (Azure)
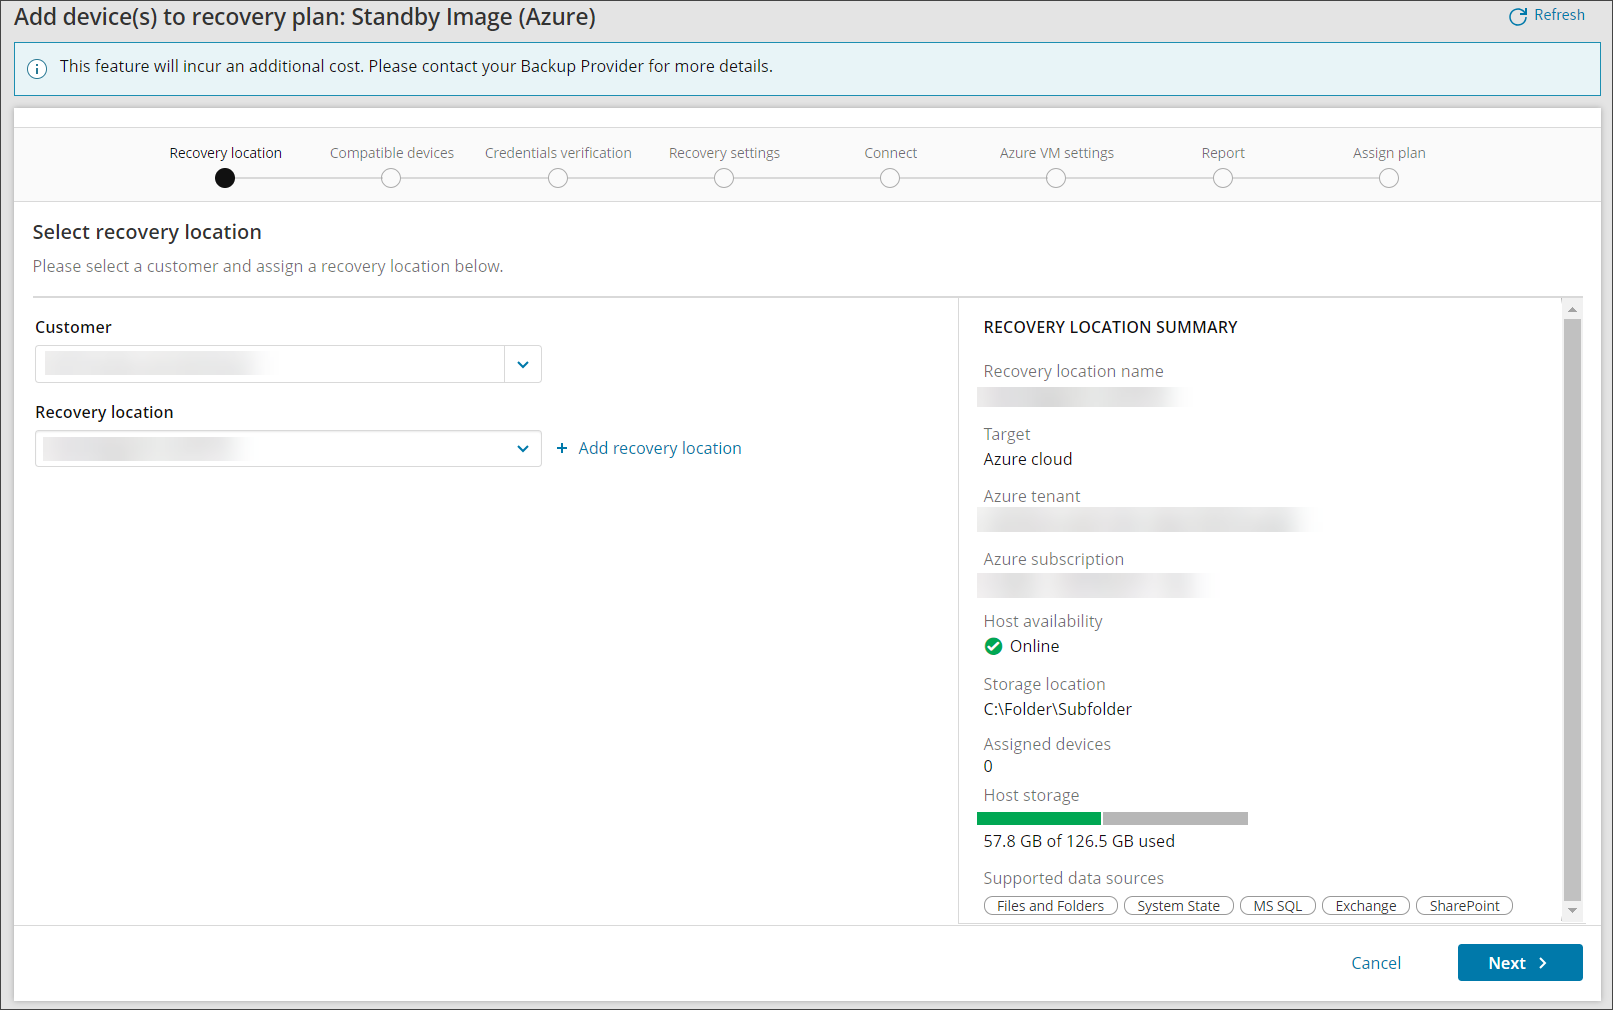
- Select the customer the device(s) you wish to apply the Standby Image plan belong to
- Choose the recovery location as was configured in Add Recovery Locations
If the selected customer does not have any locations, you must add one before continuing by selecting Add recovery location. See Add Recovery Locations for full details of adding a location.
It is not possible to assign a location for which the Host availability is "Offline"
- Click Next
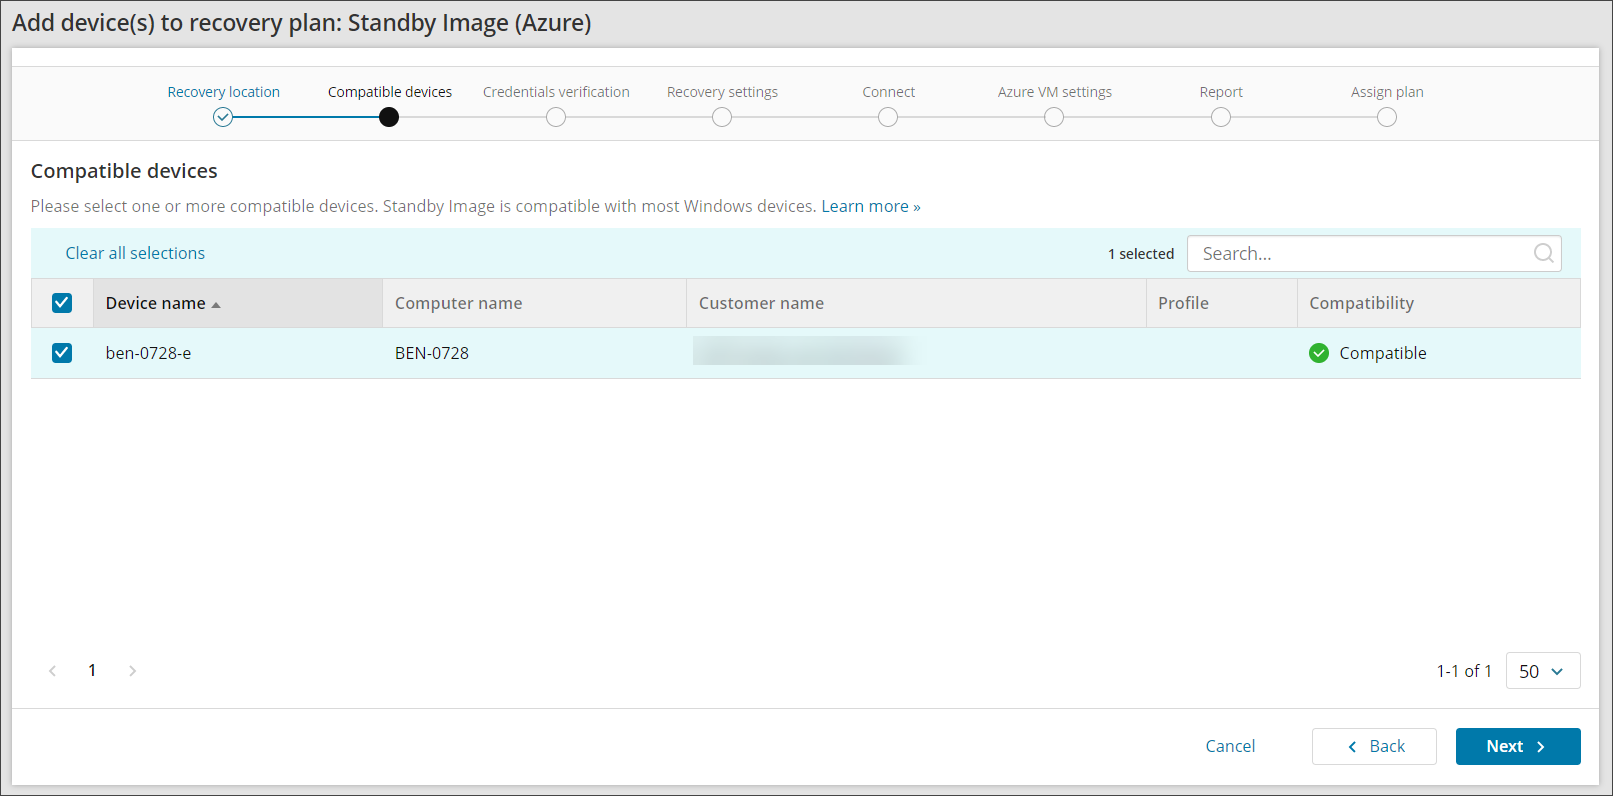
- Confirm the device selected from the Dashboard is compatible and click Next
- Enter the Encryption Key/Security Code or Passphrase for the device(s). This can be either:
- Private encryption key - Created by yourself when installing Backup Manager on the device. If you have lost the Encryption Key/Security Code for the device, you will need to Convert Devices to Passphrase-Based Encryption
- Passphrase encryption - These are generated on demand for automatically installed devices. You can find information on this here
If you are logged in as a security officer, this will be detected automatically.
- Click Next to continue
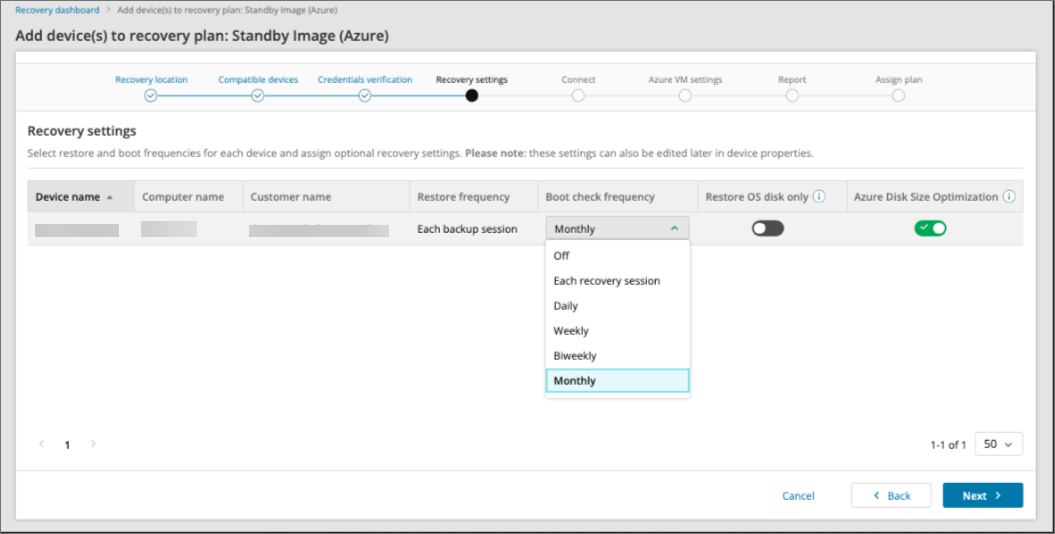
- Choose the boot check frequency:
- Off
- Every recovery session
- Daily
- Weekly
- Biweekly
Monthly
-
If you wish to skip all data drives, enable Restore OS disk only
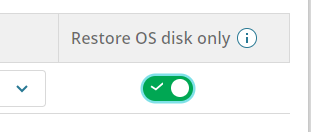
Enabling Restore OS disk only will help to speed up restore as the only thing being restored is the Operating System
-
Enable Azure Disk Size Optimization to create disks for Standby Image machines in Azure based on the actual data size of the original disks, rather than their full disk size
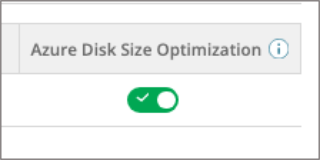
This approach can significantly reduce solution costs.
Applying this option will result in the disks being re-created in Azure Cloud and the full disk content being re-downloaded.
- Click Next
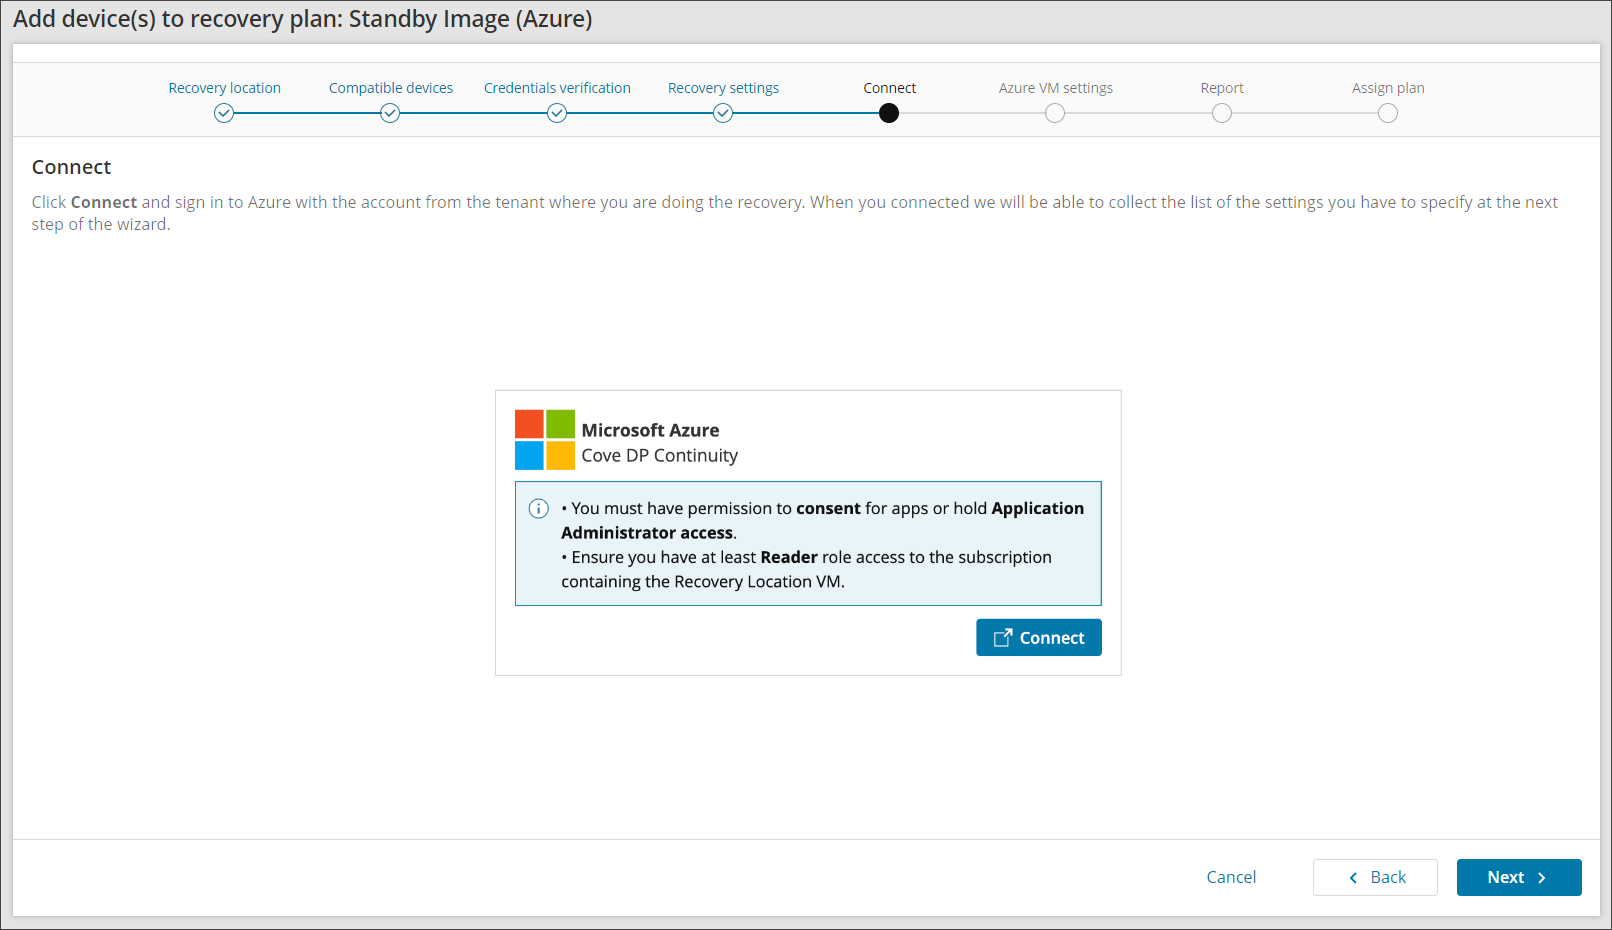
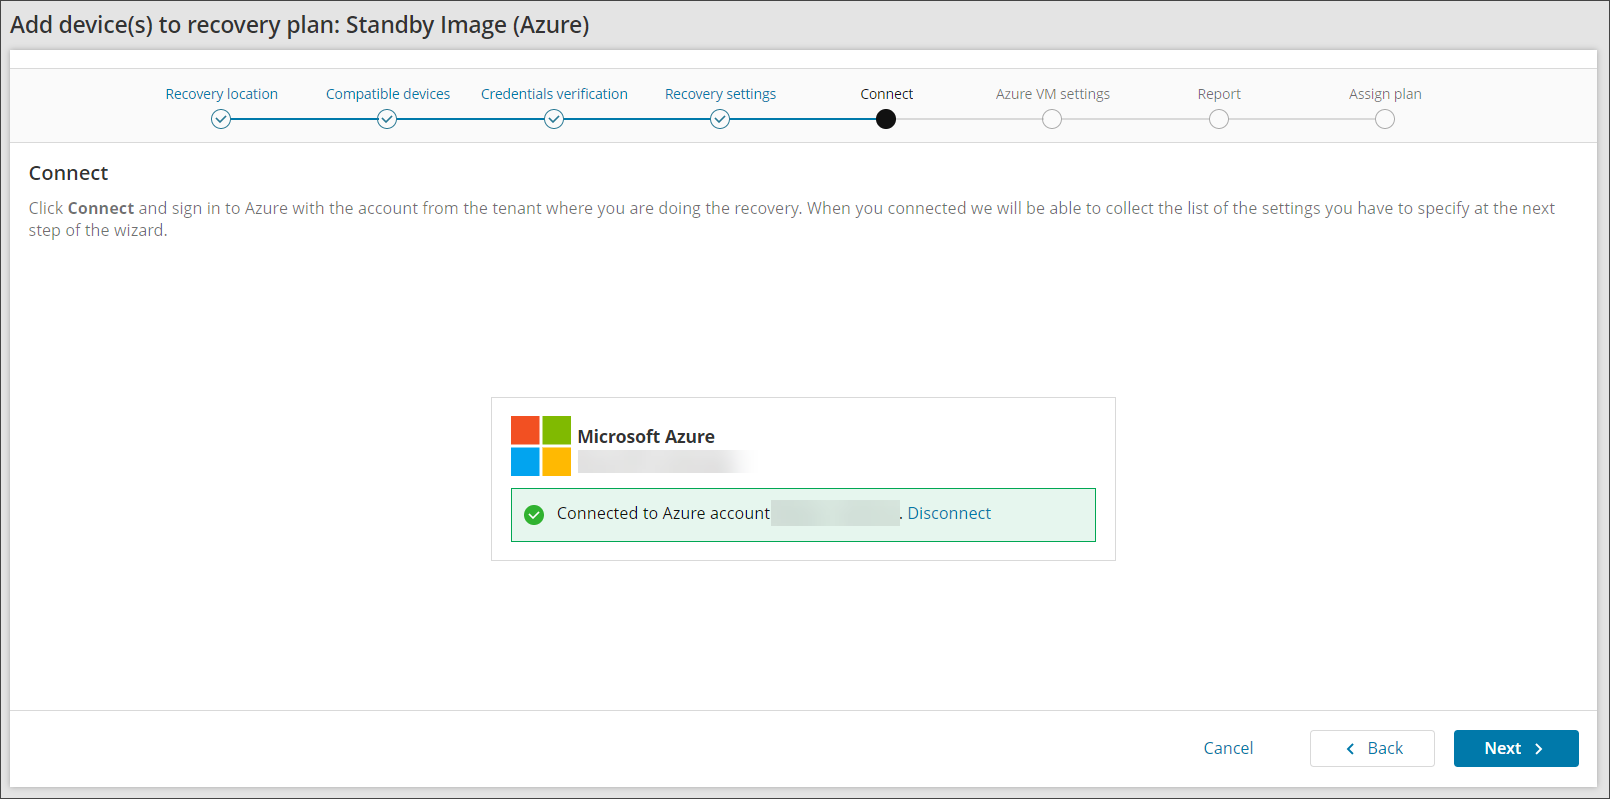
- Connect to Microsoft Azure by either:
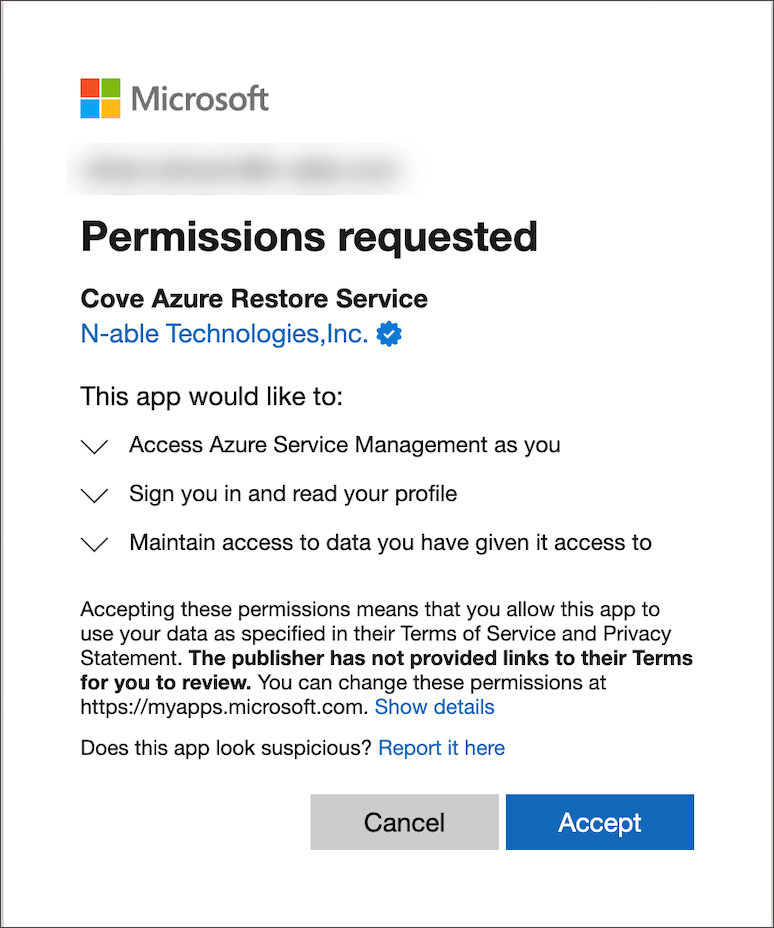
- Allow permissions to the Azure user account to consent for apps access,
or;
- Once connected, click Next
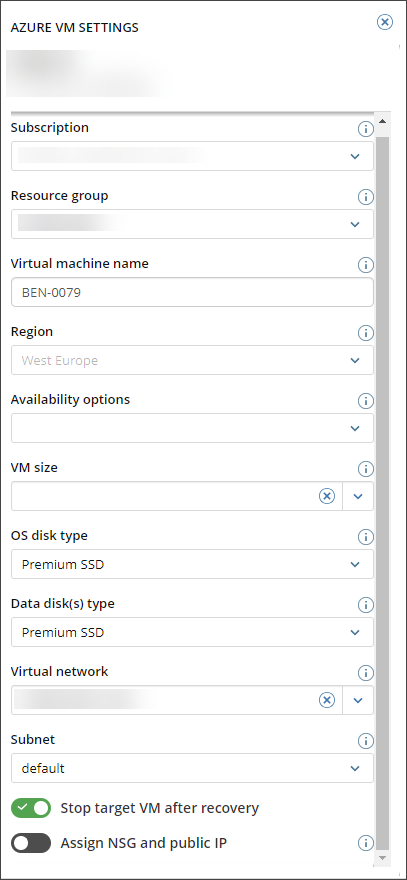
- Click Azure VM settings towards the right-hand side of the screen to open the settings configuration window:
-
Configure the Azure VM Settings:
-
Subscription
This cannot be changed as the subscription is set in the Recovery Location configuration
-
Resource Group
-
Virtual Machine name
-
Region
This cannot be changed as the subscription is set in the Recovery Location configuration
-
Availability options
-
VM size
If the VM size selected exceeds the size limit set within the Subscription, a warning will be displayed and you cannot proceed. You must either increase the regional vCPU quota on the Subscription, or decrease the VM size selected in the Azure VM Settings.
-
OS disk type
-
Data disk(s) type
-
Virtual Network
-
Subnet
The GatewaySubnet should not be selected for restores, as it is a special subnet within a virtual network (VNet) that is specifically reserved for the Virtual Network Gateway. Selecting that will cause a failure during the restore session.
-
Private IP address
You can set custom Private IP Address for VM restored to Azure.
-
Assign NSG and public IP
During the boot test process, certain softwares on your virtual machine (VM) may communicate with vendor servers, initiating a check for updates or license validation. This could be interpreted as a new software license, leading to unexpected charges. To avoid these extra costs, we recommend blocking internet access for your target VMs in Azure. You must ensure the target VM still retains access to Azure storage as Cove will need this to process syslog to verify boot test results.
-
- Click Next to progress to the Report window to enter one or more email addresses to receive a report when:
- The recovery is complete (Successful or Failed)
- The recovery was successful
- The recovery failed
Multiple addresses should be separated using a comma or semi-colon.
If you do not want to add an email address to receive reports, click Skip this step
- To remove all branding from the reports, use the Remove Cove branding toggle per device, or above the device list to apply the changes to all devices in this window
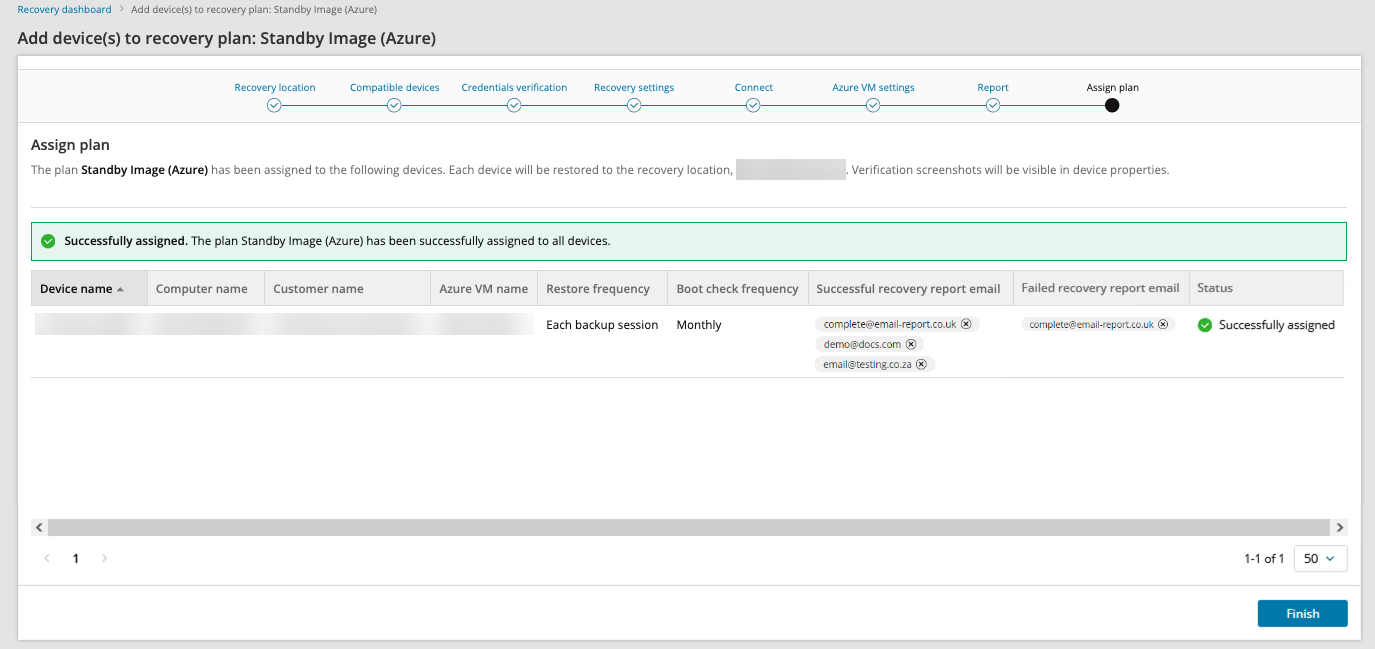
- Confirm assigning the plan to the device(s)
- Wait for the plan to be assigned until you see a confirmation banner on the page
- Click Finish
If you do not see the authentication page, make sure your browser is not blocking pop-up windows.
From Standby Image Overview
- Log in to the Management Console under a SuperUser or Manager account
- Navigate to Continuity > Standby Image
- Click Add to Plan
- Select Standby Image (Azure)
- You will now be taken to the Add device to plan wizard. Follow the steps to enable the Standby Image to Azure Plan starting at step #5 by confirming the Customer selected is correct where you can now follow the above instructions to add the device to the plan
Recovery Reports
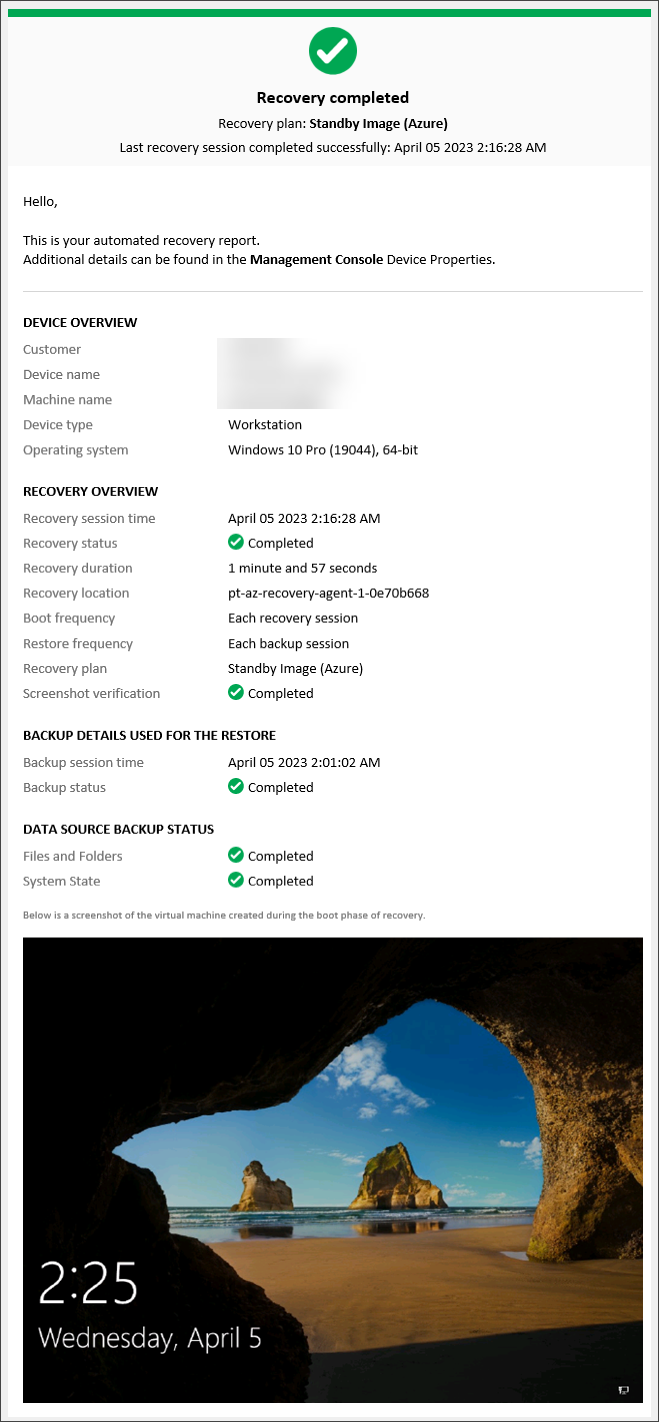
When the device(s) assigned to the plan have Successful recovery report email or Failed recovery report email recipient address(es) configured, and once the test has completed, those recipients will receive the report in their email inbox.Here is an example report with Cove branding:
Here is an example without Cove branding:


