Installing the Recovery Locations recovery service on a Hyper-V Server 2019 requires additional configuration during the setup of the Hyper-V:
Configuration
- Open the Microsoft Evaluation Center
- Download the Hyper-V Server 2019 ISO
- Create bootable media (e.g. USB drive)
- Ensure the recovery machine will boot from the bootable media
- Begin the installation of Hyper-V Server 2019
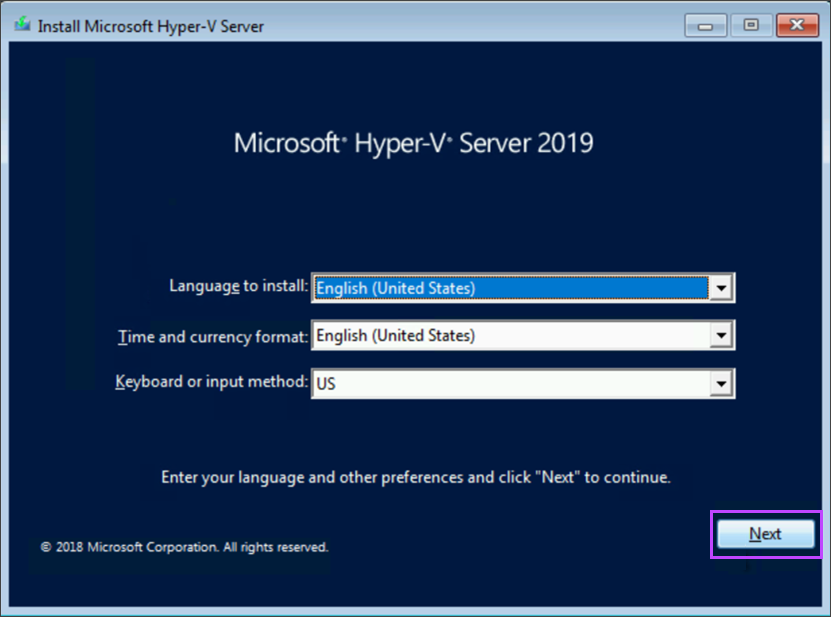
- Select your preferred language, time and currency format and keyboard or input method, then click Next
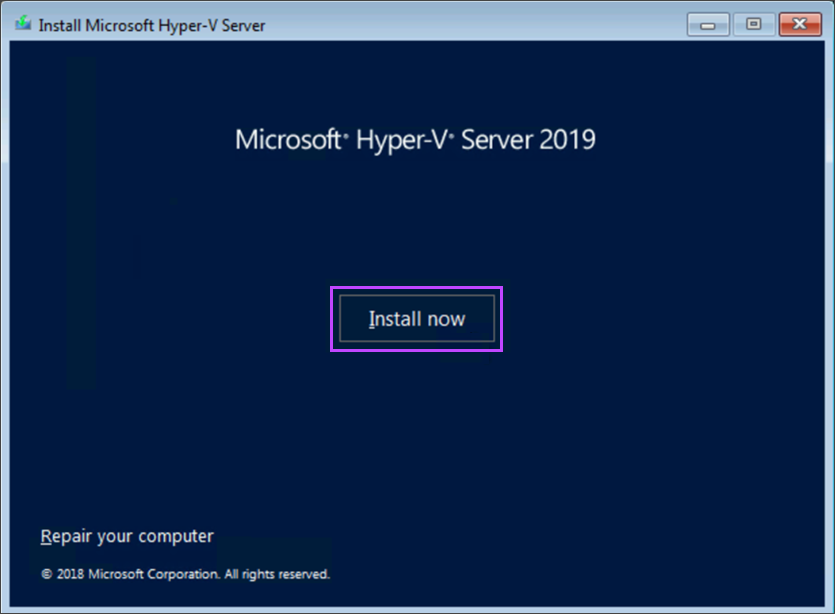
- Click Install Now
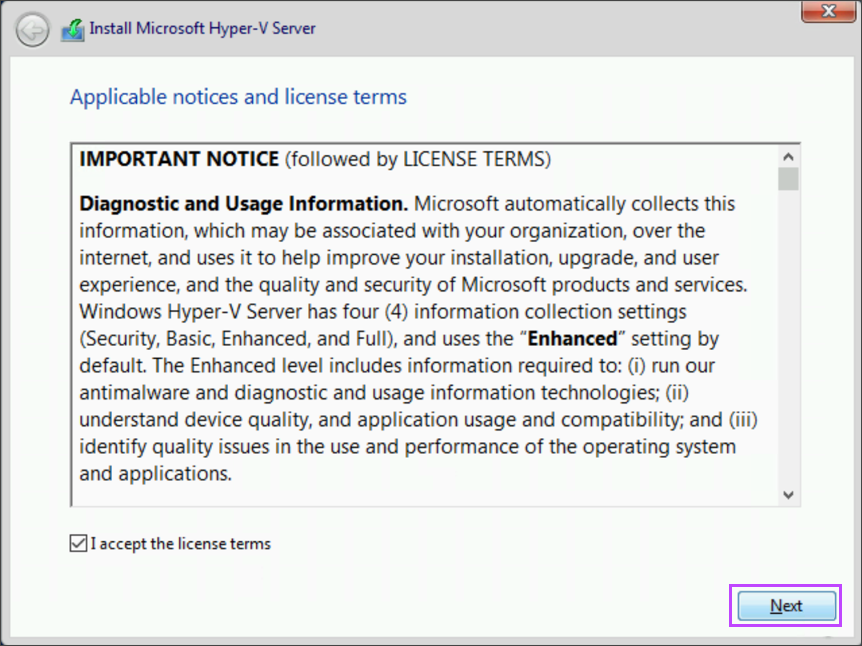
- Accept the notices and license terms
- Click Next
- On the Installation type screen, select Custom
- Select the drive you want top install the Hyper-V Server on
- The installation will now run, the machine will restart to finalize the installation
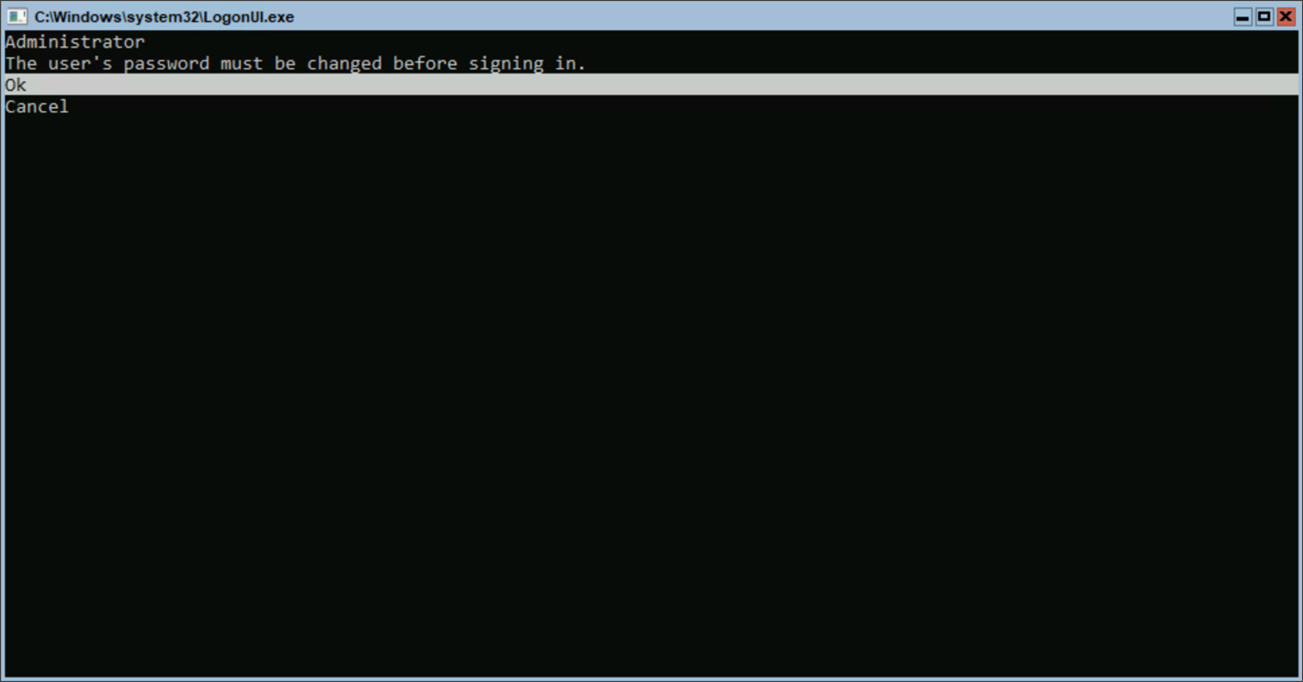
- When the machine boots after Hyper-V Server installation, follow the instructions on screen to set an Administrator Password
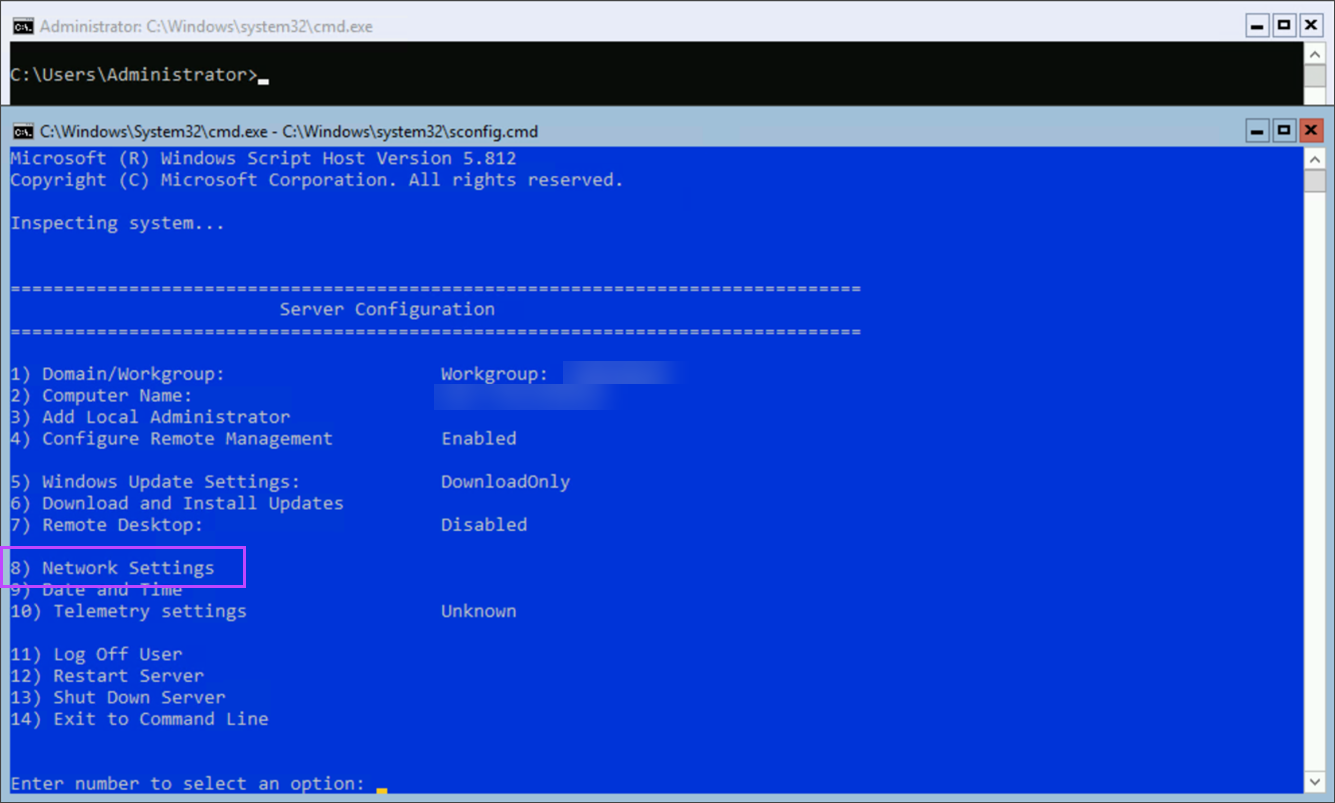
- Ensure the Network Settings are configured correctly. These can be found under option 8 of the Server Configuration
Setup of the recovery service will not be successful without an internet connection
- Use option 14 to exit the command line once all configuration has been completed
- Start the Windows Admin Center on the management machine
- Navigate to Server Manager then into Server Connections
- Click Add to add the Hyper-V Server
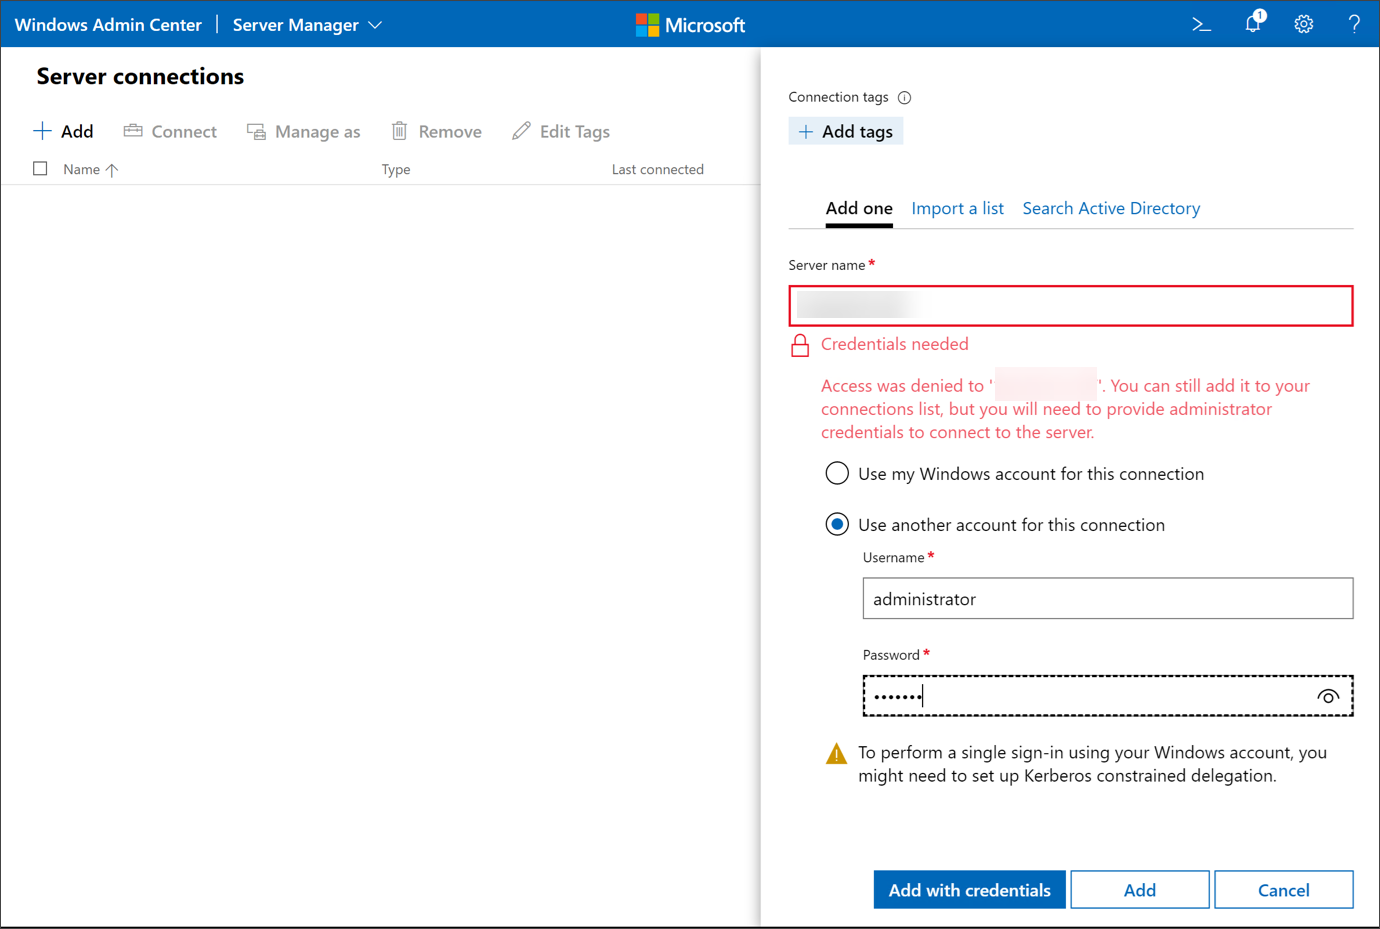
- Enter the details of the Hyper-V server:
- Server Name: Enter the IP address of the Hyper-V Server
- Username: Enter Administrator
- Password: Enter the password configured in Step 2:1
You will be required to provide access credentials to connect to the server, click Use another account for this connection
- Click Add
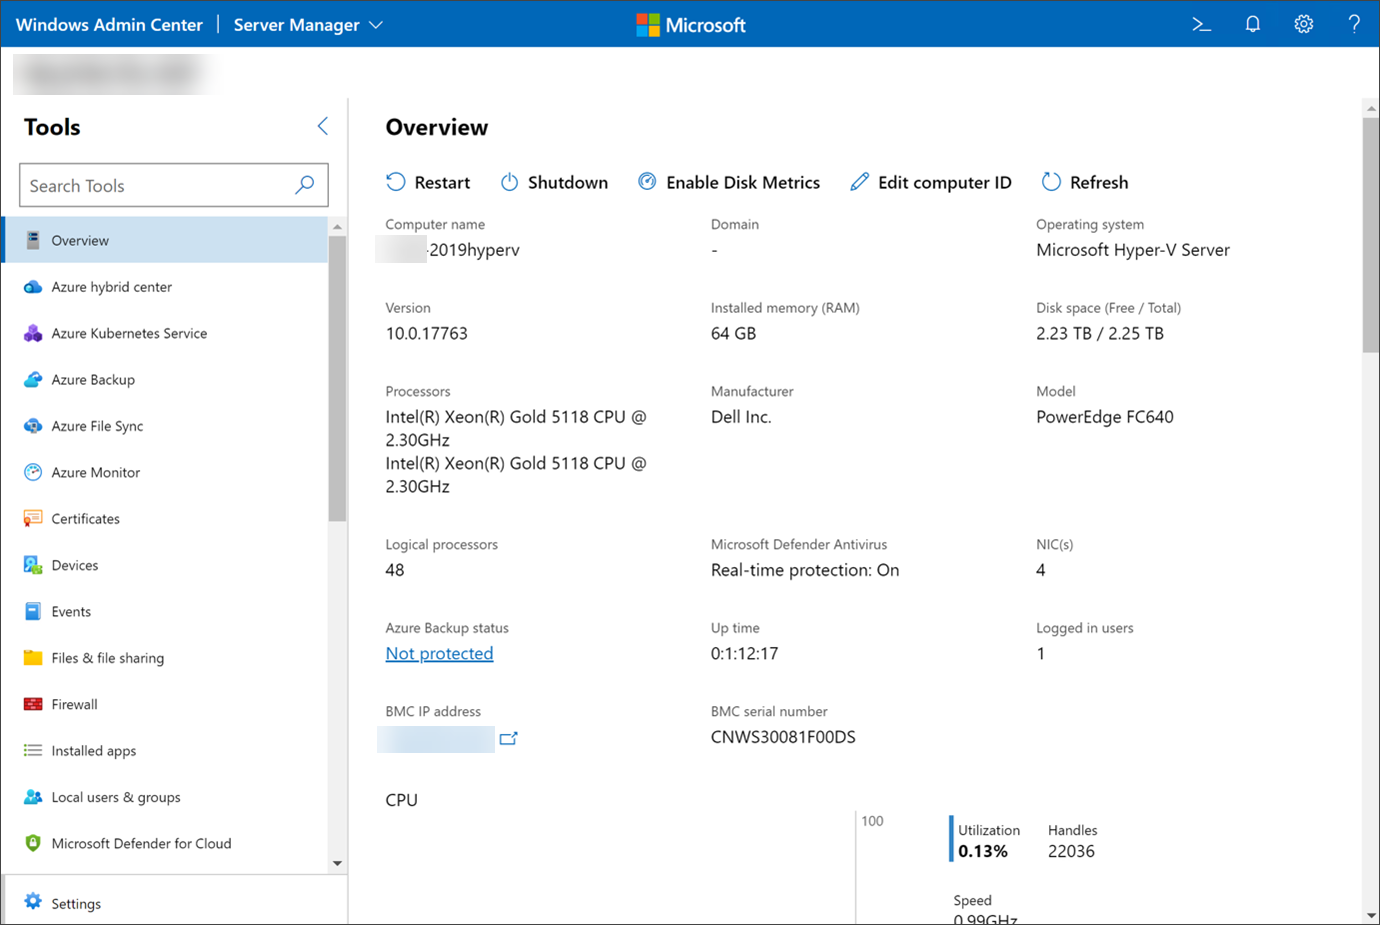
You can view an overview of information related to the device by clicking the server name/IP address in the list.
- Sign in to the Management Console using a SuperUser account.
- Navigate to Recovery > Recovery Locations
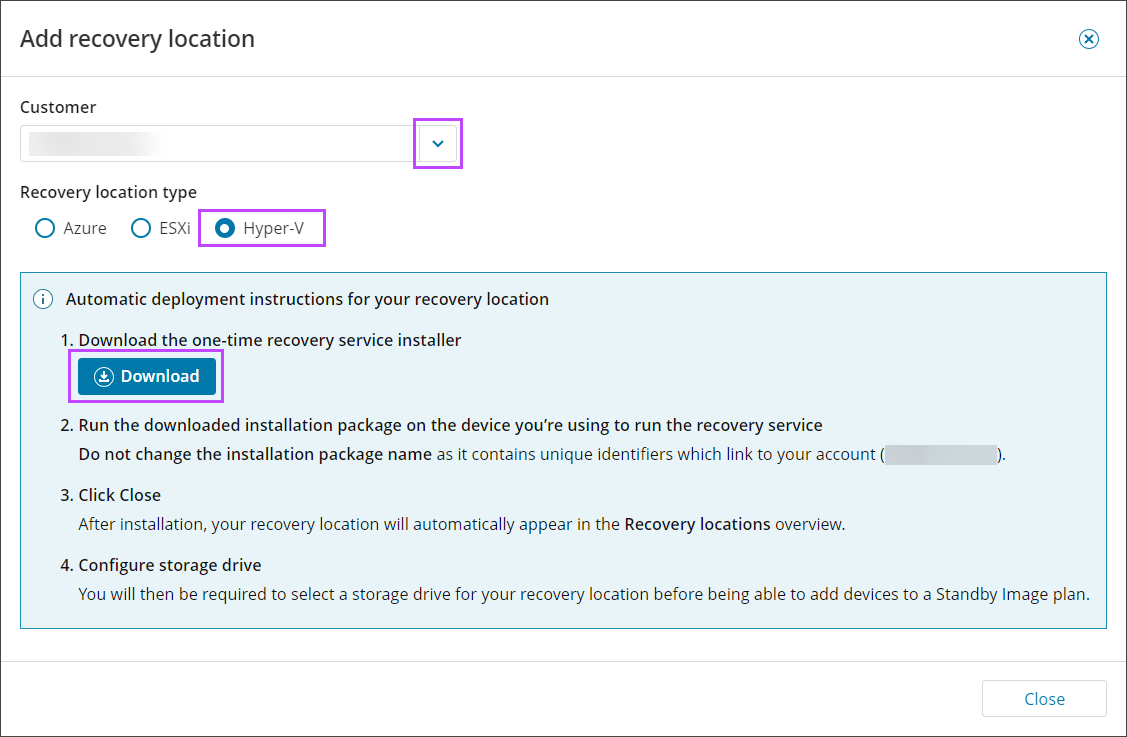
- Click Add recovery location at the top of the page
- In the Add Recovery Location wizard, select the customer to attribute the recovery location to, from the dropdown
- Download the recovery service installer and save it to your USB drive
Do not change the installation package name. The installation package name contains unique identifiers to your account.
This is a one-time installer and can only be used to install a single instance of the recover service. The installer will fail if you attempt to use the same package for another installation.
Do not run the installer at this point, there are additional changes that are required first.
- Return to the Windows Admin Center on the management machine
- Navigate to Server Manager then into Server Connections
- Open the overview the Hyper-V server from the list of connections by clicking the server name/IP address in the list
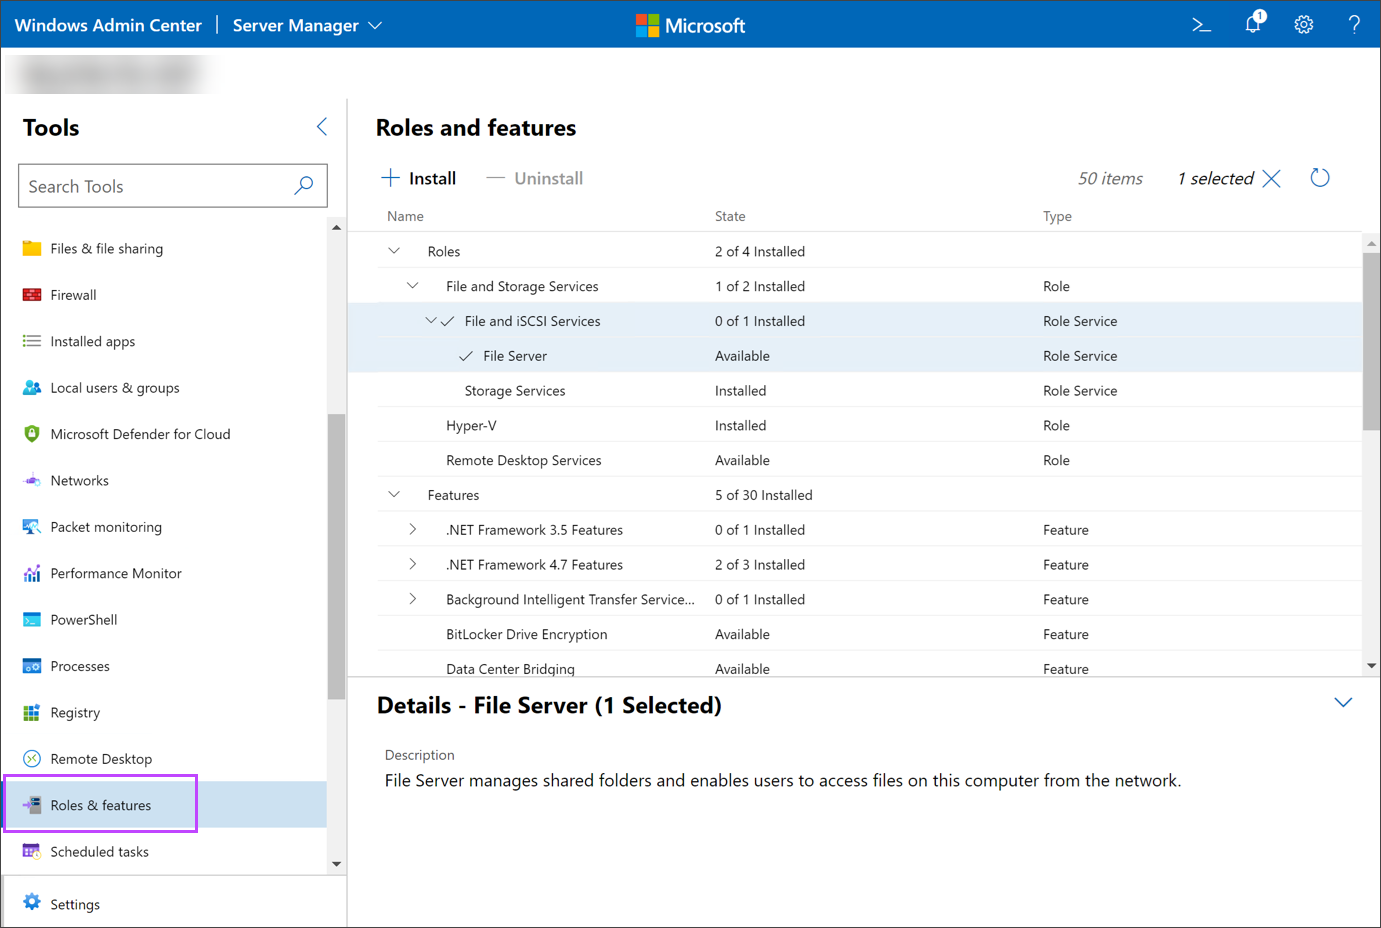
- In the left-hand Tools menu, select Roles and features
- Expand Roles > Files and Storage Services, select File and iSCSI Services
- Click Install
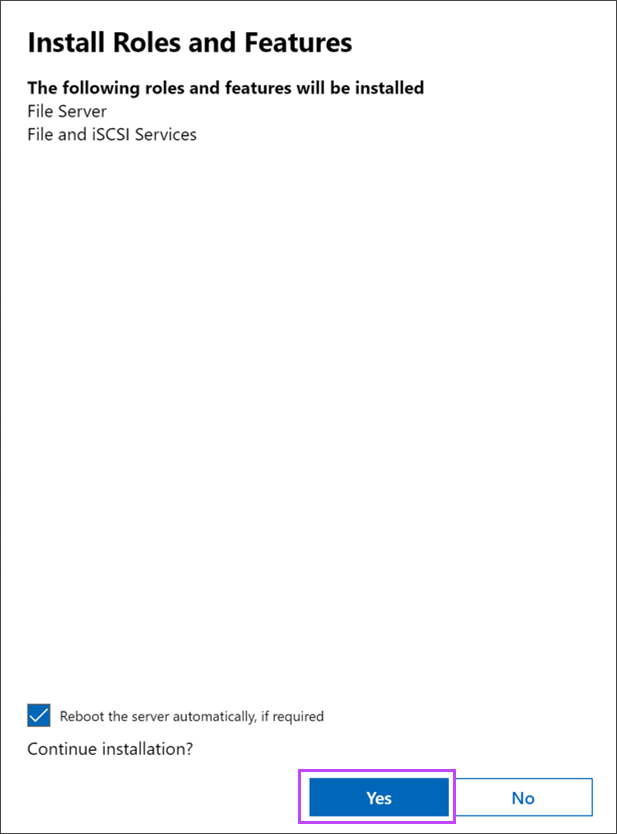
- Confirm role installation
- In the Windows Admin Center, navigate to Server Manager then into Server Connections
- Open the overview the Hyper-V server from the list of connections by clicking the server name/IP address in the list
- In the left-hand Tools menu, select Files & file sharing
- Using the file structure, browse to the folder you want to upload the Recovery Location's recovery service installer to on the Hyper-V Server
- Click Upload
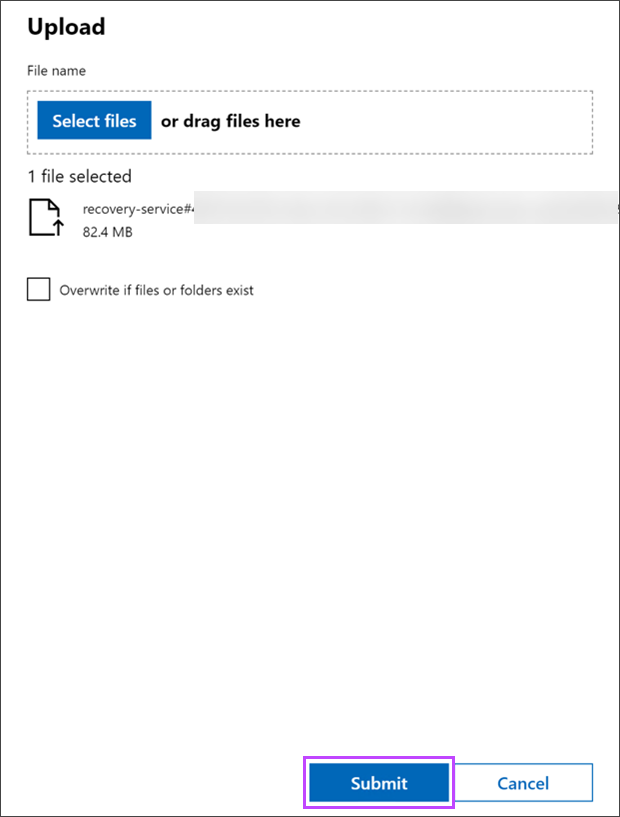
- Browse to the downloaded installer file from Step 3:5 and click Open to begin the upload to the Hyper-V server
- Once the file appears in the upload window, click Submit
- Once the upload completes, select PowerShell from the left-hand Tools menu
- Login using the Administrator credentials
- Browse to the directory selected in the upload in Step 5:4 using the
cdcommand - Enter the installer filename
You can enter
.\reand press TAB, this will populate the full name automatically, so long as no other file in this location begins withre - Make sure to add
/S(Upper case - case sensitive) after the installer filename, or the installation will not complete - Press Enter
- Exit the PowerShell and navigate to Installed Apps in the left-hand Tools menu. Recovery Service will be listed in the Installed Apps page
- Sign in to the Management Console using a SuperUser account.
- Navigate to Recovery > Recovery Locations. The new Recovery Location will now be displayed in the list of locations under the customer selected in Step 3:4
- Enter the storage drive to assign where the Standby Images are going to be restored to by clicking Add storage drive and entering the drive location. E.g.
D:\ - You can now add devices using the Standby Image plan using this Recovery Location
Once the execution of the installer has been confirmed, PowerShell will return to the standard prompt (PS C:\Users\Administrator\Downloads>).
Depending on the performance of the machine, this can take between a few seconds and a few minutes. Do not try to speed up the process by hitting enter multiple times or closing out of the PowerShell.

