Installing the Recovery Locations recovery service on Azure requires additional configuration during setup of the Azure VM:
Azure Requirements
To install the Recovery Location's recovery service on an Azure VM, the following requirements are necessary:
- A user created for you in your Azure tenant. The user must:
- Have access to a subscription
- Have access to a resource group you want to use to keep the Recovery Location VM and restored (target) Azure VMs
- Be able to assign permissions on virtual machines within the resource group
Configuration
It is important to follow the installation steps in the order below. If you grant the Recovery Location VM access to a resource group after installing the Recovery Service, you must then reboot the Recovery Location VM for these changes to take effect.
- Sign in to the Management Console using a SuperUser account.
- Navigate to Continuity > Recovery Locations
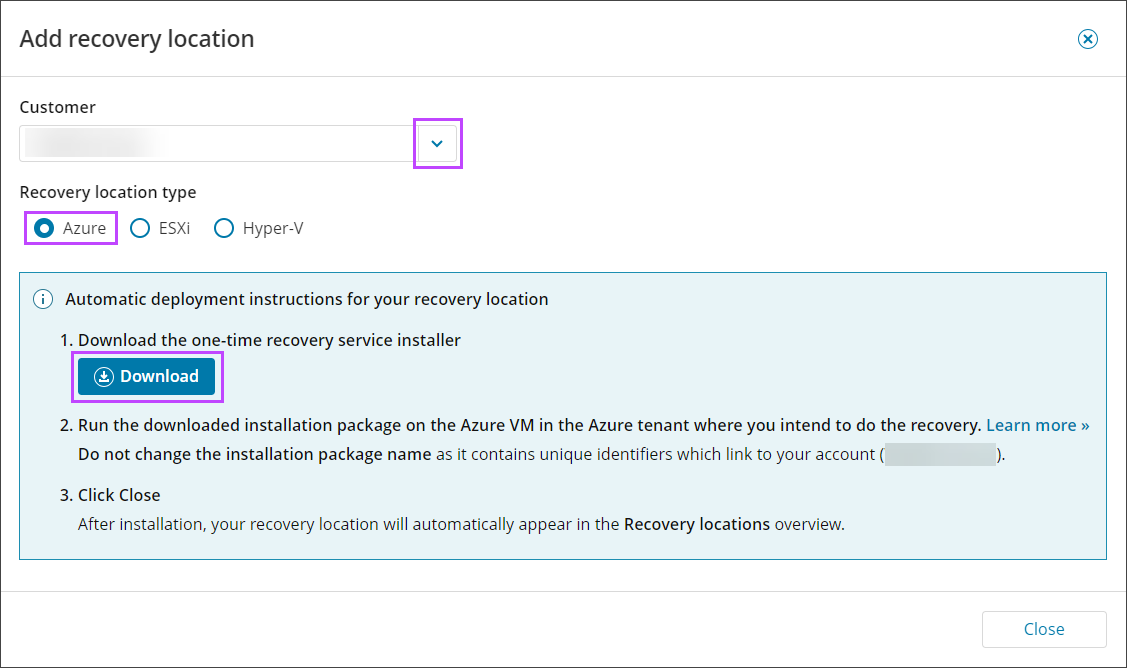
- Click Add recovery location at the top of the page
- In the Add Recovery Location wizard, select the customer to attribute the recovery location to, from the dropdown
- Select Azure as the Recovery Location Type
- Download the recovery service installer and save it to an easily found place on your device
Do not change the installation package name. The installation package name contains unique identifiers to your account.
This is a one-time installer and can only be used to install a single instance of the recover service. The installer will fail if you attempt to use the same package for another installation.
Do not run the installer at this point, there are additional changes that are required first.
- Login to the Azure portal
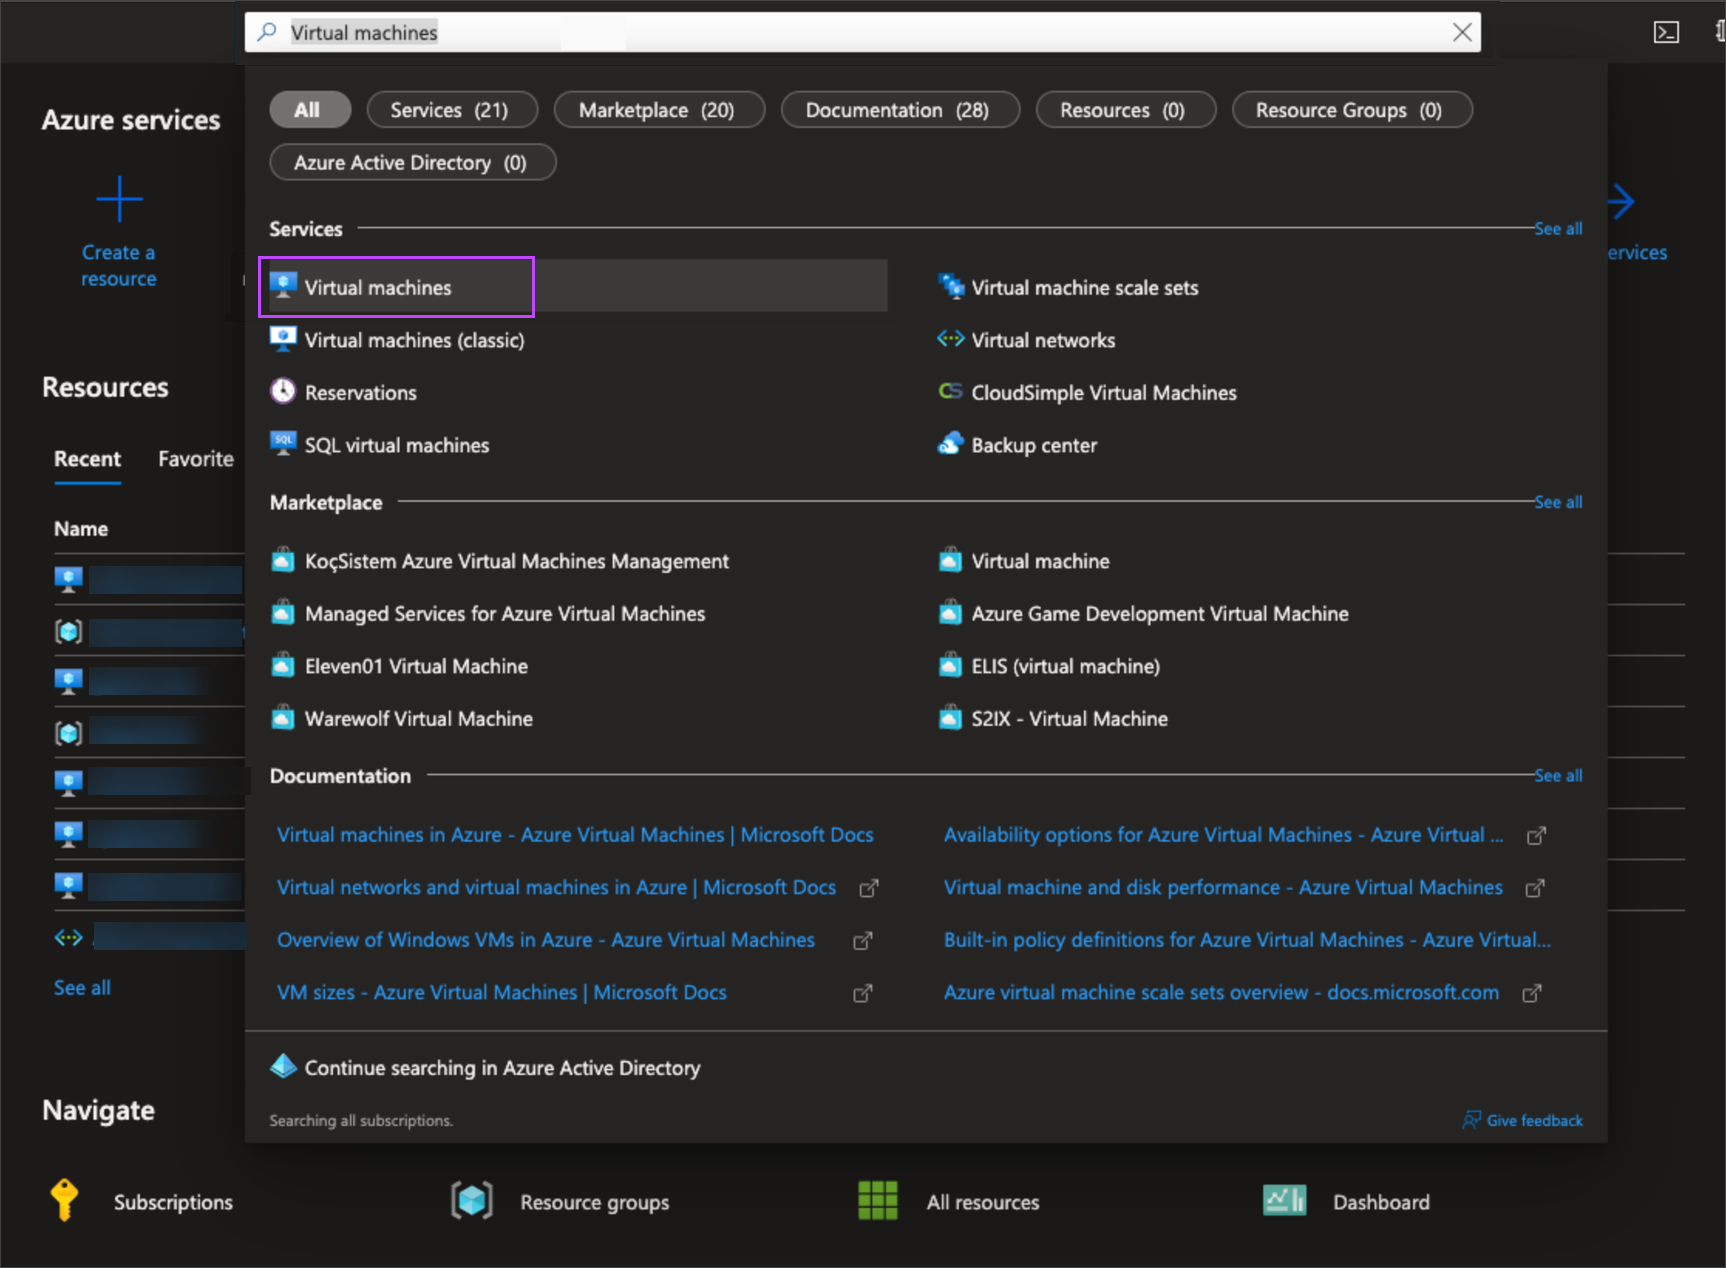
- Using the search bar within the Azure Portal, type Virtual Machines, then select the Virtual Machines service from the results
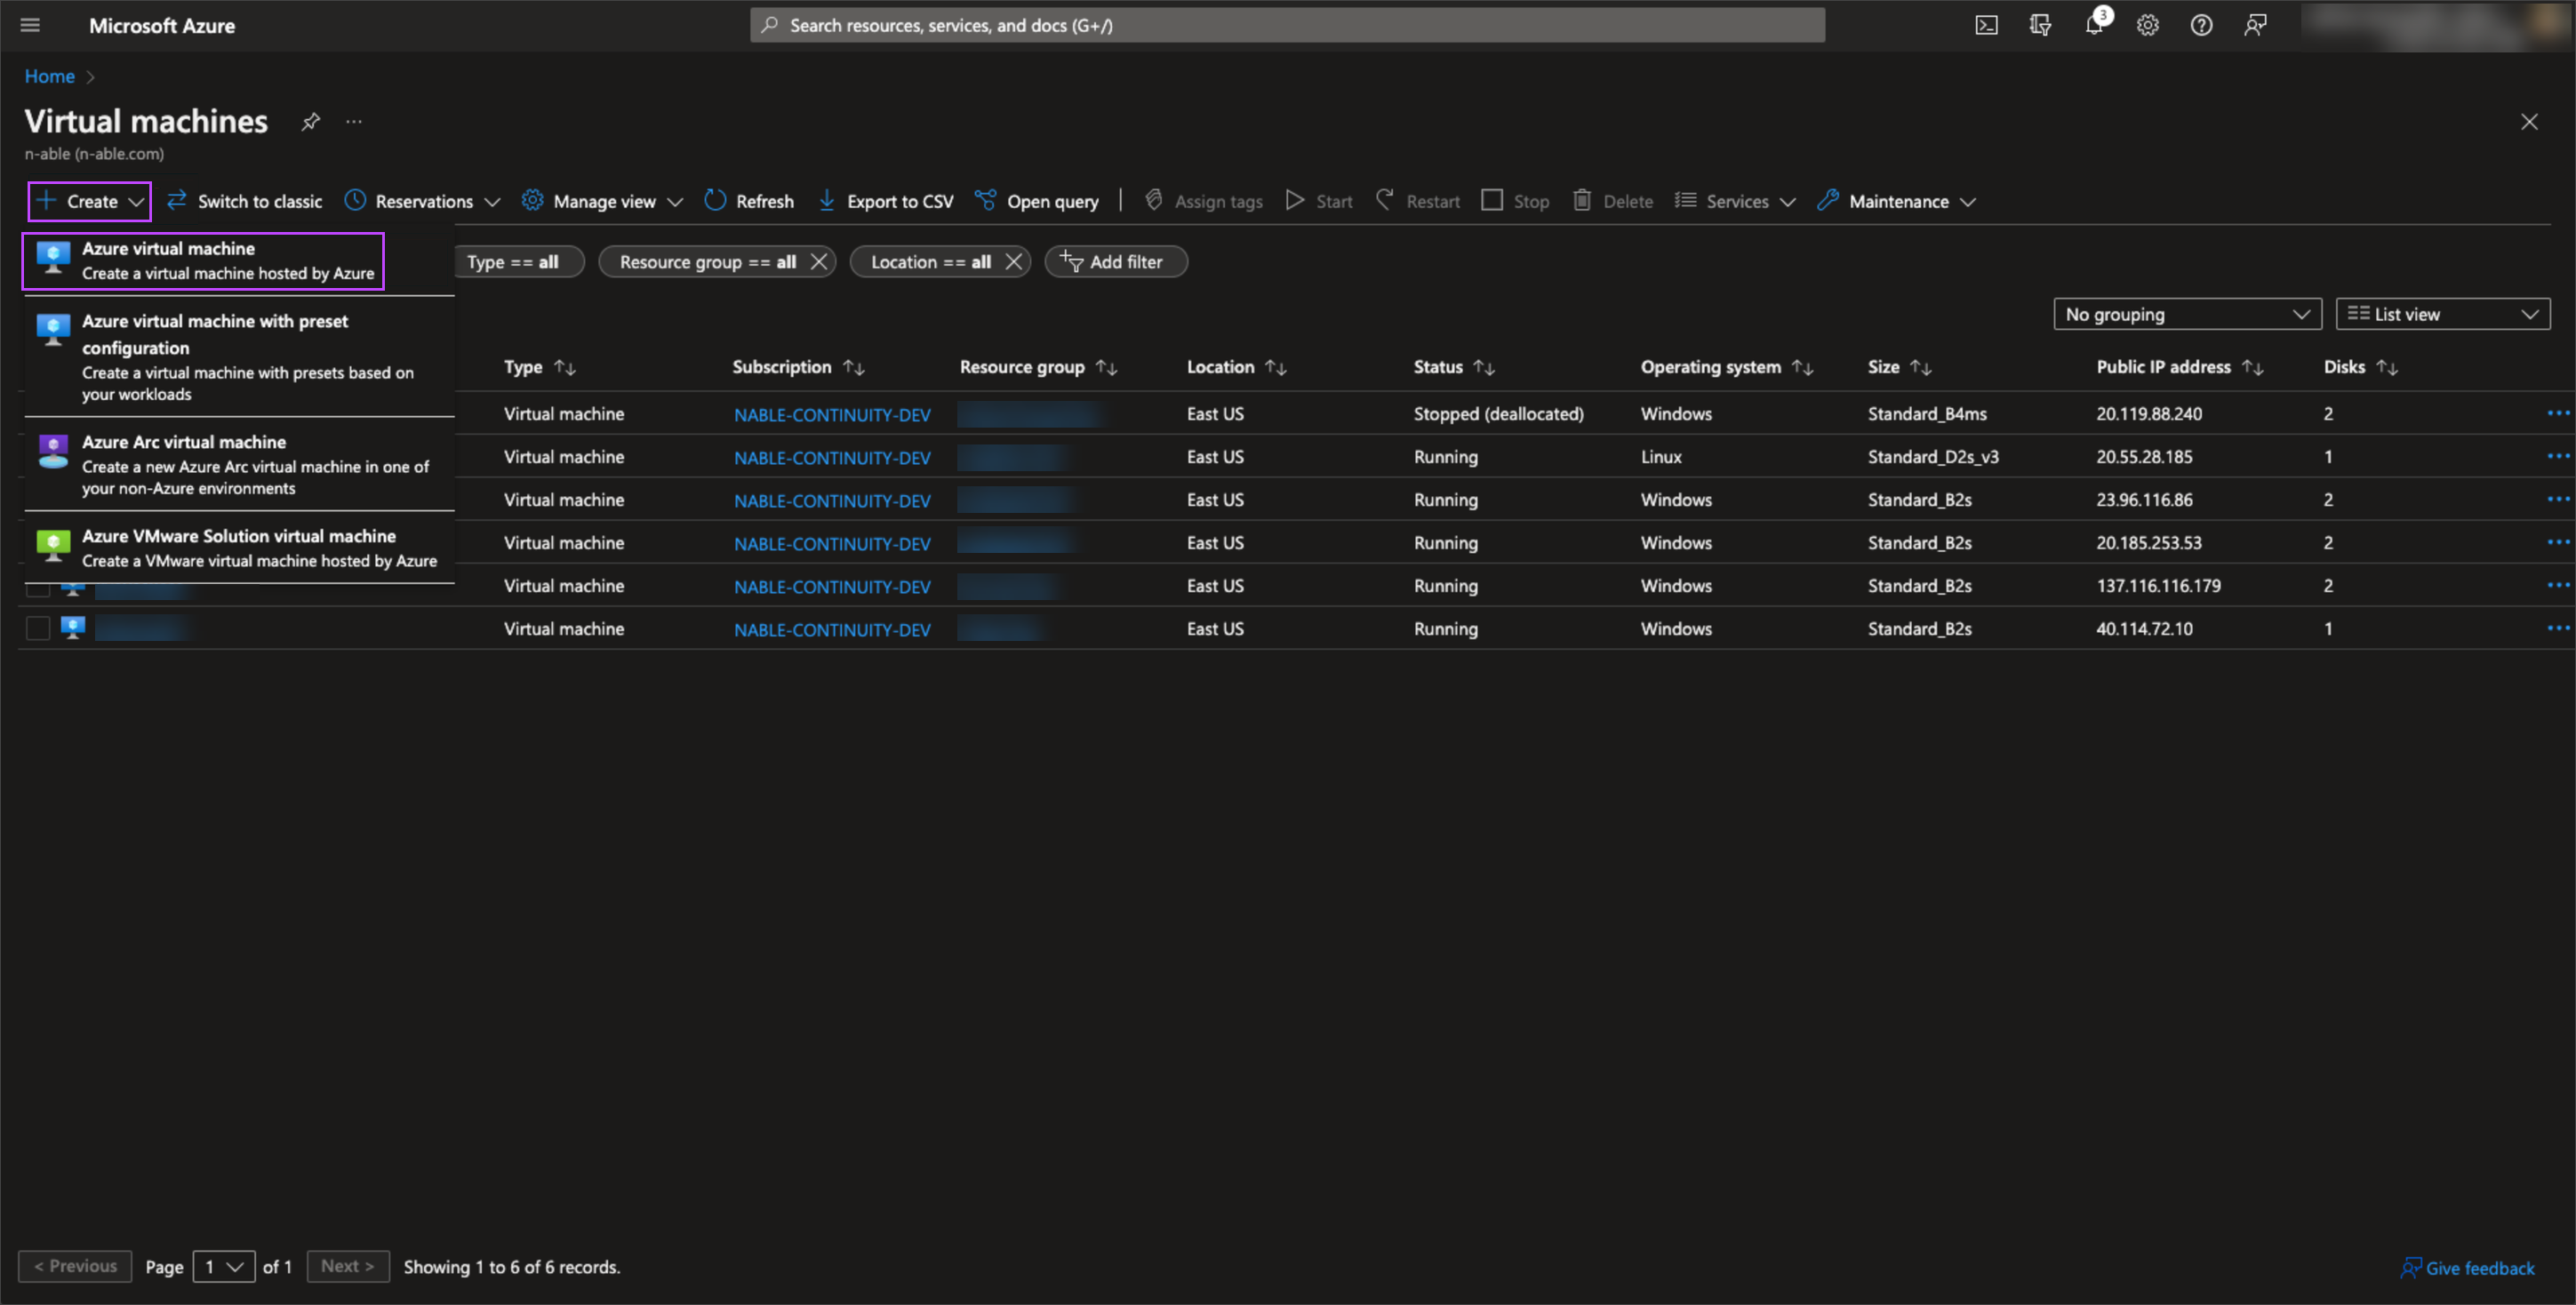
- On the Virtual Machines page, select + Create and select Azure Virtual Machine from the dropdown provided
- On the Basics tab:
- Select a Subscription from the dropdown
The subscription selected here will be used to keep future restored devices. When a subscription is selected for the Recovery Location, this subscription will be used to keep the devices being restored to Azure. A different subscription cannot be selected in the One-Time Restore wizard at Azure VM settings step.
- Select the Resource Group you want to use to keep the Recovery Location VM
- Provide a valid Virtual Machine Name for your Recovery Location VM
- Select the geographic region
Select the closest geographic region from geographic standpoint to the node where you store backups of the devices you are going to restore to Azure
- In the Image field, select one of:
- Windows Server 2019 Datacenter - Gen2(9)
- Windows (Windows 10 Pro), version 21H2 Gen 2
- Under the Size field, click See all sizes and search for b4ms
This VM size is the lowest priced size that meets our hardware recommendations for Local VHD restores
- Set a Username and Password for the Administrator account
- For the Select Inbound Ports field choose one of:
- RDP connections
- Bastion
- Select a Subscription from the dropdown
- Click Next : Disks
- On the Disks tab, select the OS disk Type of Standard HDD
- Click Next: Networking
- On the Networking tab specify the vnet and subnet
The Recovery Location VM should be added to the Network Security Group, which allows outbound communication.
- Click Review + Create
- After a few seconds, the request will be validated. Review the settings and click Create
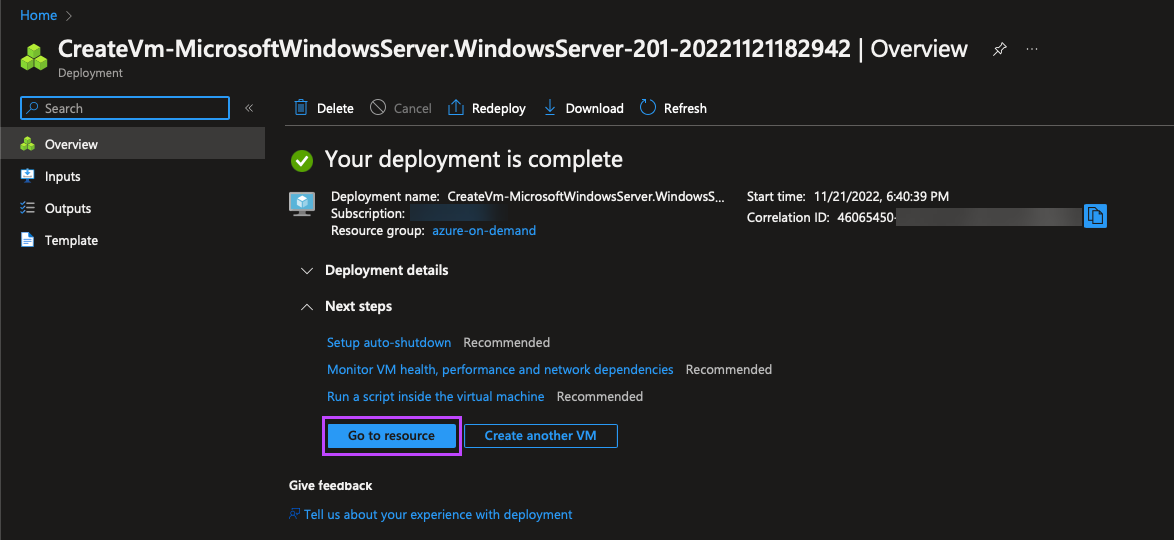
- A page will display with the progress of the deployment. Once deployment is complete, you are able to go to the resource by clicking Go to resource
In order for restores to successfully create Virtual Machine's in Azure, Owner permissions must be given to the Recovery Location VM.
Without these permissions, the restores will start, but will fail when the recovery service attempts to manipulate Azure resources.
- Login to the Azure portal
- Using the search bar within the Azure Portal, type Virtual Machines, then select the Virtual Machines service from the results
- On the Virtual Machines page, find the virtual machine created in Step 2 where you will install the Recovery Agent in Step 4 and click the VM name
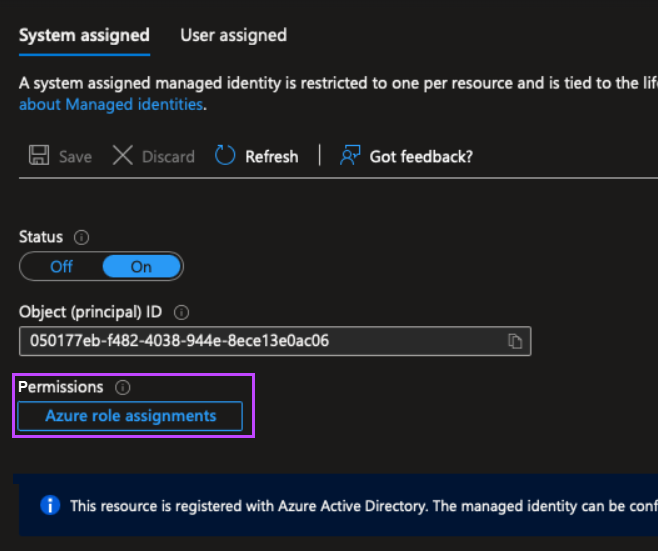
- In the Virtual Machine, click the dropdown by the search bar and click Identity
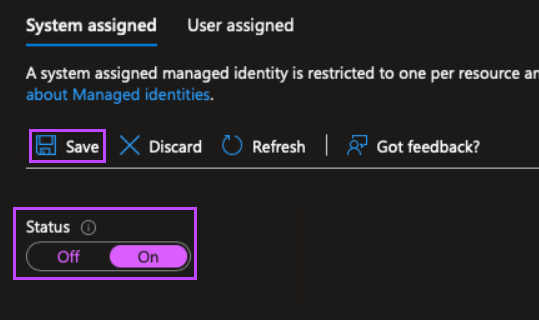
- In the System Assigned tab, set the Status to ON
- Click Save
- Select Azure role assignments
- Click Add role assignment (Preview) at the top of the page
- In the Add role assignment (Preview) window, set the following:
- Scope: Resource Group
- Subscription: Select the subscription selected for the Recovery Location VM in Step 2: 4
- Resource Group: Select the resource group selected for the Recovery Location VM in Step 2: 4
- Role: Owner
If you see a warning message that states "You don’t have permissions to add role assignments…“, please make sure you have the proper access right to assign roles to the VM.
- Click Save
- Once complete you will see the role assigned in the Azure Role Assignments table
- To restore to resource groups other than the Recovery Location resource group, or to use virtual networks from other resource groups to place target VMs, you must add role assignments for those groups as well. To do this, repeat step 9 and step 10 for each group
If you try to restore to a resource group without the role assignment the restore will fail
- Connect to the Recovery Location VM created in Step 2 via RDP or Bastion
- Copy the Recovery Service downloaded in Step 1:6 from it's location onto the VM
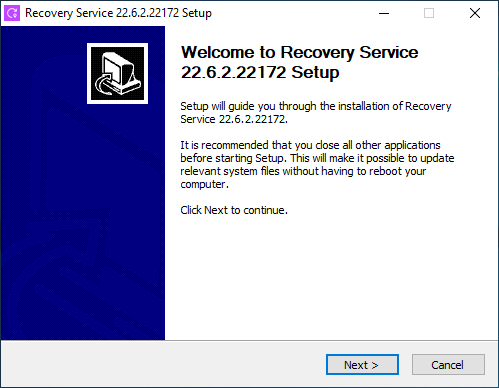
- Double-click the executable on the Recovery Location VM to run
- Click Next to begin setup
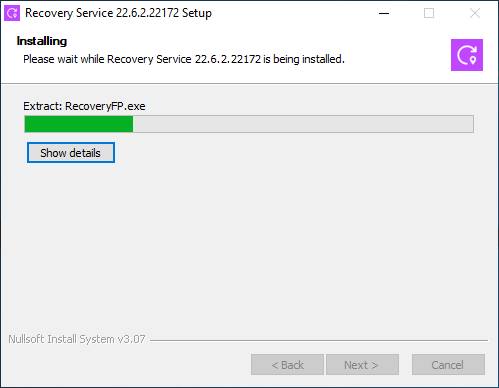
- Wait for installation to complete
- Finish the installation and close the wizard
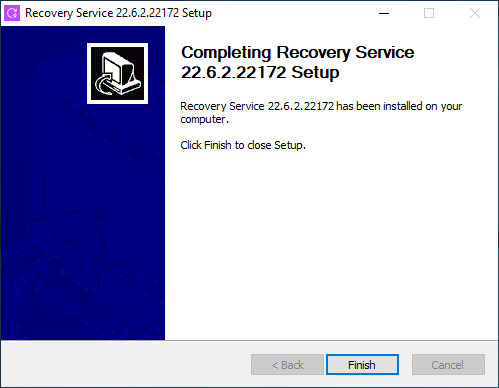
- After a few minutes, the Recovery Location will appear on the Management Console's Recovery Locations dashboard and can be used to in the One-Time Restore to restore data to Azure
To help speed up Azure restores by up to three times (3x), add the following processes and folders to your Antivirus Exclusions:
Processes
- AuthTool.exe - [file location] SYSTEM_DRIVE:\Program Files\Recovery Service\*\AuthTool.exe
- unified_entry.exe - [file location]. SYSTEM_DRIVE:\Program Files\Recovery Service\*\unified_entry.exe
- RecoveryFP.exe - [file location] SYSTEM_DRIVE:\Program Files\Recovery Service\*\BM\RecoveryFP.exe
- VdrAgent.exe - [file] SYSTEM_DRIVE:\Program Files\Recovery Service\*\BM\VdrAgent.exe
- ProcessController.exe - [file location] SYSTEM_DRIVE:\Program Files\Recovery Service\*\BM\ProcessController.exe
- RecoveryProcessController.exe - [file location] C:\Program Files\Recovery Service\*\BM\RecoveryProcessController.exe
- ClientTool.exe - [file location] SYSTEM_DRIVE:\Program Files\Recovery Service\*\BM\ClientTool.exe
- VdrTool.exe - [file location] SYSTEM_DRIVE:\Program Files\Recovery Service\*\VdrTool.exe
Folders
- StandbyImage - STORAGE_LOCATION_PATH\StandbyImage
- OnDemandRestore - STORAGE_LOCATION_PATH\OnDemandRestore
- Login to the Management Console under a SuperUser account
- Navigate to Continuity > Recovery Locations
The new recovery location will now be displayed in the list of locations under the customer selected in Step 1: 4
- Enter the storage drive to assign where the target VM(s) metadata, needed for recovery, will be stored by clicking Add storage drive and entering the drive location. E.g.
C:\
Check recovery location
When the Recovery Location set up is completed you will be able to find it in the drop-down at the first step of One-Time Restore wizard (or on the Recovery Locations Dashboard) and proceed with the restore: Configure One-Time Restore to Azure.


