
To configure Cove Data Protection (Cove) to backup data from Network Shares. You must configure the Network Shares data source on the Backup Manager.
- Launch the Backup Manager for the deviceyou wish to backup Network Shares from
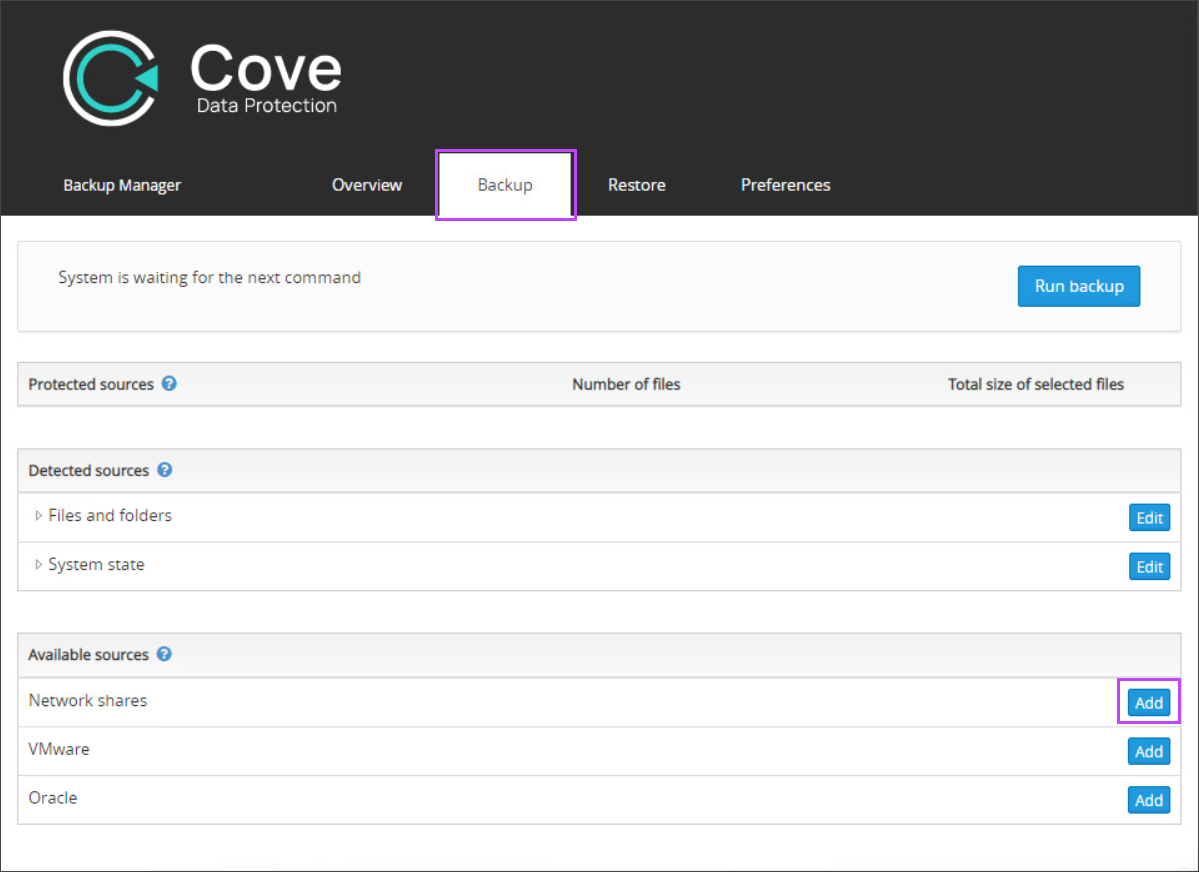
- Navigate to the Backup tab
- Click Add for the Network Shares data source under Available Sources
- Click Add on the Backup Selection: Network Shares box
- You must now provide the network share details:

- Path - This is the network share location: a full network path to the root folder of the network share or to a particular directory
- Domain - Add the domain name. If the computer belongs to a Windows network domain, you need to specify that domain (for example, COMPANY.COM). If there is no domain, you can leave the field blank in most cases. On some networks, however, you will need to enter the host name of the target machine (for example, WORKSTATION-PC)
- User - Enter the user account name of an account that has "read" permissions to the directories intended for backup (it will be necessary to scan the file tree and get file content)
- Password - Enter the user account password of the user account name that has "read" permissions to the directories intended for backup (it will be necessary to scan the file tree and get file content)
- Once added, click save
- Select files or folders you wish to be included in the backup by placing a check mark in the box to the left of each required file or folder
- Click save
- Move to the Preferences tab
- Navigate to Schedule to configure the schedule for the backups
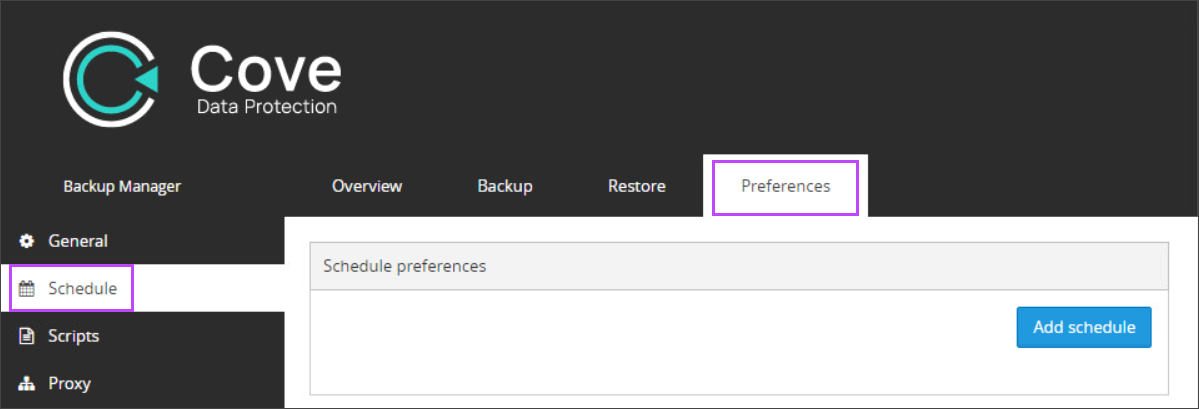
- Select Add Schedule or edit an existing schedule to include the Network Shares data source

- Give the schedule a name - make this something relevant to the backup configured such as "FS, SS & NetShares 9pm"
- If you have created any scripts, these can be selected to run before the backup (Pre-backup) or after the backup (Post-backup) by selecting them from the given dropdowns (Optional)
- Set the time for the backup to run
- Choose the days on which you want the backup to run
- Select the data sources to backup (ensuring that Network Shares is included)
- Click Save
You may now either run the initial backup manually by selecting Run Backup, or wait for the backup to run as per the schedule configured.
Recovery
Instructions on restoring data from this data source can be found on Recovering data in Backup Manager.