
Before beginning the steps to integrate Cove Data Protection (Cove) with HaloPSA, ensure you have met all requirements to configure HaloPSA.
- Log in to the Management Console as a Reseller level customer using a SuperUser or Administrator user account.
- Navigate to Management > Integrations in the vertical menu.
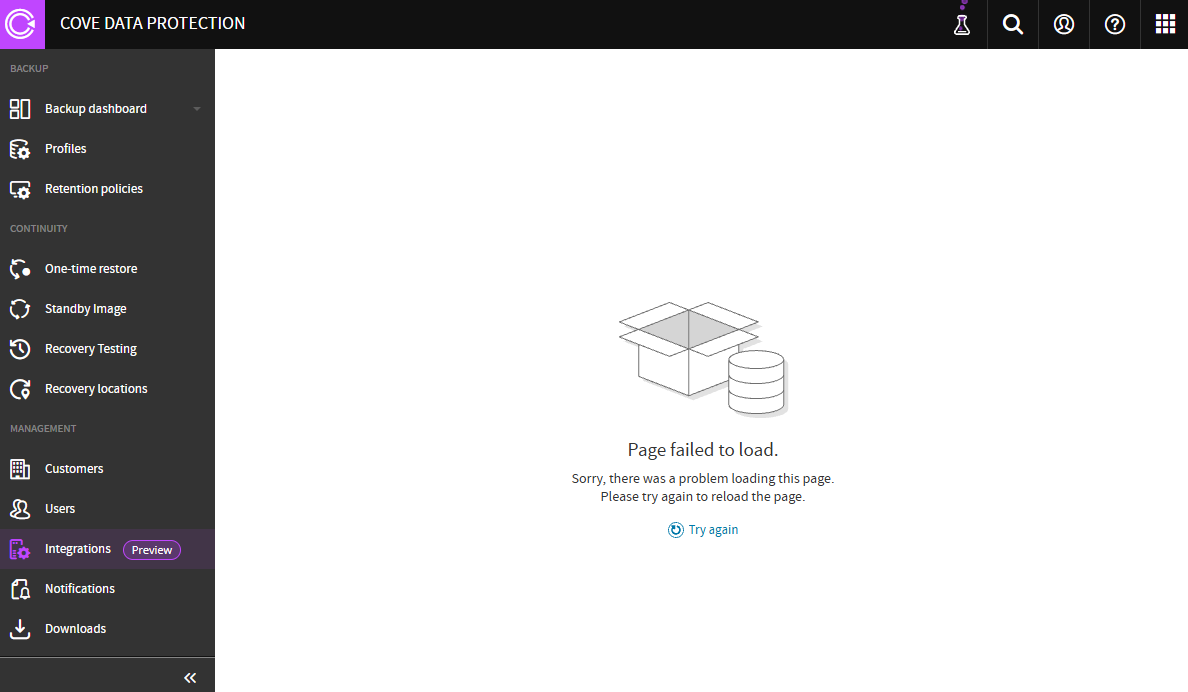
- Select Configure on the HaloPSA tile.
- Enter the details in the Configure HaloPSA wizard:
- Connection name: Provide a unique name for the integration.
- Client ID: This is a unique key that identifies the HaloPSAApplication and authenticates it. To find this in HaloPSA:
- Log in to HaloPSA using an Admin user account
- Select Configurations
- Navigate to Integrations > HaloPSAAPI
- Select Applications and select the Cove application created in Create Application
- Client Secret: This is a unique string that authenticates access to the HaloPSAAPI.
This information only appears once when the application is created.
- Resource Server Hostname: To find this in HaloPSA:
- Log in to HaloPSA using an Admin user account
- Select Configurations
- Navigate to Integrations > HaloPSAAPI
- Select API Details
- Click Connect. Once the connection has been successful, a confirmation message appears to advise and you will be able to begin mapping customers associated with the tenant details you provided that Cove retrieves from HaloPSA.

- Click Next to map customers
- Choose the method for customer mapping by clicking Select method:
- Auto-Map - match customers by name similarity. Matches above 90% are marked Match, the rest are marked No Match. You can match the remaining ones based on suggested matches.
This action does not replace existing mapping.
- Apply to all - Map every customer to one PSA customer using the dropdown provided. Edit individual rows afterward if needed.
This action does replace existing mapping.
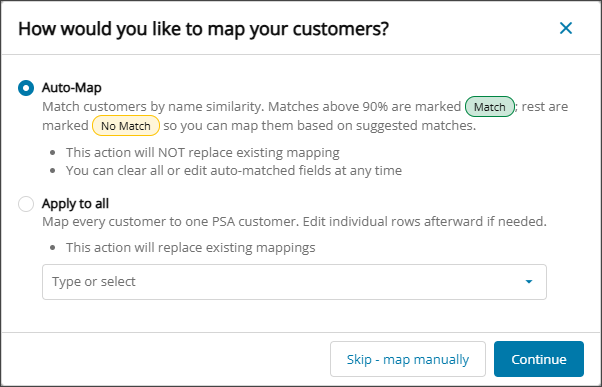
- Auto-Map - match customers by name similarity. Matches above 90% are marked Match, the rest are marked No Match. You can match the remaining ones based on suggested matches.
- Click Continue to map customers as selected or Skip - map manually to map each customer manually
- Make any required changes to the auto-map or apply to all mapping
- To remove mapping, click the X next to the PSA customer name.
- To map a different customer, select from the dropdown.
- To clear all mappings, select Clear all.
This action cannot be undone. Any customers that are mapped manually will be cleared too. If required, you will need to map customers again.
- If using auto-map, some rows may not meet the match criteria and will not have been auto-mapped. For these customers, use the dropdown in each PSA customer field and select from the Suggested Matches
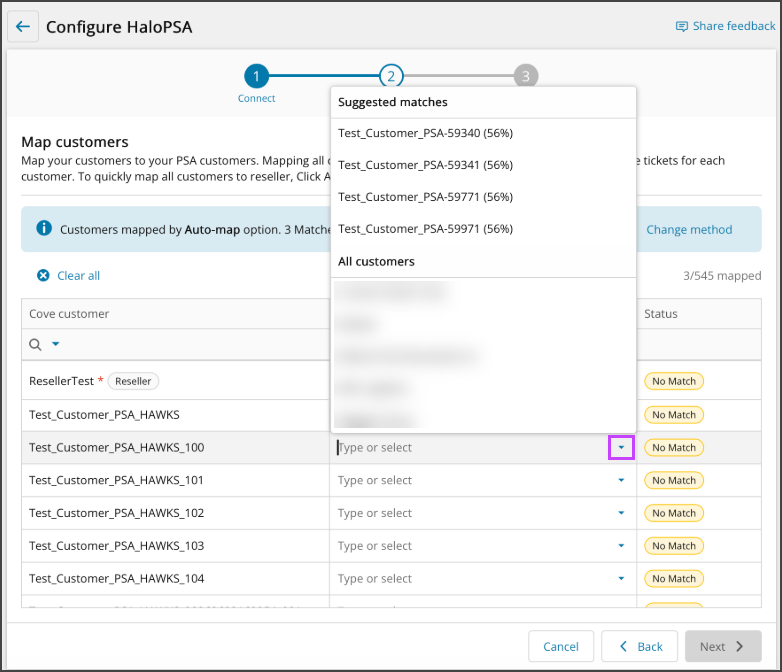
- If mapping each Covecustomer to its own PSA customer manually, select this using the dropdown in each PSA customer field
If there are unmapped PSA customers in the table, any PSA ticket notifications set up for them will be assigned to the PSA customer mapped to the Cove reseller.
- Select Next.
- Review the connection details and customer mappings and click Confirm.
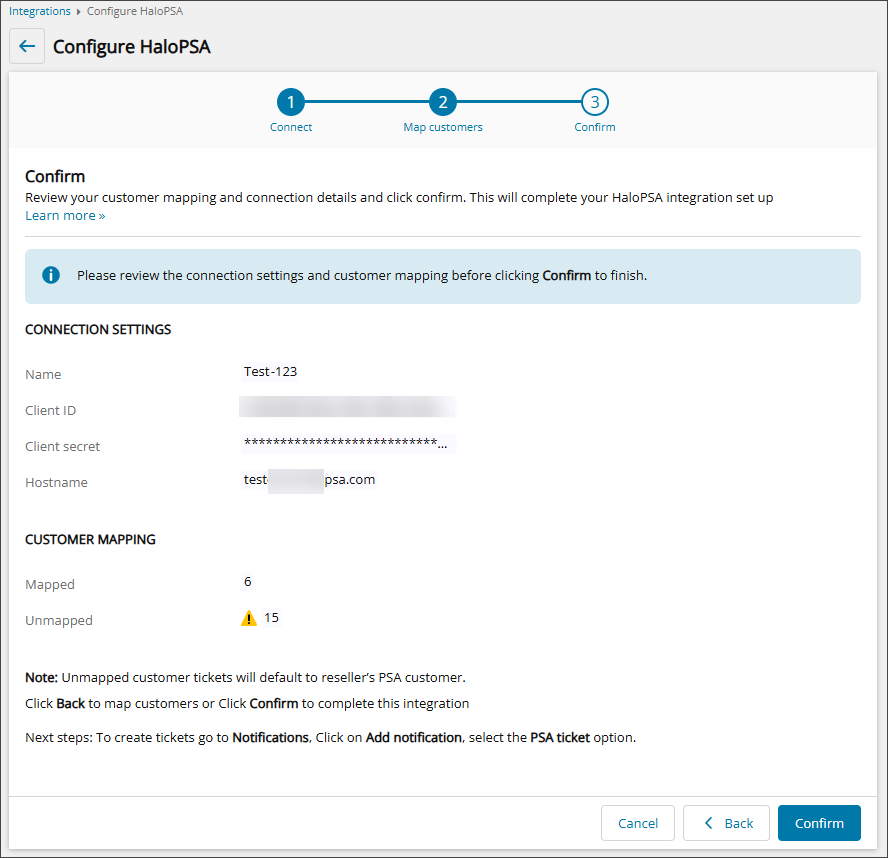
- Once complete, a success message will display to advise that the HaloPSA integration is now active.
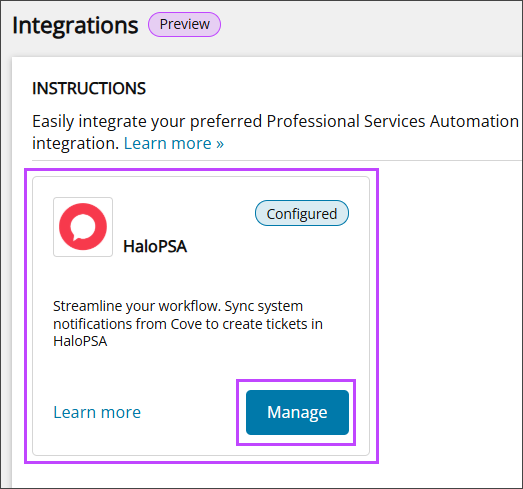
You must now set up notifications to receive tickets into your PSA ticketing system.
 Related Topics