
Before beginning adding a Google Workspace tenant to the Cove Data Protection (Cove) dashboard, ensure you have met all Requirements.
Adding a Google Workspace tenant is done in three parts:
- Add a Google Workspace tenant in Cove
- Authorize the client on Google Workspace admin console and enable API access
- Grant Google workspace permissions via the Google Workspace admin console
Add a Tenant
- Sign in to the Management Console using a SuperUser or Manager account
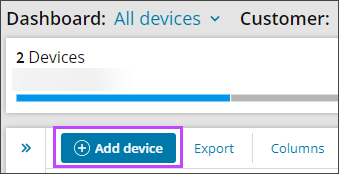
- On the Backup Dashboard, select Add
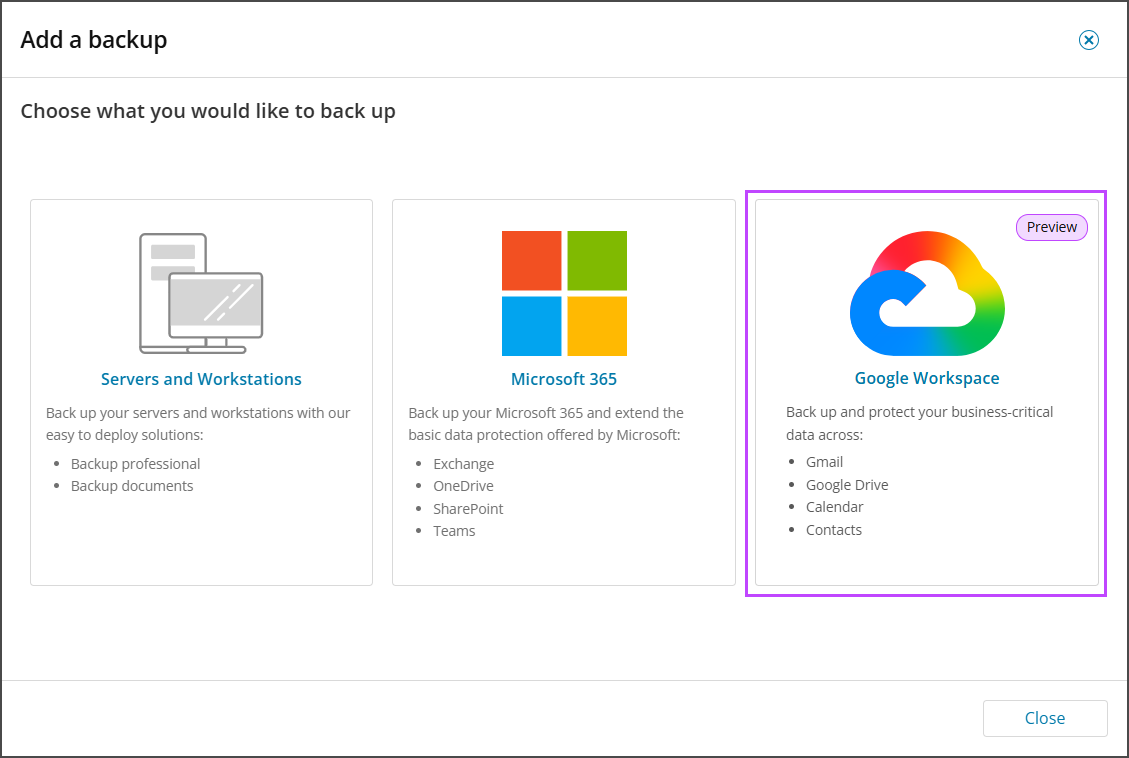
- Select Google Workspace
- Click Next past the Protect your Google Workspace with Cove information page (only shown at the time of adding your first Google Workspace).
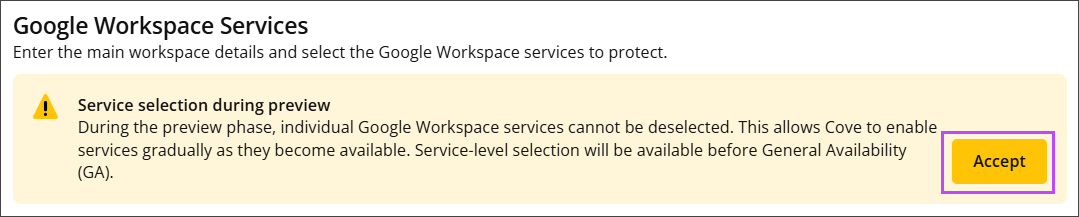
- During the preview phase, backup data may be stored in a geographic region different from the default data location selected for the customer. Accept the warning to proceed with preview access.

- During the preview phase, individual Google Workspace services cannot be deselected. Accept the warning to proceed with preview access.
- Enter the Google Workspace tenant.
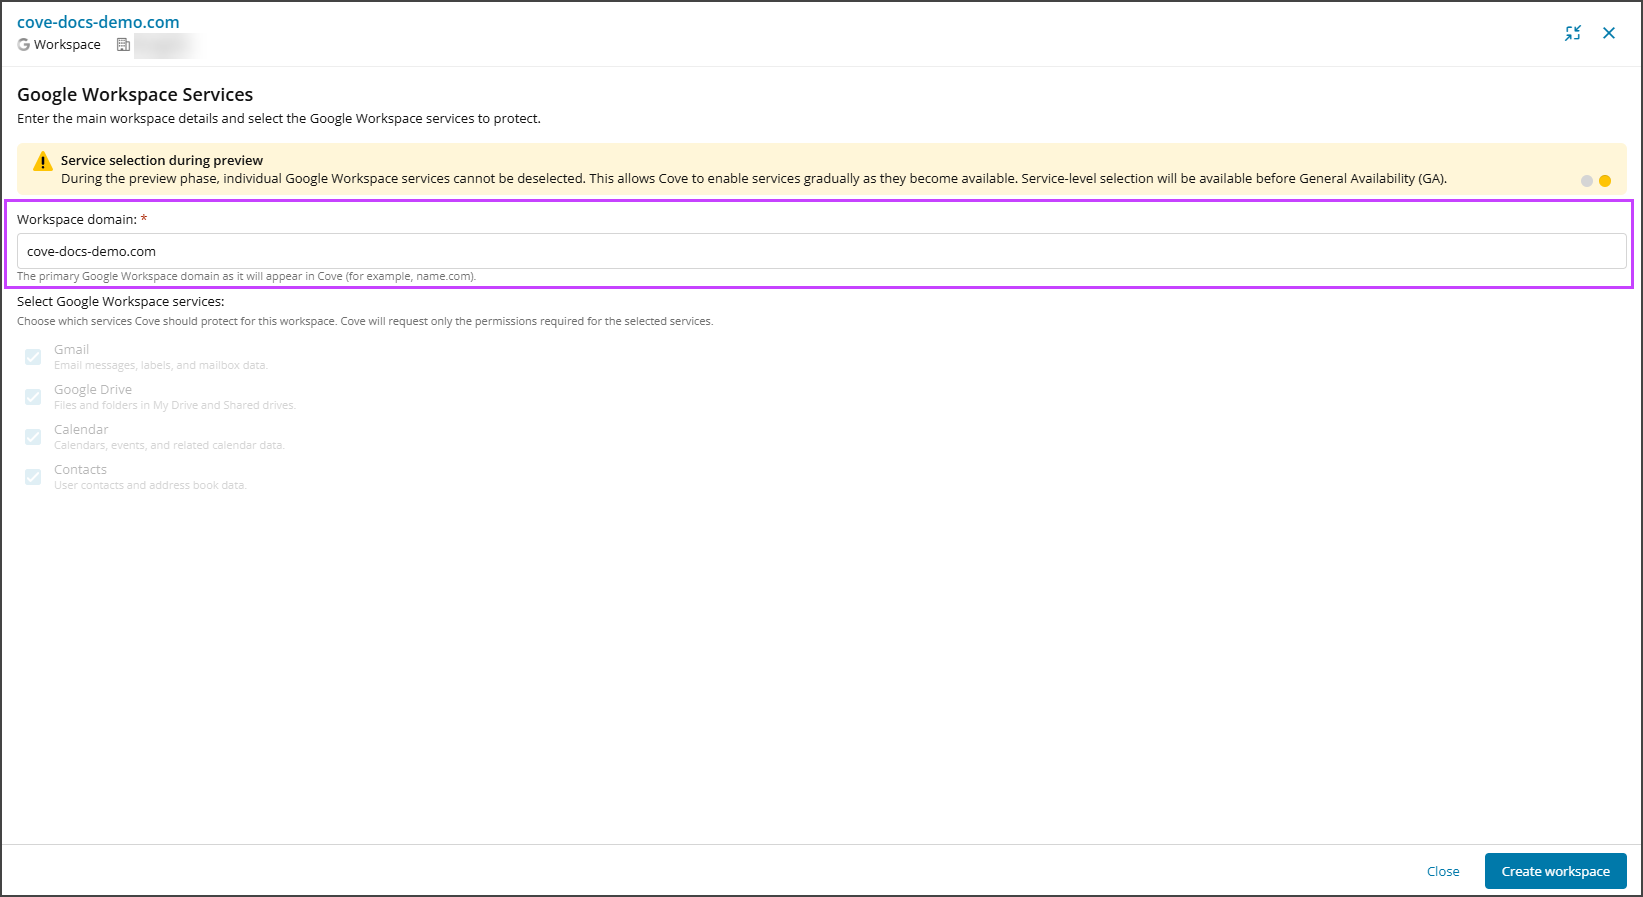
- Click Create Workspace
The tenant is now visible in the devices and tenants list on the Cove Backup Dashboard.
If the Add wizard is closed at this point, you can return by selecting the tenant name from the devices and tenants list.
Authorize the Client
Once the tenant has been added, you are directed to authorize Cove to connect to your Google Workspace tenant.
- If the Add wizard has been closed, select the tenant name to open it.
- Click Authorize or Copy authorization link
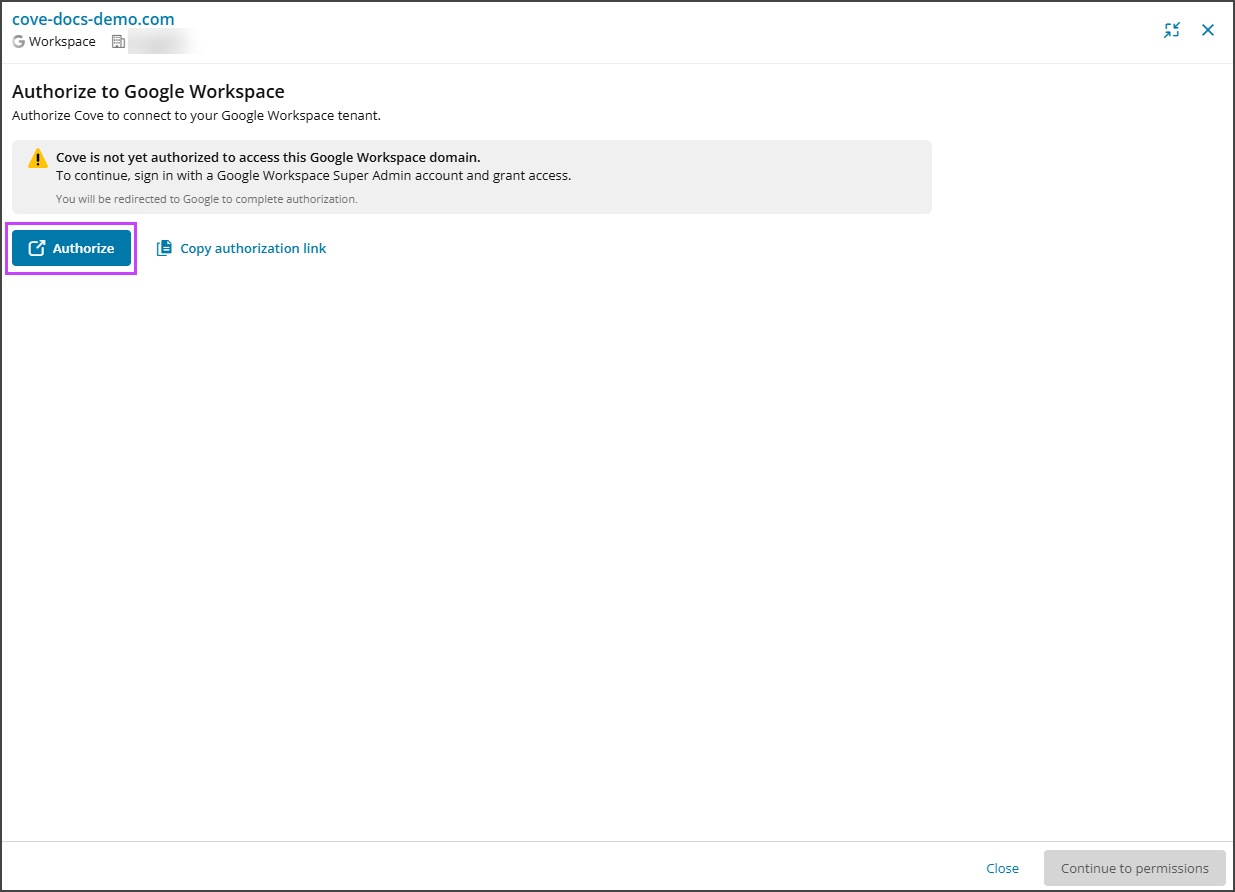
Copy authorization link allows you to delegate Google Workspace authorization to another user.
- Sign in to the Google Workspace tenant with a Super Admin account to enable API access and authorize the client on the Google Workspace admin console.
- Click Grant permissions to proceed to granting permissions in the Google Workspace Admin Console