Scheduled Reports in Management Console Beta Dashboard
You can schedule the delivery of email reports on recent backup and recovery activities. Both the body of the message and the subject field are customizable.
Requirements
A user account of the distributor, sub-distributor, reseller or end-customer level is required.
The following needs to be added to the SPF Record for the domain:
include:amazonses.com
Be aware if you use a custom sender address you will will need to verify the address by clicking on a verification link that arrives in the configured email address's inbox. If this does not happen then you will not receive any backup related emails (Let's get started, Backup daily Dashboards, reports, email views etc.).
How it works
- The report size is limited to 10 columns and 200 rows: all extra entries are automatically truncated
- The delivery timing is approximate, so if you set the delivery to 11am, the report will be send between 10:30am and 11:30am
- The delivery is performed through a specialized mail service (Amazon SES), so no outgoing mail settings are needed
- The From field of all scheduled reports contains the address from your Custom Branding settings (the Edit customer dialogue). If no address is specified there, the address of your parent customer is used.
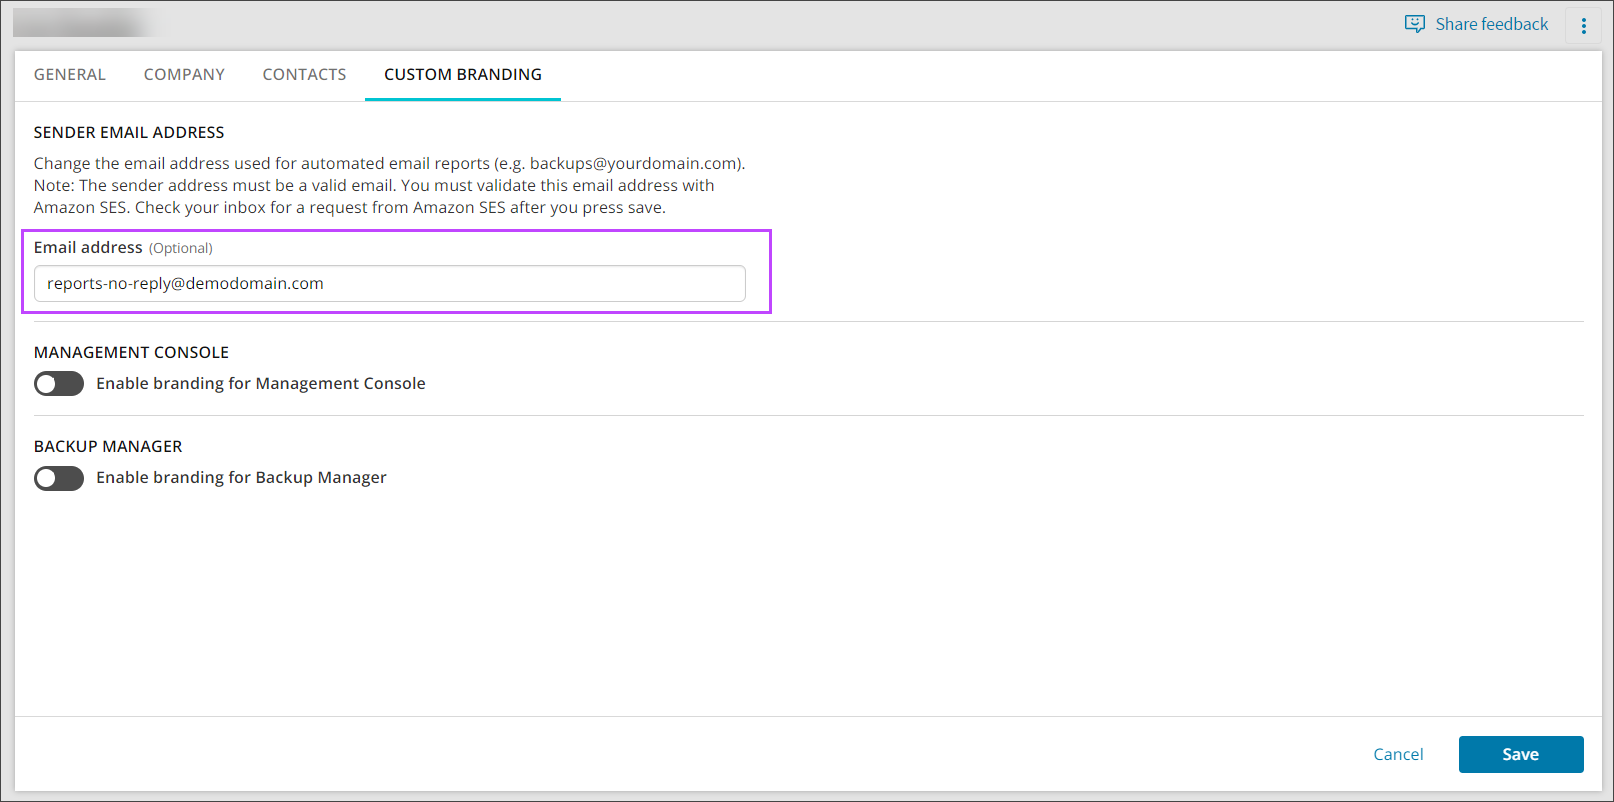
Log in to the Console under a SuperUser account to access the custom branding settings.
Add a schedule
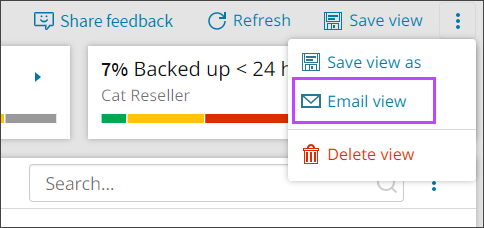
- In the Backup Dashboard module, configure a view for the report (you can select columns to display and apply filters)
- Open the View Management menu by clicking the three vertical dots to the right of Save view and select Email view
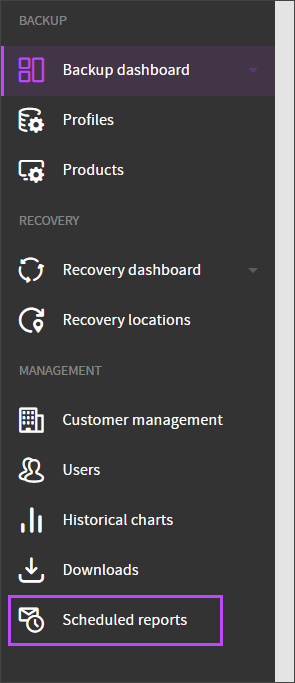
- Using the left-hand menu, navigate to Management > Scheduled Reports
- Both options will take you to the Scheduled Reports page, click Add schedule

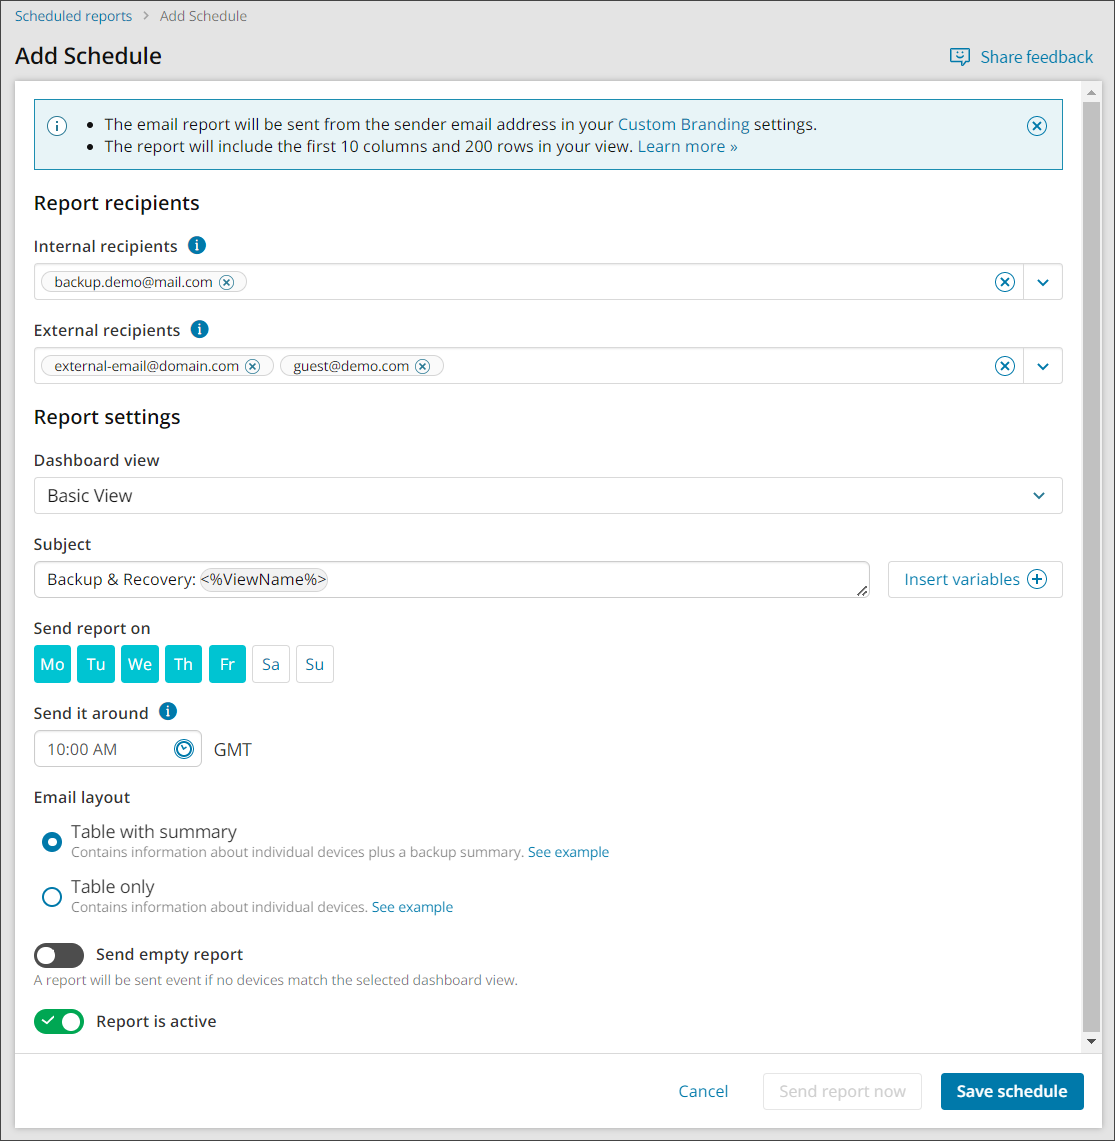
- Fill out the Recipient(s) for the report:
- Internal recipient(s) - Type or select single or multiple Management Console users who should receive the report
- External recipient(s) - Type single or multiple external email addresses to receive a copy of the report
Hit Enter after each address to add them
- Fill out the Report Settings:
- Dashboard View - Select the custom or predefined dashboard view to include in the report from the dropdown
- Subject - Provide an email subject by either typing into the text box or selecting Insert Variables to be included. See Variables for the "Subject" field to be for more information
- Send report on - Select the days of the week the report should be sent
- Send it around - Using the time dropdown, select a time for the email to be sent around
The current timezone of your computer will be displayed next to this
- Email Layout - make a selection for the way the email is displayed, you may choose between:
- Table with summary - Contains information about the individual devices plus a backup summary
- Table only - Contains information about the individual devices only
- Send Empty Report - Though included within the Email Layout section, this setting is independent of the display structure: when enabled, the report will be sent even if no devices match the selected dashboard
- Report is active - Activate or deactivate the report
The report will automatically be enabled upon creation
- Click Save schedule to save the schedule
Or
When you use Email View, you can only send the view to a user at the same level where the view was created. For example, if you create a view at the Reseller level, you cannot send it to a user at the End-Customer level.
Variables for the "Subject" field
You can customize the Subject field of your email reports with the help of variables.
- View name (
ViewName) - the name of the view the report is based on - Total number of devices (
DeviceCount) – the total number of devices belonging to the customer - No backups (
NoBackups Count) – the number of devices on which no backups have been performed yet - Completed (
CompletedCount) – the number of devices on which the last backup session was successfully completed - Completed with errors (
CompletedWithErrorsCount) – the number of devices on which the last backup session was completed with errors - In process (
InProcessCount) – the number of devices on which a backup is currently running - Unsuccessful (
UnsuccessfulCount) – the number of devices on which the last backup session was unsuccessful (has the "Failed" or "Not started" status) - Less than 24 hours ago (
LastBackupLess24Count) – the number of devices on which the last backup was performed less than 24 hours ago - Less than 48 hours ago (
LastBackupMore24Less48Count) – the number of devices on which a backup was performed between 24 and 48 hours ago - More than 48 hours ago (
LastBackupMore48Count) – the number of devices on which a backup was performed more than 48 hours ago
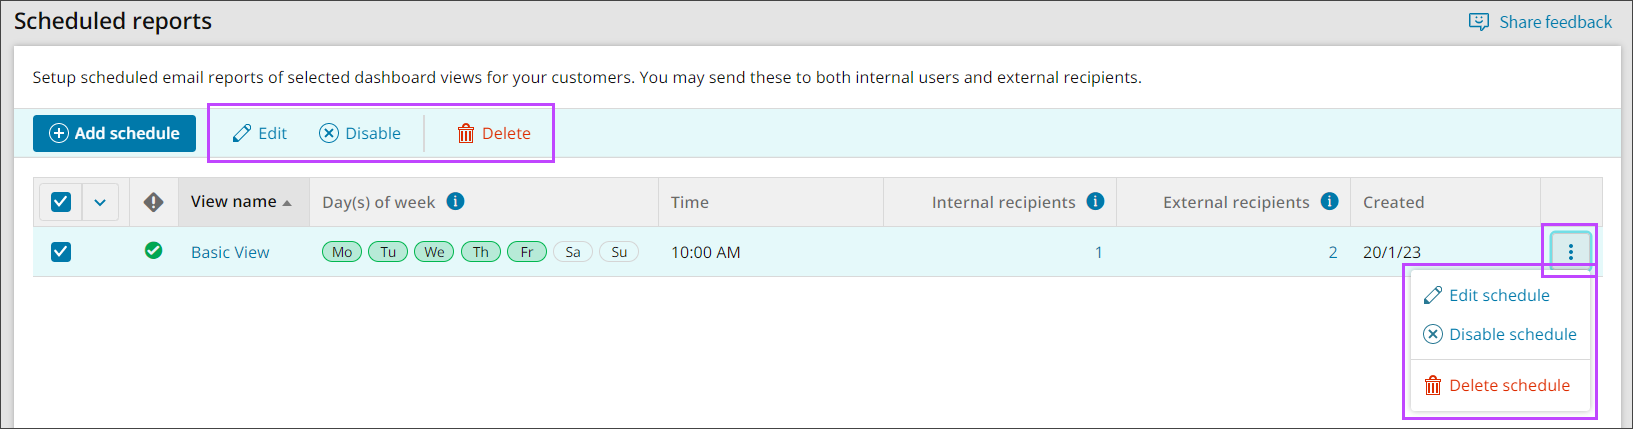
Manage Existing Schedules
Once a scheduled report has been created, it can be easily edited or deactivated from the Scheduled Reports page.
Edit
To edit the schedule:
- Place a check in the box to the left-hand side of the schedule and click Edit from the top bar
- Open the action menu to the right-hand side of the schedule and click Edit schedule
Or,
This will allow you to change all aspects of the email schedule as if creating a new one.
Disable/Enable
To disable/enable the schedule either:
- Place a check in the box to the left-hand side of the schedule and click Disable or Enable from the top bar
- Open the action menu to the right-hand side of the schedule and click Disable schedule or Enable schedule
Or,
Delete
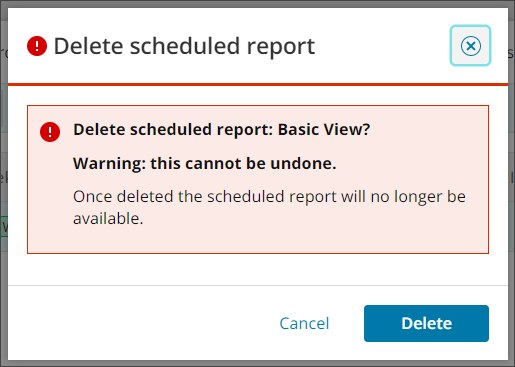
To delete the schedule:
- Place a check in the box to the left-hand side of the schedule and click Delete from the top bar
- Open the action menu to the right-hand side of the schedule and click Delete schedule
- Confirm deletion of the scheduled report
Or,