
Enroll iOS devices
When a customer is not eligible for Automated Device Enrollment, or you determine it's not the best option for the customer, you can set up manual enrollment using the following tasks:
Requirements
- The Apple Push Notification service (APNs) must be set up prior to enrollment.
Enroll a single iOS device
- In the left-hand navigation menu, click Views > All Devices.
- Click the Mobile Devices tab.
- Click Add.
- Click Invite Mobile Devices.
- Select the customer and site.
- Enter the invitation name and description.
- Under Devices to Invite, click Add.
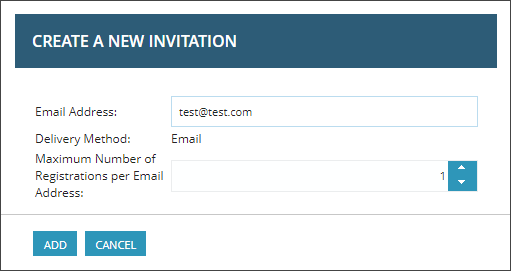
- In the Create a New Invitation dialogue, enter the user's email address.
-
In Maximum Registrations per Email Address, enter the number of devices the user will register.
If the same user has multiple devices associated with their email address, the number of registrations should include all devices associated with the user.
-
Click Add.
-
Select if the device should automatically import to N-central.
-
Set the Invite Expiration time to define how much time the user has to accept the invitation.
-
Enable notification emails to the user when the mobile devices has been registered or the invitation time has expired, and who receives that message.
-
Click Save.
Configuration data
Field Description Customer Customer associated with the device. Site Site to associate with the device. Device Name Name of the device for identification in N-central. Email Address Email address that is accessible from the device to receive the enrollment request as Mobile Device Provisioning email. Phone Number Phone number of the device to receive the enrollment request as Mobile Device Provisioning SMS message if configured (optional). You must replace the leading 0 in the Phone number with the country code for all countries.
Enroll multiple iOS devices
You can add multiple devices to N-central at the same time by:
- Sending multiple invites to a single email address to allow one individual to add more than one device.
- Using a CSV file that you create and upload directly to the N-central dashboard for bulk invites, rather than enter the details individually or by sending multiple invite registrations to one individual.
Send multiple invites to one email
To send more than one device invite registrations to one email address:
- In the left-hand navigation menu, click Views > All Devices.
- Click the Mobile Devices tab.
- Click Add.
- Click Invite Mobile Device.
- Select the customer and enter the invitation name and description.
- Click Add and enter the user's email address.
- In Maximum Registrations per Email Address, enter the number of devices the user will register. For example, they may have an iPhone and an iPad using the same email address.
- Click Add.
- Set the Invite Expiration time to define how much time the user has to accept the invitation.
- Enable notification emails to the user when the mobile devices has been registered or the invitation time has expired, and who receives that message.
- Click Save.
Send invites to multiple emails
To send multiple device invite registrations to different email addresses:
- In the left-hand navigation menu, click Views > All Devices.
- Click the Mobile Devices tab.
- Click Add.
- Click Invite Mobile Device.
- Click Add from CSV.
- Select the CSV Add Invite Format.
- Navigate to and select your CSV file.
- Paste the CSV formatted values in the text box.
- Click Add Invites.
The mobile devices are added and an enrollment request is sent to the device holders. The enrollment request can be a email or text that contains the information to register.
CSV file
Each CSV file can contain information for five hundred devices and must be in the following format:
client_name,site_name,device_name,first_name,last_name,email_address,phone_number, send_sms(0/1),byod(0/1)
- client_name and site_name must match the corresponding entries in the Dashboard
- only one occurrence of a device_name is permitted per site
- send_sms and byod fields can be either (0) for no or (1) for yes
- phone_number is optional so you can leave it blank. For example, johndoe@mail.it,,0,1
You must save the file as comma-separated value (.csv) type.
End user actions to enroll iOS devices
Until a device holder provisions their mobile device, it reports as an unregistered mobile device, and the operating system and the device type is not displayed in the Mobile Devices tab.
When end users select the link in the enrollment request email or SMS text, they are guided through the following steps:
For Apple iOS, we retrieve the required provisioning files via the Apple Push Notification Service (APNS). For information, see Requirements for DMA
- In the left-hand navigation menu, click Configuration > Mobile Invitations.
- Click Add.
-
Complete the Add Invitation Job form:
-
Select customer and site if required.
-
Fill in name and description for the Invitation Job.
-
Click Add to add email recipient(s).
-
Set the invite expiration.
-
Click Save.
Change # of Invite Registrations to increase or decrease number of mobiles that can be added from that email recipient.
-
-
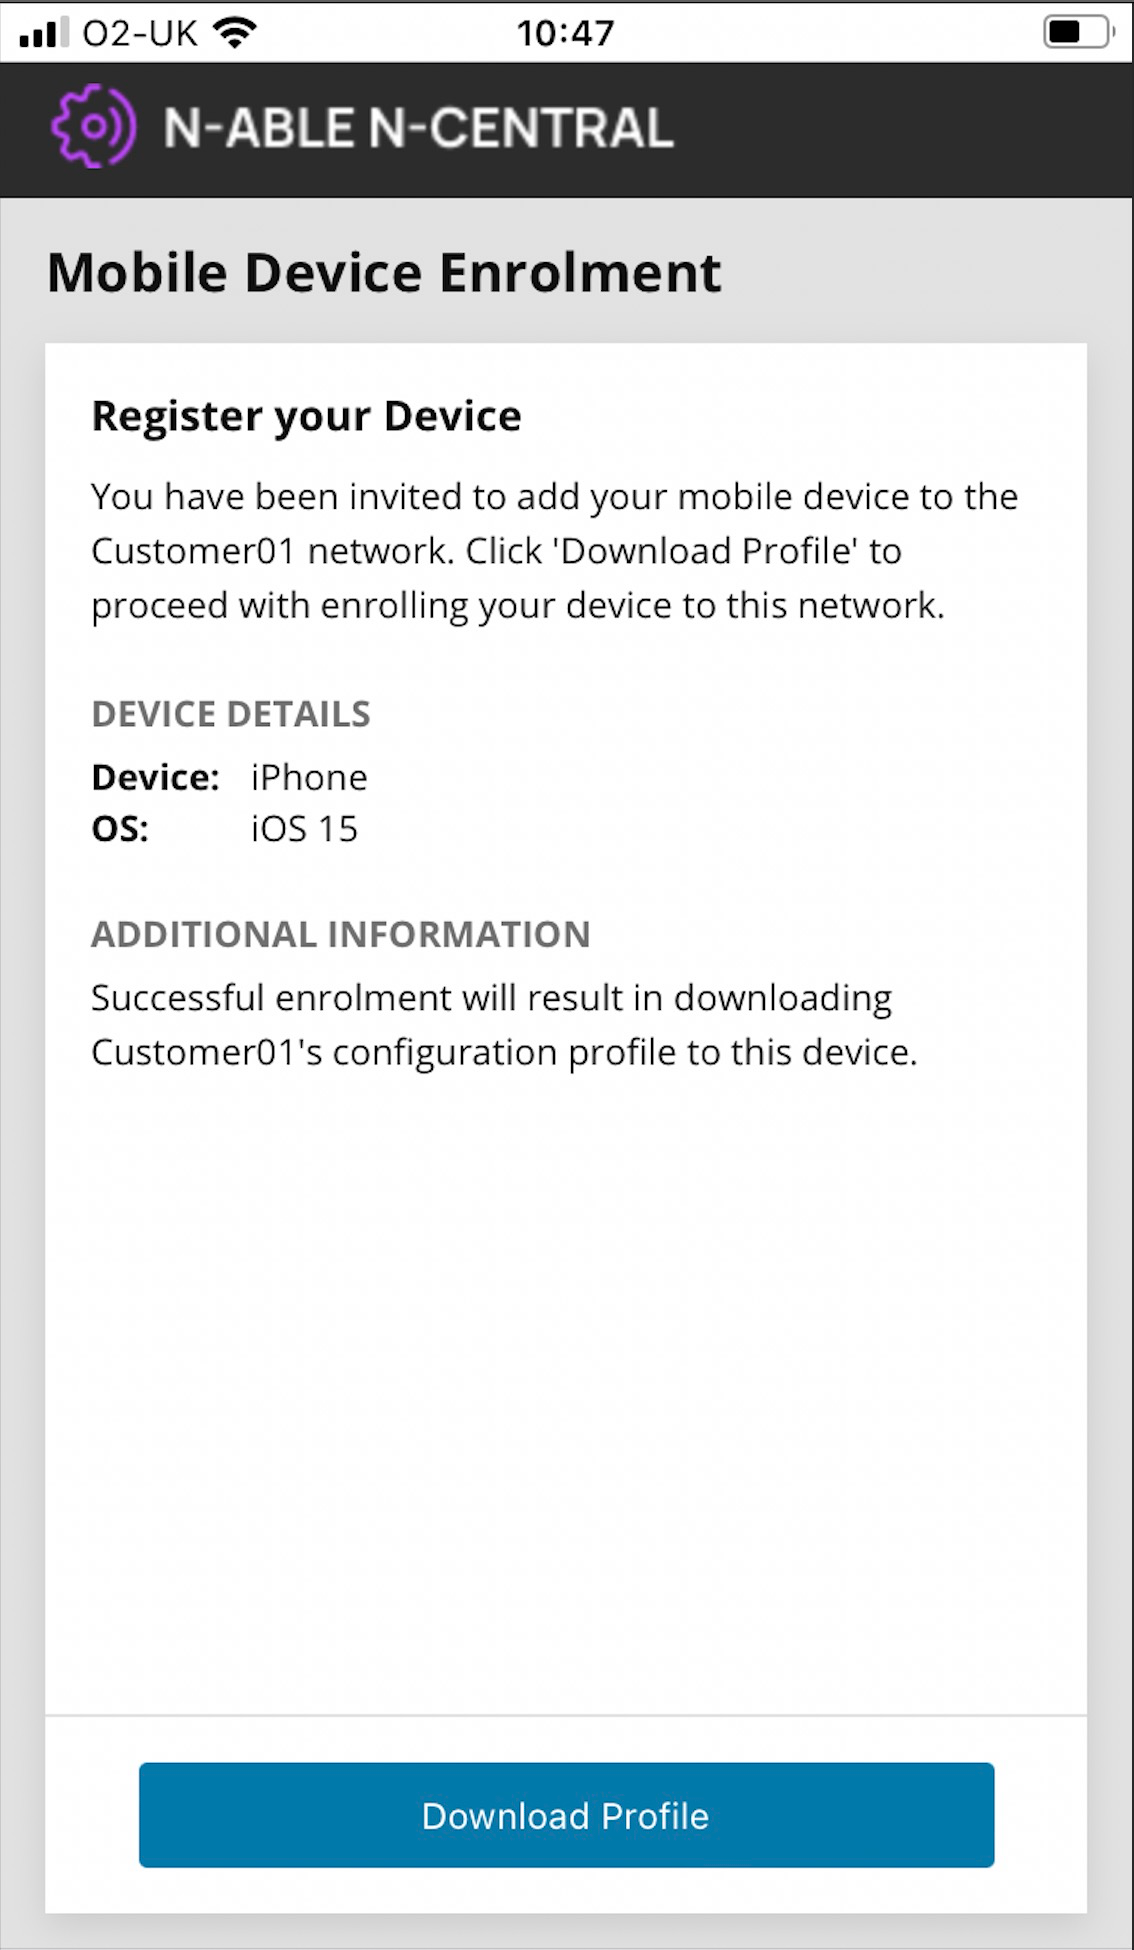
Email recipients will get an email with a link to install a profile. User will need to access the link from a Mobile device.
-
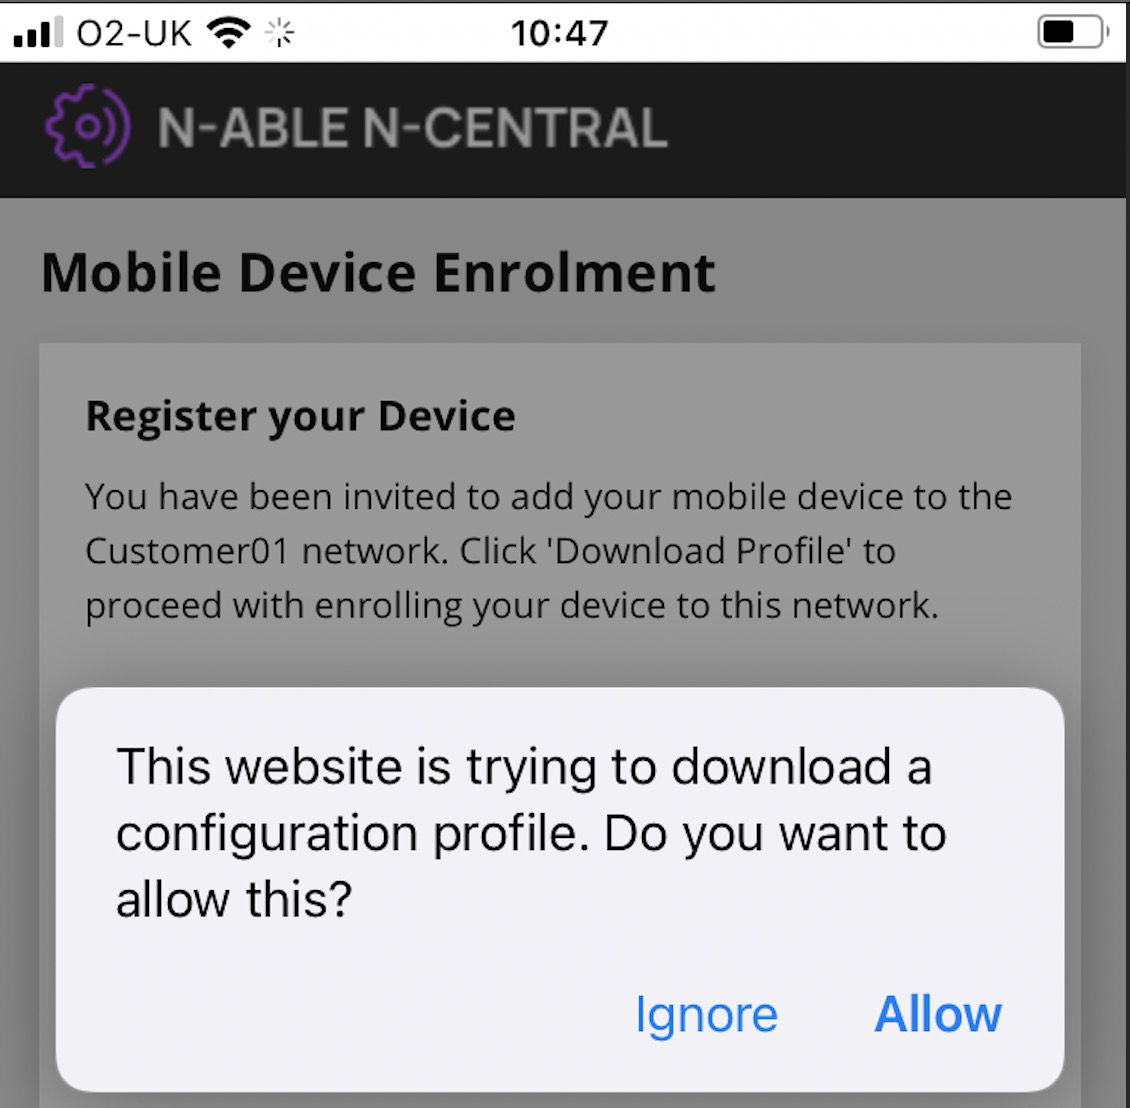
Click Download Profile > Allow to download the Mobile Device Management configuration profile.
-
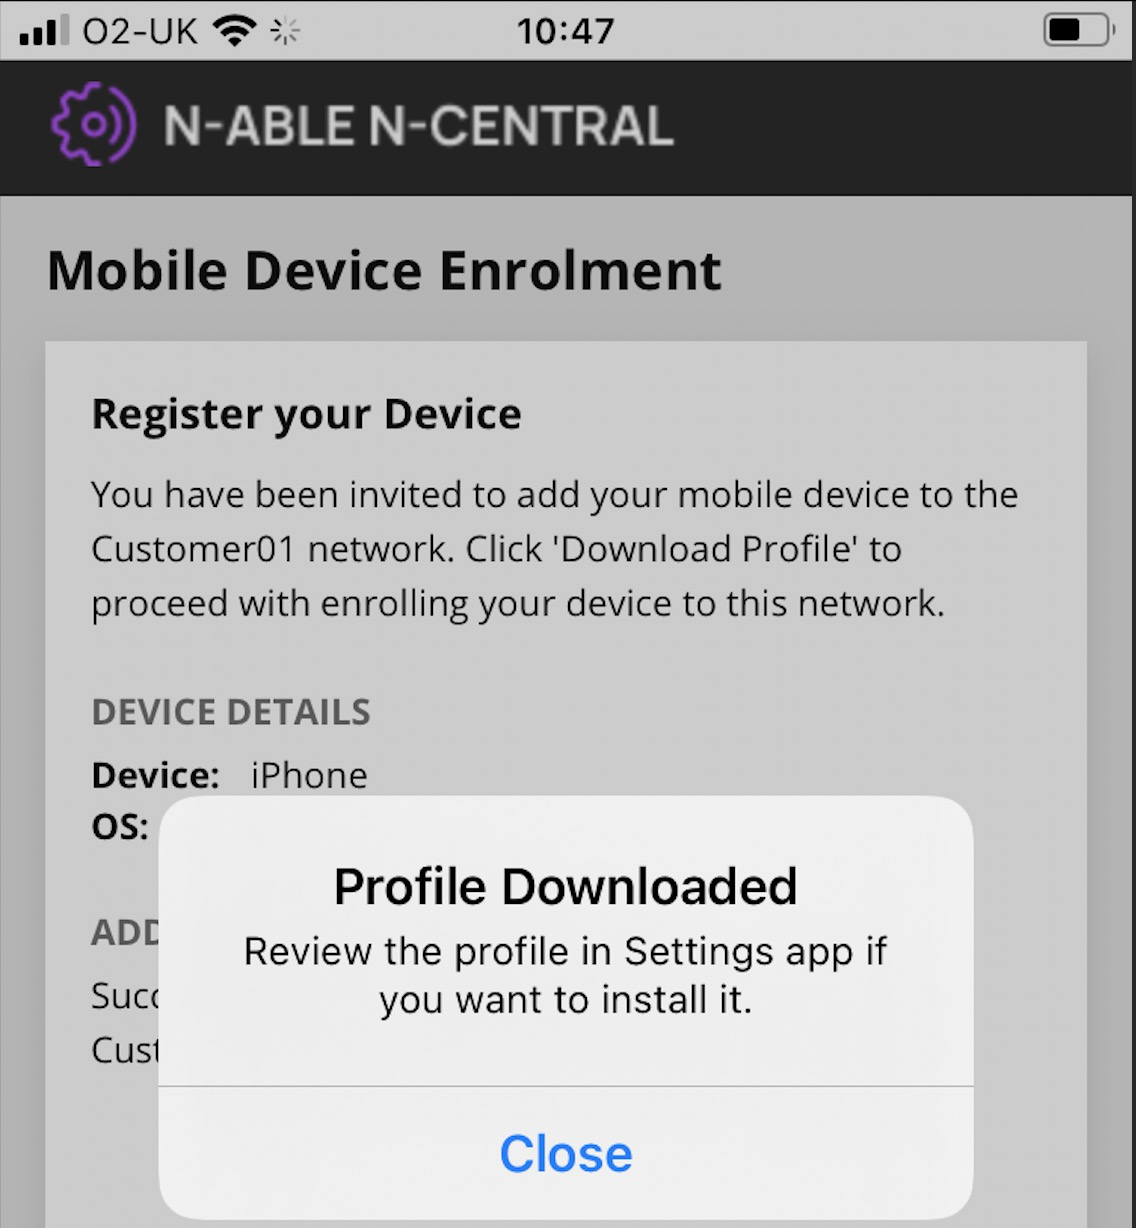
When the download completes, review the message and click Close.
-
Go to Settings > General > Profiles & Device Management (for iOS 16 go to Settings > General > VPN & Device Management) and select the Mobile Device Management profile.
-
Review the profile information and select Install.
-
Enter your authentication method when prompted.
-
Review the Apple Root Certificate and Mobile Device Management warning message and click Install.
-
After reading the Remote Management message, click Trust.
-
Click Done when the profile installs to exit out of the Mobile Device Management dialog.
If there is no DMA certificate set up for that customer or Account, a warning displays.
Apple iOS only supports one mobile device management (MDM) solution at a time. If a third-party MDM product is already installed on a device, an error message displays and our MDM profile does not install.
To remove the competing MDM product profile, go to Settings > General > Profiles & Device Management (for iOS 16 go to Settings > General > VPN & Device Management) to select the profile and remove it. If you can’t remove the profile, ask for help from the person who provided that profile.
Related articles
Updated: Jun 22, 2026