
Add a DNS Filtering profile
The N-central integrated version of DNS Filtering is no longer available for new activations. Only partners who have already enabled this feature can access it. For partners who want to use DNS Filtering’s features and functionality, we recommend using the standalone version. To view the standalone documentation visit the DNS Filtering User Guide.
A profile determines what content filter is applied to your network and what users see when they access a blocked website. You can add a DNS Filtering profile by using the default profile or by creating your own custom profile and then assign it to one or more sites.
Before you can create a profile, you must first add a content filter and a block page.
-
Go to Integrations >DNS Filtering > Profiles.
-
Click Add profile.
-
Enter a name and description for the profile and click Save.
-
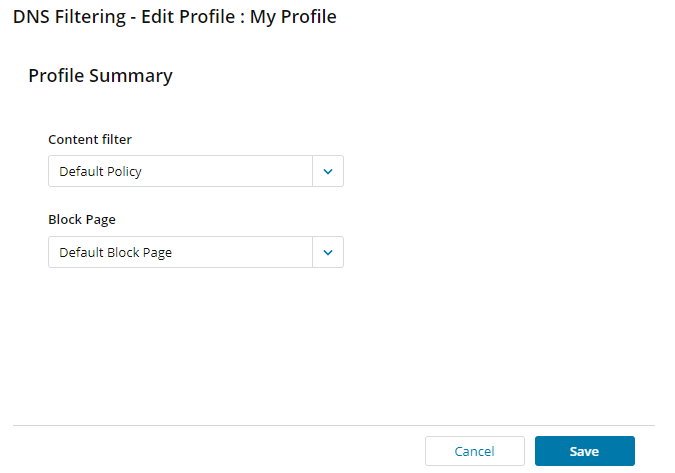
Select a content filter and block page from the drop-down lists.
-
Click Save and then click Finish.