Add a DNS Filtering content filter
The N-central integrated version of DNS Filtering is no longer available for new activations. Only partners who have already enabled this feature can access it. For partners who want to use DNS Filtering’s features and functionality, we recommend using the standalone version. To view the standalone documentation visit the DNS Filtering User Guide.
A DNS Filtering content filter allows and blocks websites that you do not want accessed on your network. They provide complete control over your query traffic by defining lists of domains that you want to allow or deny, including internationalized domain names. You also get real-time visibility of application activity on your network where you can take immediate and proactive action to block unwanted apps.
With a content filter, you can:
-
Control what site categories users can access.
-
Apply block and allow lists.
-
Block entire threat categories such as phishing, malware, and botnets.
-
Look at DNS queries on your network to see if any unwanted sites are slipping through the cracks.
Here are the settings you can define in a content filter:
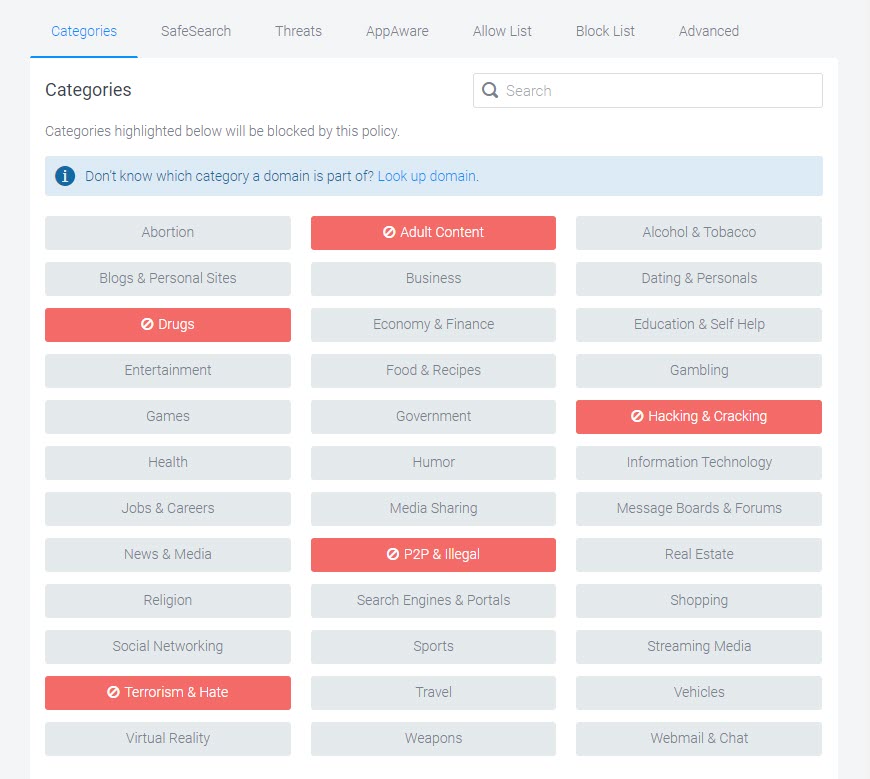
Categories
Content categories let you block large lists of undesirable domains. For example, blocking the "Social Networking" category will block Facebook, Twitter, and Instagram. When you block a category, the button changes to red.
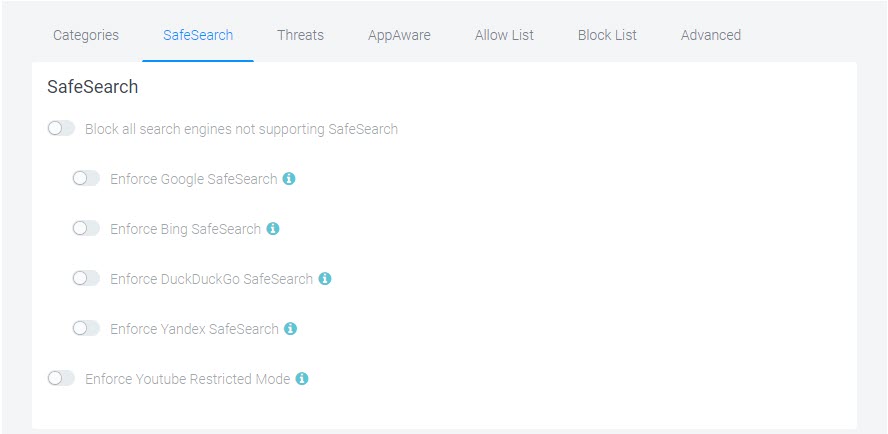
SafeSearch
This category offers Google, Bing, and YouTube SafeSearch options. You cannot override SafeSearch if the SafeSearch options are enabled in your filtering policy. Enabling the SafeSearch options in a filter overrides any blocking for the affected sites that would normally be blocked by the "Search Engines & Portals" category. If you want to ensure that Google, Bing, etc are blocked, disable the SafeSearch toggle(s) in the filter. The same applies to YouTube which is normally blocked by the "Entertainment" category.
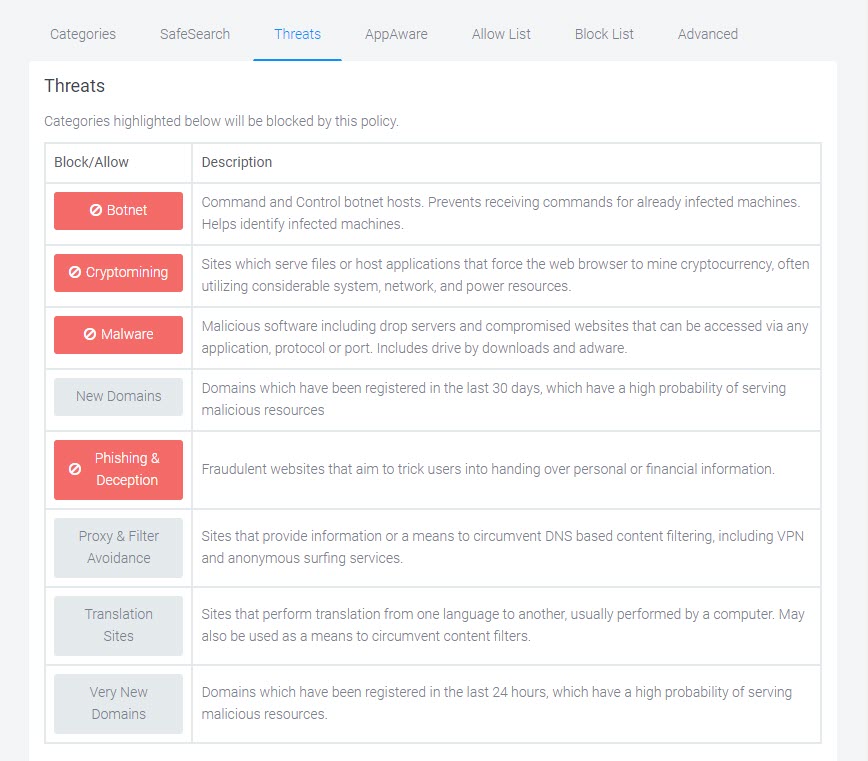
Threats
Threats are domains which host potentially malicious resources that may result in:
-
Circumventing DNS Filtering protection (VPNs, Proxies)
-
Outbound attacks from your network
-
Compromise of usernames, passwords, or other sensitive data
-
Excess system resource utilization
-
Malware and/or Ransomware Compromise
AppAware
AppAware provides real-time visibility of application activity on your network and allows you to take immediate and proactive actions to block apps that do not align with your internal policies.
Allow List and Block List
Use fully-qualified domain names (FQDN) for the domains that you add to your Allow and Block lists. You can allow and block domains at every level of the hierarchy, for example:
-
subdomain.example.org - to allow/block a particular subdomain.
-
example.org - to block an entire domain name.
-
org - to block all .org top-level domains (TLDs)
NAT IPs - Allow you to enforce multiple policies within a single network. By enabling this feature, you can assign alternate DNS Filtering IPs to specific devices or endpoints through DHCP, DNS forwarding, or direct assignment. For example, data centers, guest Wi-Fi, and executive devices.
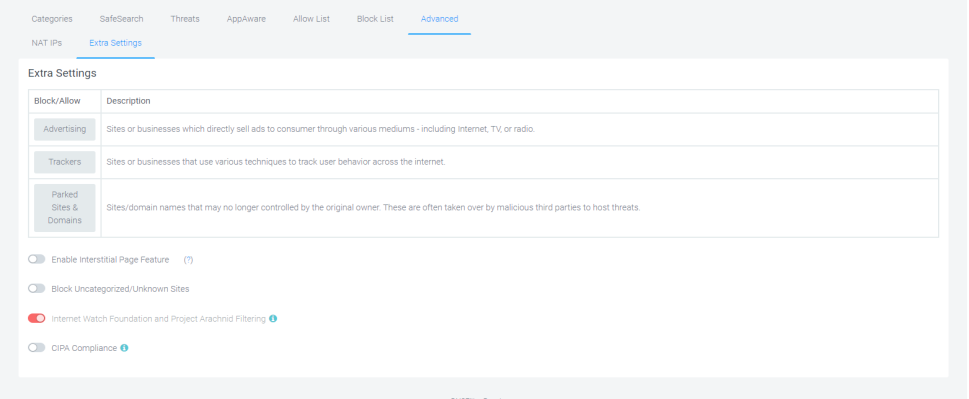
Extra Settings - The extra settings tab allows you to configure DNSFilter beta features. The settings are experimental and at the forefront of new developments in DNSFilter platform.
For most environments, where stability is a concern, we encourage you to leave all options turned off (default settings).
Add a content filter
The first step is to name and describe your filter.
-
Go to Integrations >DNS Filtering > Profiles - Content Filters.
-
Click Add Content Filter.
-
Enter a name and description for the new filter.
-
Click Save.
Define a content filter
After adding your content filter, you must define its settings.
Categories
-
In the Categories tab, select the categories that you want to block, and click Finish.

SafeSearch
-
Click the SafeSearch tab, select your SafeSearch options, and click Finish. Information is available for each option.

Threats
-
Click the Threats tab, select the threats that you want to block, and click Finish. Hover over any threat for more information.

Allow List
-
Click the Allow List tab.
-
Click (Add Domain)and enter the domains that you want to allow.
-
Click Import CSV if you want to import a list of allowed domains. (optional)
-
Click Export CSV if you want to export your list of allowed domains.(optional)
-
Click Finish.
Block List
-
Click the Block List tab
-
Click (Add Domain)and enter the domains that you want to block.
-
Click Import CSV if you want to import a list of domains to block. (optional)
-
Click Export CSV if you want to export your list of blocked domains. (optional)
-
Click Finish.
Advanced
-
Click the Advanced tab.
-
In the NAT IPs tab and select an IP address set if you want to enforce multiple policies in a single network.

-
Click Finish.
Extra Settings
Extra Settings is not applicable to networks with Active Directory. Windows DNS Server does not have a way to forward DNS based on subnet or internal IP address. Also, you can not use the NAT IPs feature with a global policy. You must use non-global policy that belongs to a single organization.
-
Click Extra Settings if you want configure DNS Filtering beta features. These are experimental settings and at the forefront of new developments in the DNS Filtering platform.
For most environments, where stability is a concern, we encourage you to leave the default settings on this page (all options turned off).

-
Click Finish.
Internal notes: Reviewed by Sujaswini - June 2024. Edited UI text.
