
Define rules for ticket routing
Use ticket routing rules in MSP Manager to automatically assign users to specific customers or customer locations. When a customer submits a ticket request by email, through the customer portal, or via N-central, MSP Manager uses these rules to determine which user or team should receive the ticket.
Before you begin, confirm that each customer and location has users assigned in MSP Manager.
Assign users to customers
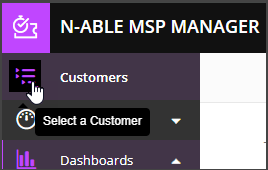
- Select the Customer icon
 in the left navigation to view your customer list.
- Choose a customer from the list to show that customer's menu.
- Choose Dashboard , then select Edit Customer from the Actions drop-down list.
- In the Advanced Settings section, choose one or more users from the Assigned Users drop-down list.
- Select Save Customer.
Assign users to locations
- Select the Customer icon in the left navigation to view your customer list.
- Choose a customer from the list to show that customer's menu.
- Go to Locations and select the pencil icon
 to edit a location.
 - Chose one or more users from the Assigned Users list.
- Select save
 .
.
Define rules for ticket routing
- Go to Settings > Tickets & Workflows > Routing Rules.
- Expand each inbound ticket source to configure its routing rules.
- Choose one of more of the following options:
- Customer or Location Assigned Users: Route tickets to user assigned to the customer or location.
- User Skills: Route tickets based on technician skills matched to the Issue Type.
- User / Team: Select specific users or teams to receive tickets.
- Workload: Assign tickets to the technician with the lightest workload.
- Select Save Settings.
If you're integrating with N-central , Take Control recommends selecting one or more User options under the When a ticket comes in via N-central section. A user must be assigned when the ticket is created to ensure the ticket status updates correctly.
What do you want to do?