Customize company branding
You can add your company branding onto the Take Control agents and applets with which your end uses interact. With these branding capabilities, you can add your logo(s) and icons to the software product and maintain brand consistency across your services.
How to customize company branding
To customize your company branding onto Take Control's agents and applets:
- Log in to the Admin area.
- Click Profile > Identification.
- Select the Basic Information tab.
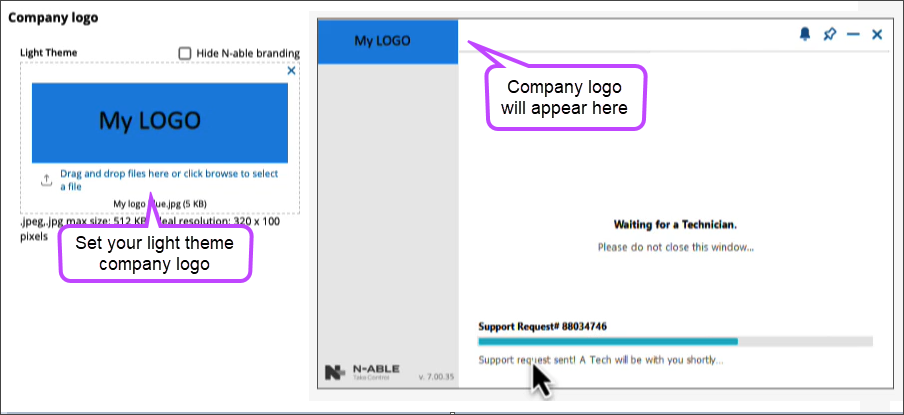
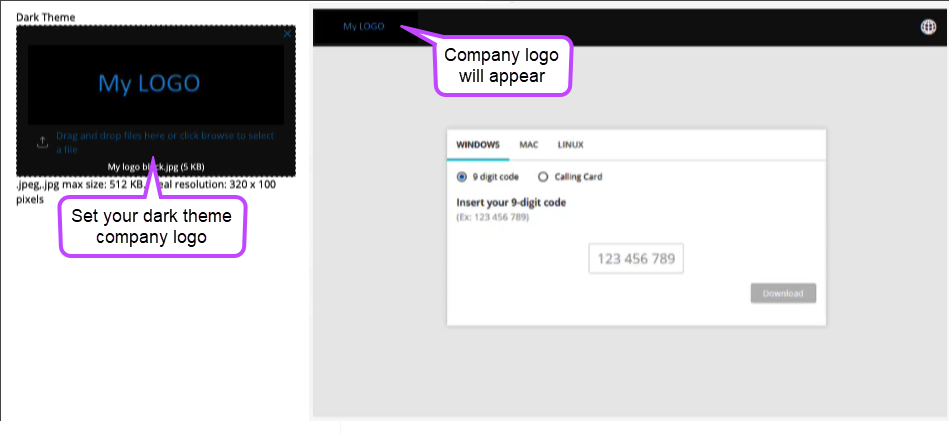
Configure company logo
Under the Company logo section, you can set the logo that appears on the top left corner of Take Control applications. This includes: the Applet, Agent, browser applications such as End-User Area, startcontrol.com, and Surveys.
You are able to upload your own light and dark theme logo(s) . You can use the preview pane to view how your changes will appear on these applications.
File extension restrictions for your company logo: .JPEG, .JPG, max size 512 KB. Ideal resolution: 320 x 100 pixels.
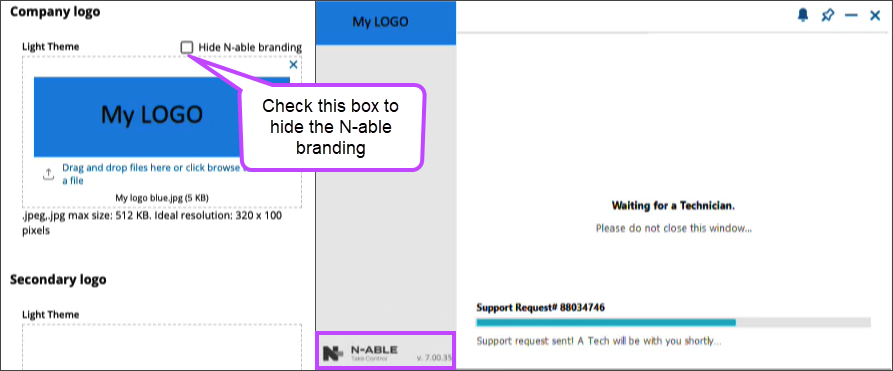
You can also hide the N-able company branding by checking the Hide N-able branding.
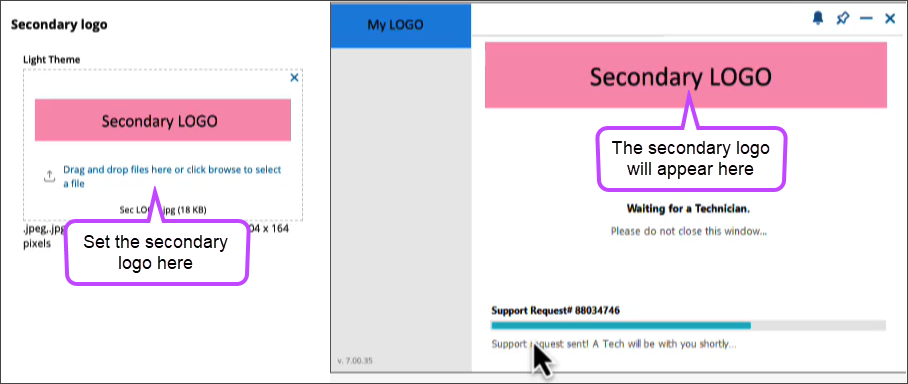
Configure secondary company logo
Under the Secondary logo section, you are able to set a secondary and larger-sized logo which will appear in the middle of your Applet and Agent. You can use the preview pane to preview how your changes will appear on these applications.
File extension restrictions for your secondary logo: .JPEG, .JPG, max size 512 KB. Ideal resolution: 1004 x 164 pixels.
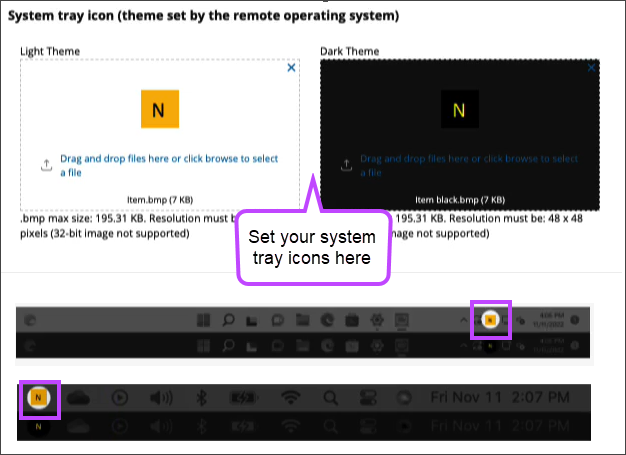
Configure system tray icon
Under the System tray icon section, you can set your own icon(s) that will appear on the system tray. You can select to upload your own upload your own light and dark theme icon(s) that will be shown on the operation system. You can use the preview pane to preview how your changes will appear on the system tray. Note that the theme is set by the remote operating system.
File extension restrictions for your system tray icon: *.BMP, max size 195.31 KB. Ideal resolution: 48 x 48 pixels, 24bit.