
Configure integration options for your account
Learn about and set up the advanced integration options in Take Control. These integration options help to provide your customers with a seamless support experience.
- Navigate to Profile > Integration and use the Your Web Site section to add a Get Support button to your website. Copy the code presented at the center of the screen and paste it in the code of your own web page.
- Select the Exclusive link tab and enter the link from which your clients can request support. Choose one of the available options offered by the drop down box at the left. Directly below, you can preview the Exclusive Link (used by the clients to send a support request) and the Applet direct download link (used by the clients to initiate the download of the Applet).
- Select the Notifications tab and choose which events trigger email notifications for your Helpdesk Center. There are four possible events, and each one can notify a different email recipient.
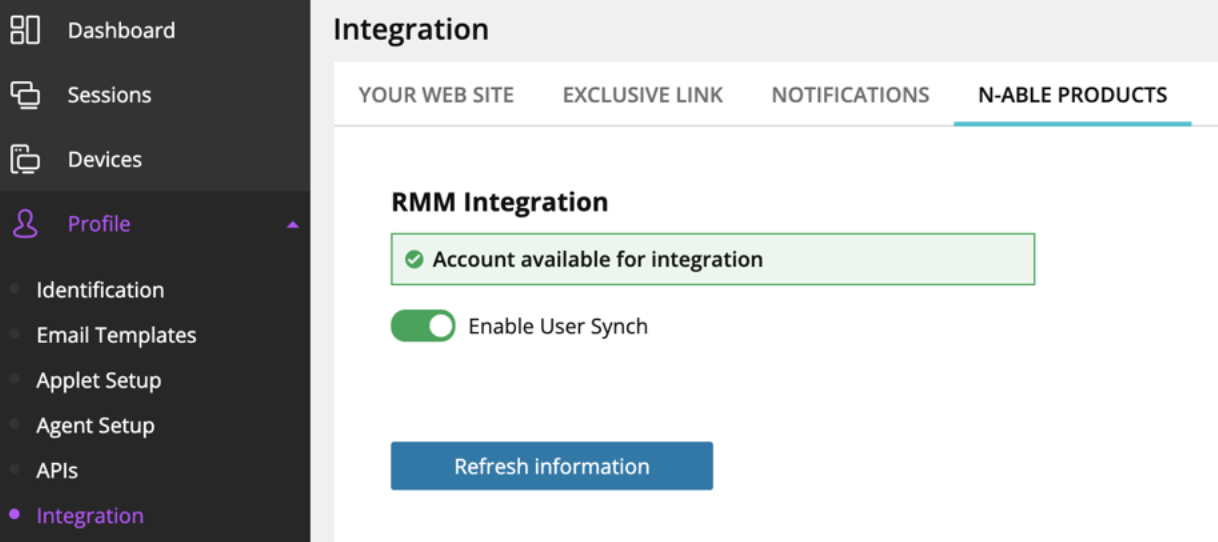
- Select the N-able Products tab to configure the integration with your N-sight RMM account, and enable the user sync between the two products
To modify the aesthetics of the button, you can comment out the colored code and use your own URL.
Use email filtering rules to forward these messages to different technicians, based on certain conditions (customer number, computer name, request queue).
User Sync with N-sight RMM is off by default for existing partners, and on by default for new trials where N-sight RMM and Take Control are both provisioned.
- Save your changes.
What do you want to do?