
Scanning via Active Directory
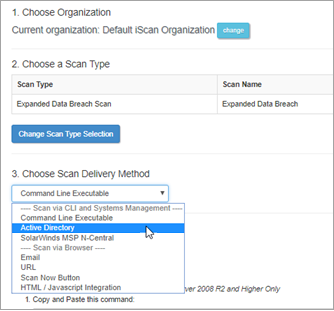
After selecting your organization and scan type from the Scan Computers page, choose Active Directory from the Scan Delivery Method dropdown:
- Step 1 Configure Distribution Point for the Command Line Executable
- Step 2 - Launch Server Manager
- Step 3 - Open Group Policy Management
- Step 4 - Navigate to the Group Policy Object
- Step 5 - Edit the Domain Policy
- Step 6 - Open Scheduled Tasks
- Step 7 - Create a New Scheduled Task
- Step 8 - Configure the Task (for Server 2016)
- Step 9 - Schedule the Task
- Step 10 - Check Scan Progress
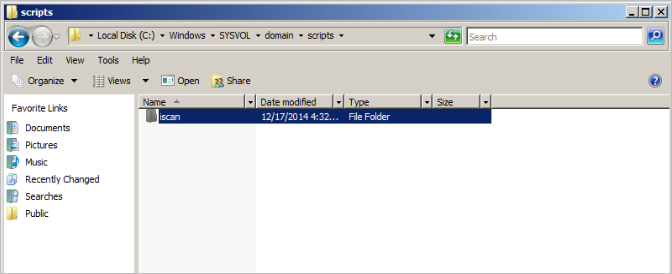
Step 1 Configure Distribution Point for the Command Line Executable
- Create a directory under C:\Windows\SYSVOL\domain\scripts on the Domain Controller.
- Download the command line executable for Windows (RIlauncher.exe) and save it to the directory you just created.
Step 2 - Launch Server Manager
In most cases, this is done by simply clicking the Server Manager icon located at the far left of the task bar at the bottom of your screen.
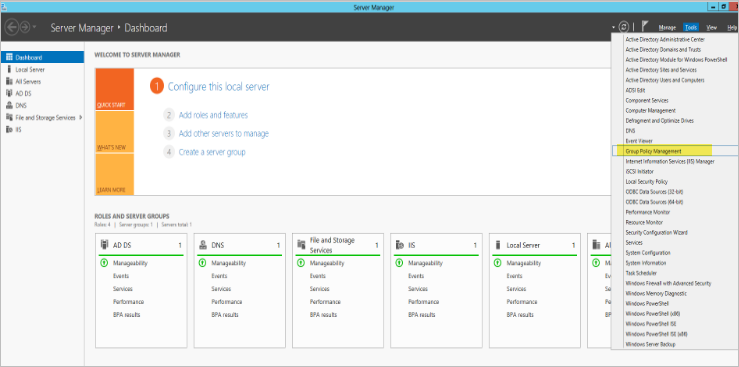
Step 3 - Open Group Policy Management
Server 2012/2012R2
Click Tools in the upper right of the window, then click Group Policy Management.
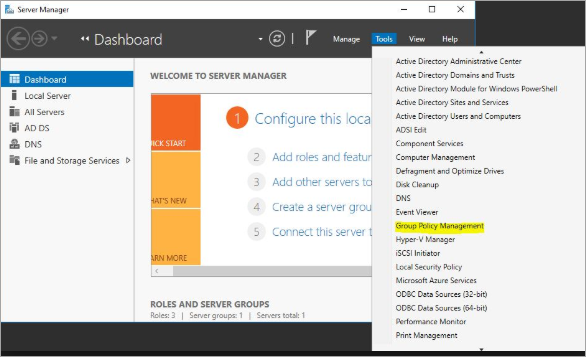
Server 2016
Click Tools in upper right of window and select Group Policy Management:
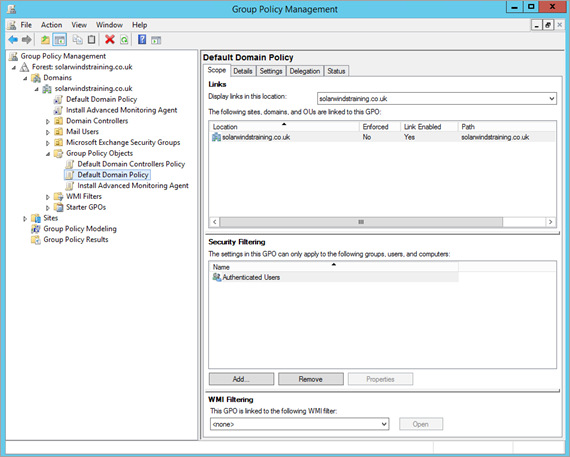
Step 4 - Navigate to the Group Policy Object
Once inside Group Policy Management, navigate to Forest > Domains > Your Domain Name > Default Domain Policy.
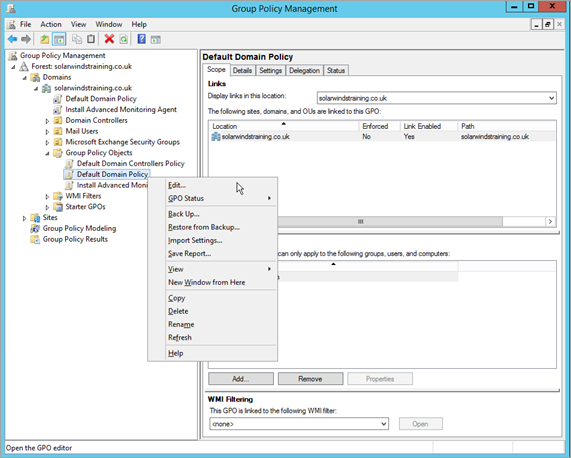
Step 5 - Edit the Domain Policy
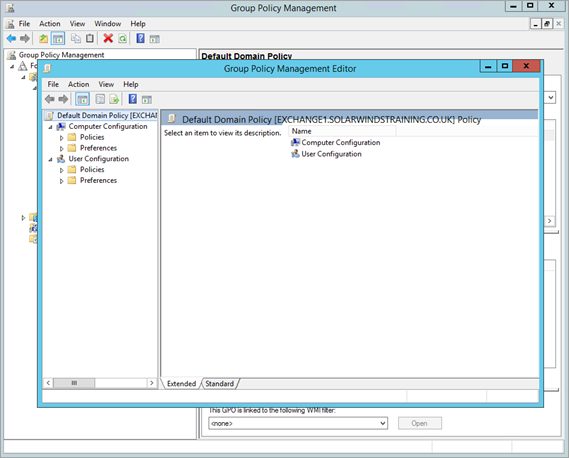
Right click on the Default Domain Policy object and select Edit.
The Group Policy Management Editor is displayed:
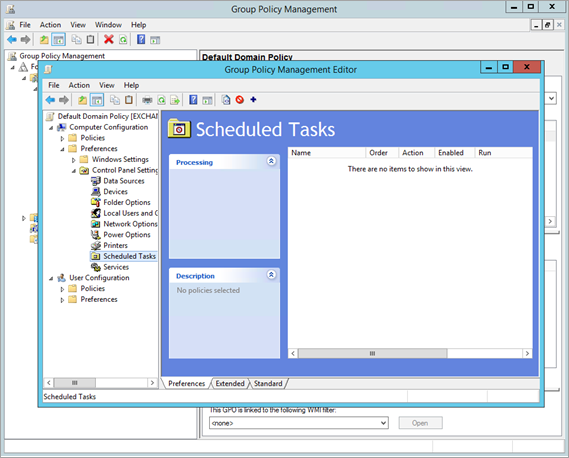
Step 6 - Open Scheduled Tasks
In the Group Policy Management Editor, go to Computer Configuration > Preferences > Control Panel Settings > Scheduled Tasks.
Step 7 - Create a New Scheduled Task
Right click on Scheduled Tasks, click New, then select Schedule Task
If you have multiple Operating Systems on your domain you must create separate Scheduled Tasks for each Operating System.
Step 8 - Configure the Task (for Server 2016)
- On the General tab, click on the Action drop down and select Create…
- Add a descriptive name (this is mandatory).
- In the Run field, enter the path to the exe (this is mandatory).
- In the Arguments field, enter the scan shortcode with the k argument e.g. 'k EUXLTXGHG'
- Click on the Configure for: dropdown and select the Operating System that you will deploy task to
- Click on the Triggers tab to configure the run-time/schedule of the Scheduled Task.
- Optionally, configure Actions, Conditions, Settings, and Common if desired.
- Click Apply.
- Click OK.
-
The Configure Task step for both Server 2012/R2 has additional options for specific operating systems that are not displayed here. While those tasks can be configured to work, you need to consult the provider’s website for details.
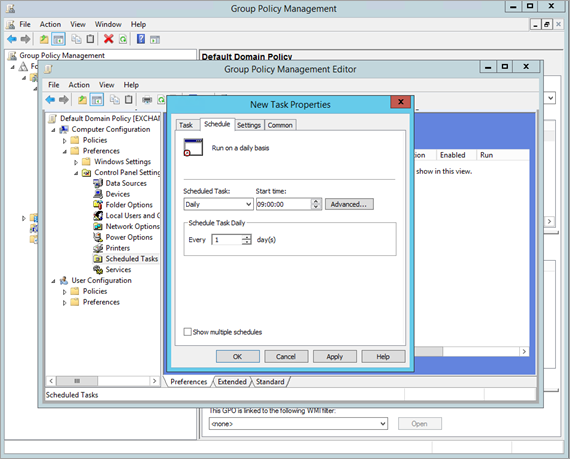
Step 9 - Schedule the Task
- In the Schedule tab, click on the Scheduled Task dropdown and select the option you require.
- Set the Start time.
- Add the settings you need - these vary depending on your selection in the Scheduled Task dropdown.
- Configure any optional settings as required.
- When you have finished, click OK to save your new scan task.
Step 10 - Check Scan Progress
Assuming the steps above have been completed, and your updated GPO has been pushed to all systems, then the scan should be executed at the time you specified in the task.
Manually running GPUPDATE on the Domain Controller and any target systems may speed up the GPO sync process.
To verify the scan is executing properly, log in to the Risk Intelligence Console and navigate to View and Manage - Scan Results to view your scan progress (see View Individual Device Scan Results.
Troubleshooting
If scans are not being executed at the proper times, then try the following troubleshooting steps:
- Make sure the path specified in the scheduled task is correct. In most cases, it should be in the format of \\server name\path\executable.
- Make sure the systems that have been scheduled to run the task have access to that shared location. You can do this by opening the Run menu (Start / Run, or Windows key + R), then typing in the path to that shared location (minus the file name), and hitting enter. The folder containing the executable should open.
- Make sure the date and time are correct on all systems.
- Open the Event Log on one of the target systems and look for any events related to the Task Scheduler or the scheduled scan.
- Open the local Task Scheduler on a target system. Click on Task Scheduler Library, then look for your scheduled scan in the middle window. If not found, then that could indicate GPO sync issues. If found, it may have a status message that could help to explain any failures.
Additional Reading
More information on GPO editing and GPO Schedule Tasks can be found in these Microsoft Articles:
http://technet.microsoft.com/en-us/library/cc770904.aspx
http://technet.microsoft.com/en-us/library/cc736591(v=ws.10).aspx