
Create Report
- Select Reports from the left Navigation panel.
- Click on Create New Report:
- In Step 1 - Select Report Category, select from the following:
- Click Next.
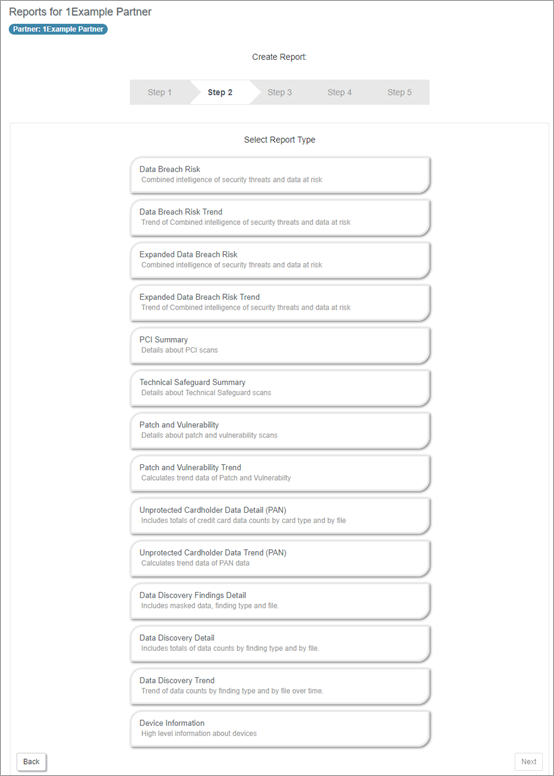
- In Step 2 - Select Report Type, select from the report types available.
- Baseline Reports - Report on the scan results from each devices' very last scan, per scan type.
- Trend Reports - Report on the scan results from all scans in the selected time-frame (day, week or month).
- Click Next.
-
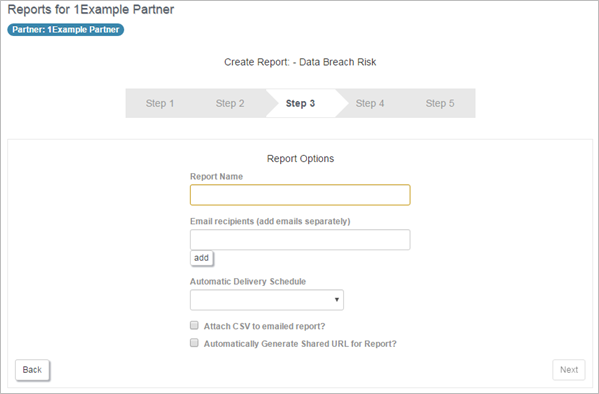
Step 3 - Select Report Options is displayed. Choose your report name, any email recipients of the report and any automatic scheduling of the report.
To attach the CSV file to the emailed report, select the Attach CSV to emailed report option.
The system will add the CSV file to the emailed report in one of the following ways:
- 0-5MB - If the file is between 0-5MB, the file is attached to the email
- 5-10MB - If the file is between 5-10MB, the file is zipped and attached to the email
- 10MB+ - If the file is over 10MB, a link to the file is added to the email to the email
If you want the system to automatically generate a shared URL for the report, select the Automatically Generate Shared URL for Report option.
- Click Next.
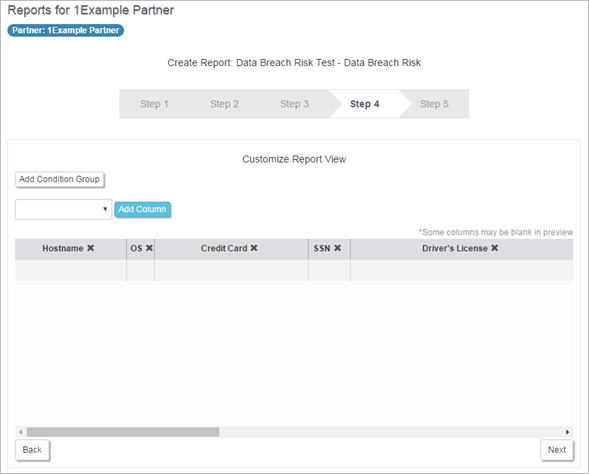
- In Step 4 - Customize Report View, you can add/remove columns displayed in the report and create Conditions which allow you to specify what data is included in the report output. You can also see a preview summary of the information that will be displayed.
- Click Next.
- Step 5 - Report Review allows you to review your input. Click Save if you are happy with your report.
Any reports that have already been created are listed.

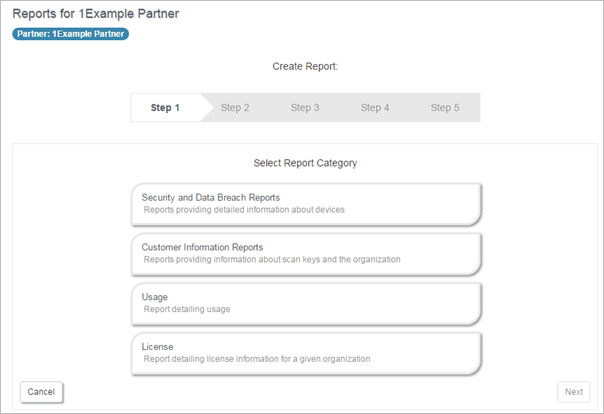
This is based on your selection in Step 1 - Select Report Category. If you chose the Security and Data Breach Reports category, you will see a list of Baseline and Trend reports to choose from.
Some reports will pull data from more than one scan type. For example, when creating a Data Breach Risk Baseline report, scan data will be pulled from either the Data Breach Risk, PAN, PCI & PAN or Data Discovery scan - whichever scan is the most recent.
Therefore, to ensure that your report picks up the relevant scan data, make sure you run the appropriate scan first.
For more information about what data is pulled per report type, see Report Types.
Your new report is now listed in the Reports page:
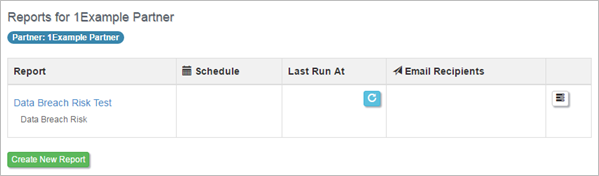
You can now run and view your report. See Run Report.
See Reporting for further information.