
Virtual disaster recovery to Azure Cloud
If Backup and Recovery options do not appear in N-sight RMM, use Cove instead.
To start a 30-day free trial of Cove:
- Open the app switcher in the Product Bar.
- Select Cove Data Protection (Cove).
The Recovery Console lets you keep warm standby virtual images up-to-date in the Azure cloud. There is no such recovery target as Azure, but you can accomplish the task by installing the Recovery Console on a virtual machine in the Azure cloud and enabling the disaster recovery of your production systems into Hyper-V.
Please note: these steps are correct at the time of writing. However, Microsoft may change their process at any time, meaning these steps may become out of date.
Step 1: Create VM in Azure
- Go to the Azure portal at https://portal.azure.com and sign in with your Microsoft account. You will need to create an account if you don't have one yet.
- Create an Azure subscription (if you do not have a suitable subscription yet). A free 30-day trial is available.
- From the left menu, select Virtual machines. Then click Add and follow a setup wizard.
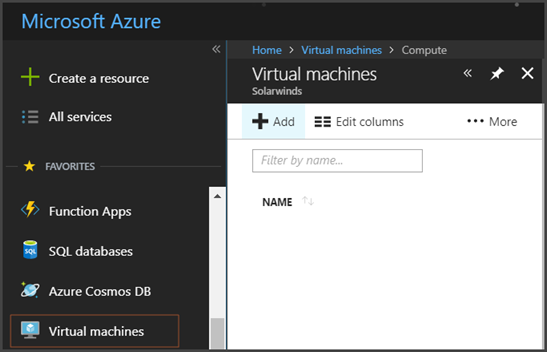
The following settings are important:
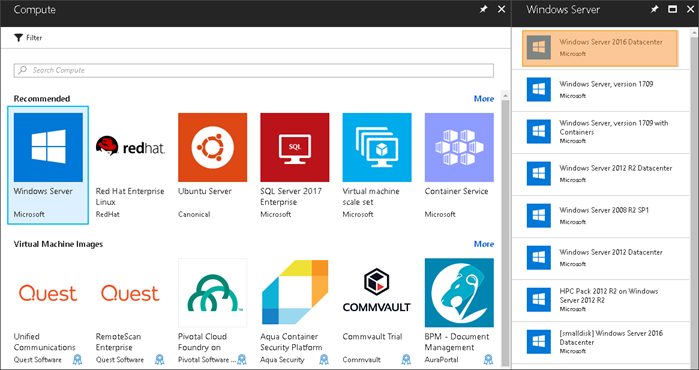
- Set the operating system to Windows Server 2016 Datacenter or Windows 10 Pro (they both support nested virtualization).
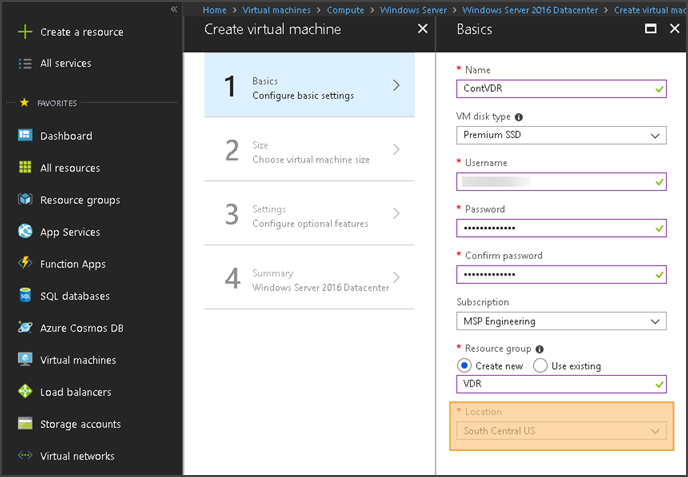
- For faster data transfer, select a location that is close to where the backup data is located.
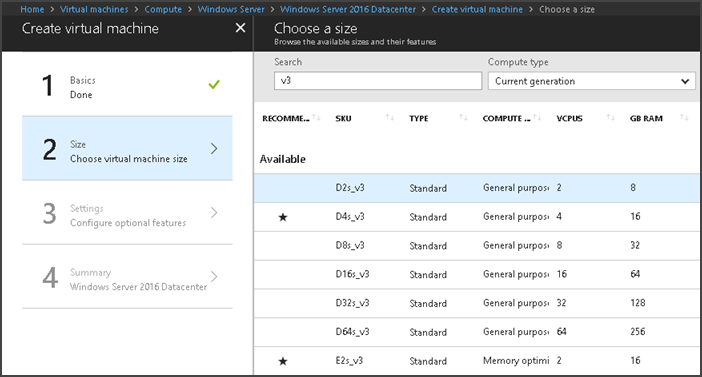
- Choose a VM size that supports nested virtualization: Dv3 or Ev3. For the full list of supported VM sizes, see this Microsoft article: Azure compute unit (ACU).
For details and screen shots, see the following Microsoft instruction: Create virtual machine.
Step 2: Enable Hyper-V role
- From the left menu, select Virtual machines. Start the virtual machine you have created.
- Establish a remote connection to the virtual machine (view Microsoft instructions).
- Enable the Hyper-V role on the virtual machine (view Microsoft intructions).
Step 3: Enable virtual disaster recovery
- Download the Recovery Console installer.
- Run the installer and complete the installation.
- Enable virtual disaster recovery to Hyper-V for as many devices as necessary.
Helpful settings:
- Keep the LocalSpeedVault disabled in this configuration since the recovery is "Cloud to Cloud".
- Location - this is where virtual machines will be created. You can use any path here, but typically it is
C:\ProgramData\Microsoft\Windows\Hyper-V\Virtual Machine.
Unless you uncheck the Continuous Restore setting, the restore will begin momentarily and will update the image with the changes every time a backup occurs for this system.