Changing User Preferences
Passportal website Session Timeout duration is set by Passportal Admin and not individual users. This is to ensure the security setting is consistent across all users. Please check with the Passportal Admin for the duration that they have set. The Session Timeout duration setting is detailed in: Advanced Options
To edit your User Preferences:
- Click the User Profile drop-down menu.
- Click User Preferences.
- Edit preferences as required (settings detailed below).
- Click Save at the bottom right of the User Preferences dialog.
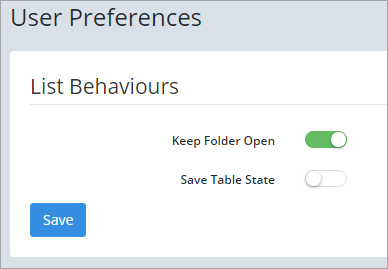
The User Preferences - List Behaviours screen is displayed.
Keep Folder Open
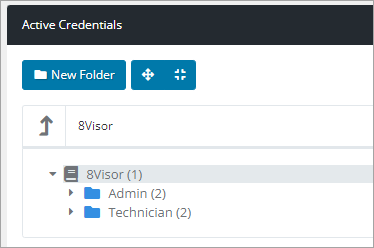
Toggling on Keep Folders Open will display all folders in the client views as open and sub folders will be visible by default. When disabled, folders will show as closed.
| Keep Folder Open disabled | Keep Folder Open enabled |
|
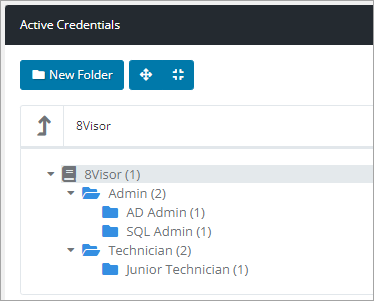
|
Save Table State
Toggling on Save Table State will result in the Show X entries selection to be retained. When you now set the number of entries to be shown in any of the Client Overview Dashboard Information Panels, it will now default to this number each time you view it.
Startup Options
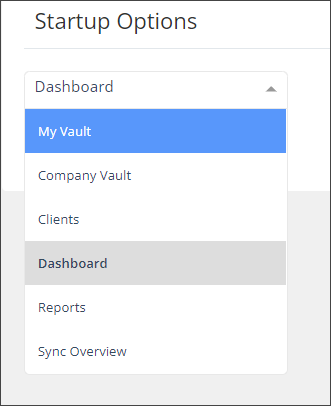
You can select a default view to be presented once you have logged into Passportal. Select the desired view from the selection in the dropdown menu. Once selected click Save at the right hand side of the User Preferences view.
By default, this is set to the main Dashboard for all users until set
- Where Company Vault is selected, you the view can refined to one of the documentations sections, such as Articles, SSL, or Credentials for example.
- Where Clients is selected, the view can refined to show the Clients List or a specific Client.
Password Visibility Options
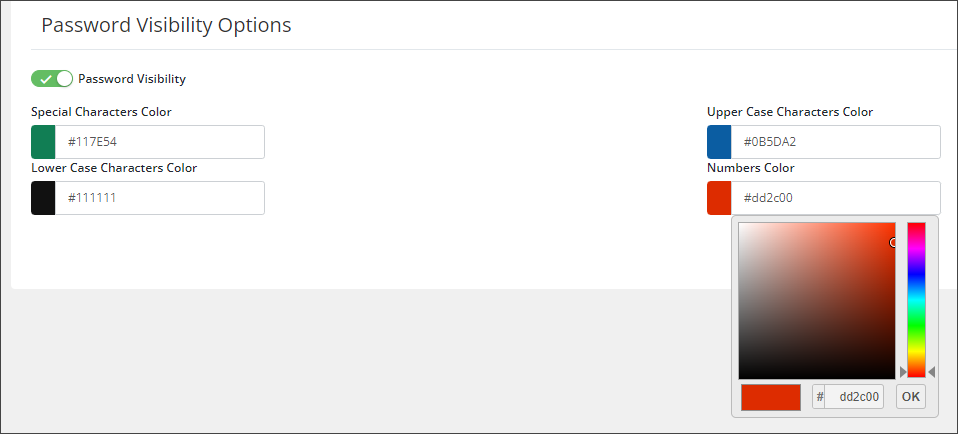
Password Visibility is enabled by default for all users. This feature allows you to set your preferred Password Visibility options.
When Password Visibility is enabled, passwords will be shown using different colors for different character types:
- Special Characters: (default) Green [#117E54]
- Upper Case Characters:(default) Blue [#0B5DA2]
- Lower Case Characters: (default) Black [#111111]
- Numbers: (default) Red [#DD2C00]

