Branding
Passportal's branding feature allows you to customize the visual look of the dashboard. You can replace the Passportal logo in the top left corner with your own company logo, and change the color scheme of the website. In addition to allowing organizations to tailor the site to their tastes, this branding will also affect Blank label resold users accessing Passportal.
If you resell Passportal to your clients, they will see your companies design choices when they access their passwords.
If you utilize the Passportal Mobile App, it will automatically update to the branding color scheme you set for the dashboard.
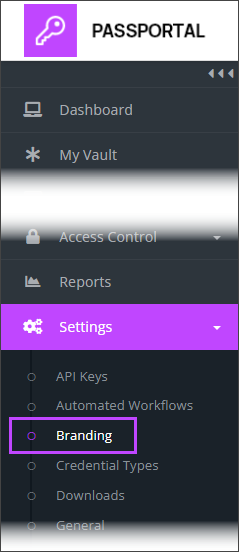
Access Branding Settings:
- Navigate to Settings > Branding
- Set the various branding sections as detailed below, and then click Save at the foot of the screen to apply.
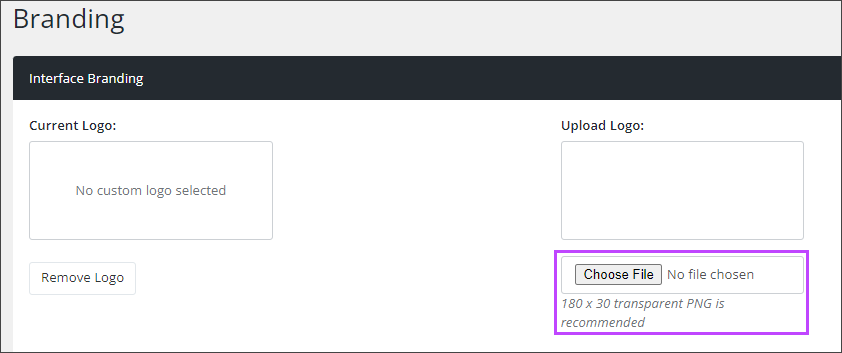
Interface Branding Settings
- Add a new Logo by using the Choose File option. For best results, we recommend a .PNG file, with transparent backgound, sized 180 x 30 pixels
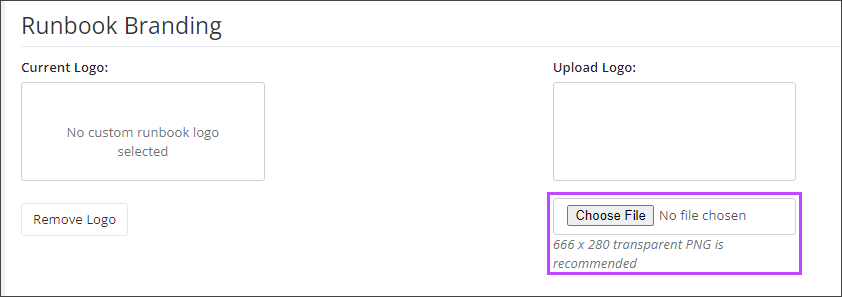
Runbook Branding
- Add a new Logo by using the Choose File option. For best results, we recommend a .PNG file, with transparent backgound, sized 666 x 280 pixels
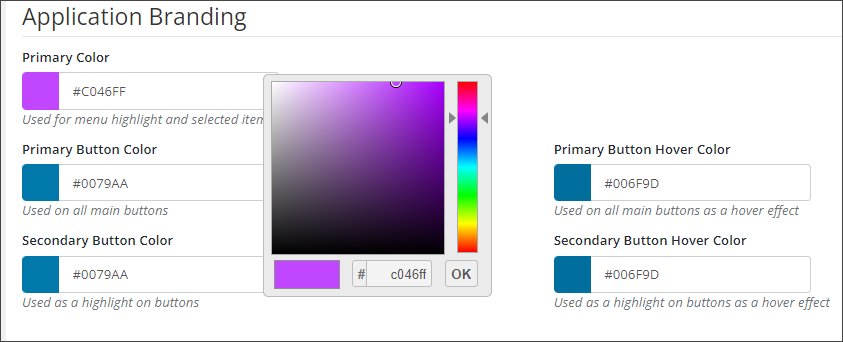
Application Branding
- Set the color scheme required to style the dashboard and generated Using Runbooks. Each field allows the use of Hex codes for the colors, as well as providing a color chart to select from.
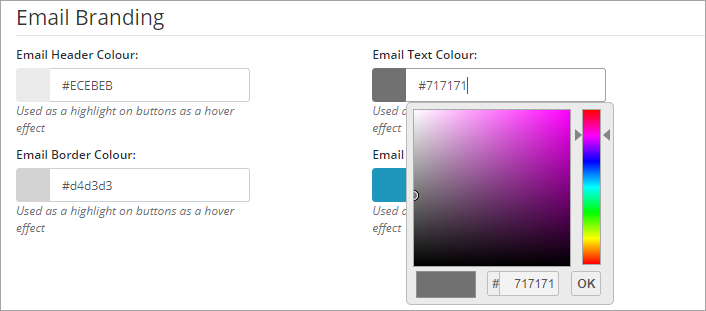
Email Branding
- Set the Email Branding as required. Controls are the same as the Application Branding section.
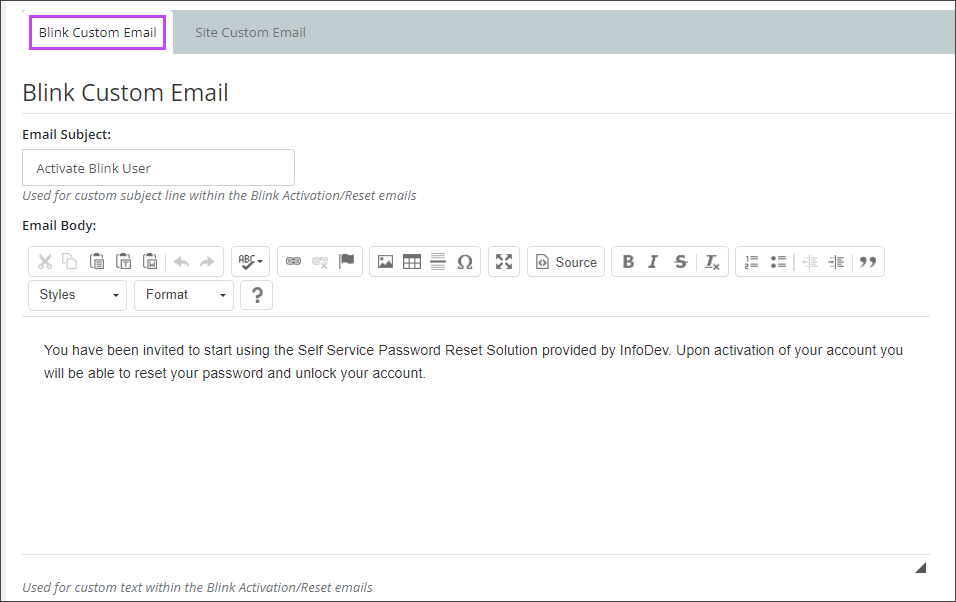
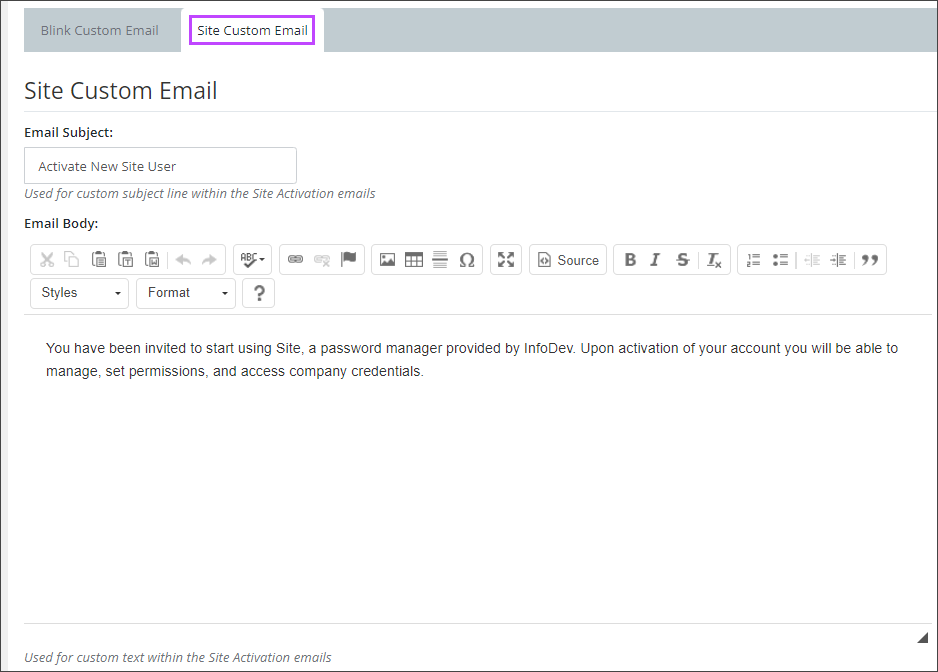
Blink / Site Custom Email
Set custom email forBlink and Site by selecting the appropriate tab
- Enter the email details and formatting using the provided editor.