
Blink - Getting Started
Prerequisites
Blink is a product offering that works within Active Directory - therefore Active Directory is required.
- Installed Windows Agent. See Active Directory and Entra ID Integration
- Blink enabled mobile device (Blink App installed from activation link sent via Blink User Setup ).
- Subscription to Blink. (Please contact your Account Manager if you would like to utilize Blink).
This requires the Remote Monitor Agent to be on version v3.1.0.0 or higher, download the latest version from Settings > Downloads in the Passportal console.
Blink Setup
Blink Setup requires that you have configured a subdomain and have a suitable Blink Activation Email to invite users to the Blink service.
Subdomain
You need to have configured a subdomain as the activation link in the Blink Activation Email will be built from that URL.
Only one subdomain can be created.
To create the subdomain:
- Navigate to Settings > General
- Select the Subdomain Settings tab
- In the Choose Subdomain field enter a one word subdomain
- Click Save to apply the settings
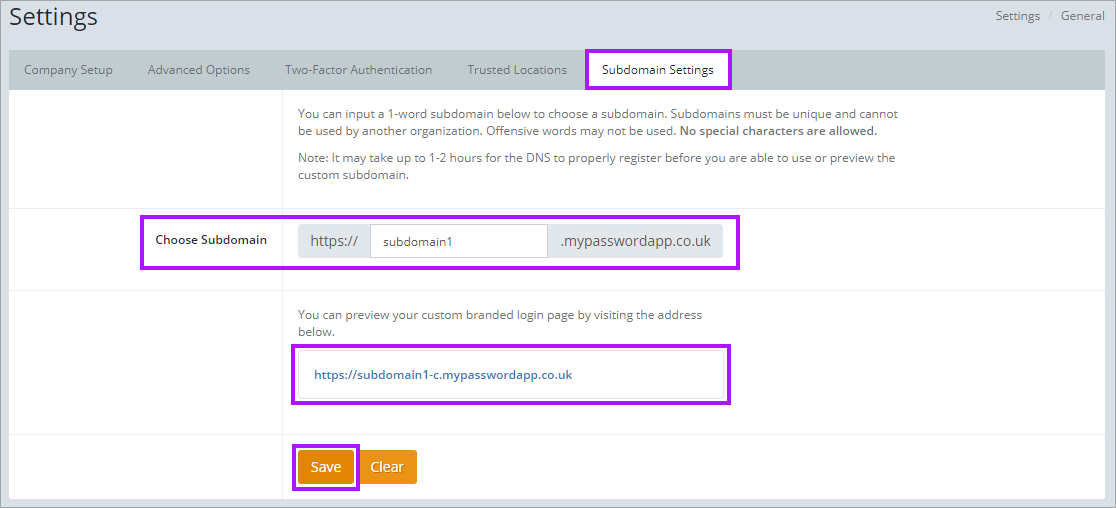
The subdomain will be appended with -c as seen in the above image.
It may take up to 1 or 2 hours for the DNS to properly register and propagate before you are able to use or preview the custom subdomain.
Blink Activation Email
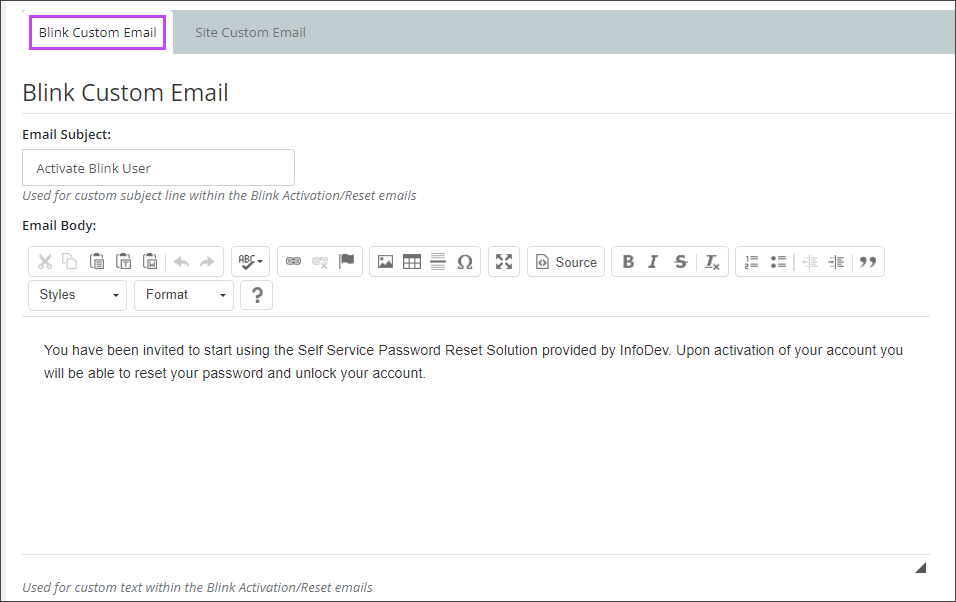
You can customize the Blink activation email that your Blink enabled users will receive:
- Navigate to Settings > Branding.
- Scroll down to the Blink Custom Email.
- Update the Email Subject and Email Body as required.
- The email address that will display on a sent message is the Support Email address as entered on the Settings > General > Company Setup tab.
- Click Save.
Blink Setup Next Step - Adding Users
When the subdomain is active and a suitable Blink Activation Email is set, invite users to the Blink service following the details in Blink User Setup.