
From the Management Console, you can view the dedicated Standby Image Overview by selecting Continuity > Standby Image from the vertical menu on the left hand side.
This page will list devices assigned to the Standby Image plans:
- Standby Image to Hyper-V
- Standby Image to Azure
- Standby Image to ESXi

From this dashboard, you will see a specified set of columns detailing information relevant to devices using the Standby Image plan, including the continuity history of the last 14 recoveries, the recovery status, boot status, and plan assigned, along with some other information.
If no devices are assigned to either Standby Image plan, the dashboard will display a message to advise, along with a button to add devices to a plan.
If a device is assigned to multiple plans (i.e. Standby Image to Hyper-V, Standby Image to Azure and Standby Image to ESXi), the device will be listed for each instance of a plan and can be told apart by the Recovery Plan column.
Searching
Searching within the Standby Image overview can be done by using the search box over to the right hand side of the page, just above the devices list. The search can be performed by any text field.
Filtering
The Standby Image overview also includes functionality to filter devices using the filter menu to the left of the device list and can be displayed or hidden by clicking the double arrows.

From this menu, you can filter by:
Recovery status
- Failed - The recovery session has failed
- Invalidated - Device was moved to an inappropriate partner and so the session has failed
- Unresponsive - The recovery session was initiated but did not receive updates for at least 30 minutes because the recovery location restarted or was offline.
- Completed with errors - The recovery session completed, but encountered errors
- Completed - The recovery session completed with no errors
- In process - The recovery is currently in progress
- Scheduled - Devices just added to a recovery plan and are waiting for their first recovery session or devices where restores were paused and have since been resumed will display as scheduled
- Retrying - A restore session was not finished so the system is trying the restore again
Recovery data sources
- Exchange
- Files and Folders
- MS SQL
- SharePoint
- System State
Recovery session statistics
- Boot check frequency
- Off
- Every recovery session
- Daily
- Weekly
- Biweekly
- Monthly
- Boot Check Status
- Success
- Failed
- Off
- Unavailable for Local VHDX
- Continuous restores
- Running
- Paused
- Duration of the last completed recovery session
- Sliding scale from 0 to unlimited
- Number of errors of the last completed recovery session
- Sliding scale from 0 to unlimited
- Number of restored files
- Sliding scale from 0 to unlimited
- Number of selected files
- Sliding scale from 0 to unlimited
- Recovery Location name
- Select the recovery location from a dropdown
- Recovery Plan
- Standby Image (Hyper-V)
- Standby Image (ESXi)
- Standby Image (Azure)
- Restored size
- Sliding scale from 0 to unlimited
- Recovery testing status of the last completed recovery session
- Failed
- Completed with errors
- Completed
- Screenshot
- Available
- Not Available
- Selected size
- Sliding scale from 0 to unlimited
- Time stamp of the last completed recovery session
- Quick Picks of:
- Last day
- 1 - 7 days
- 7 - 14 days
- 14 - 28 days
- > 28 days
- Custom range, select a stat date and time and an end date and time
- Quick Picks of:
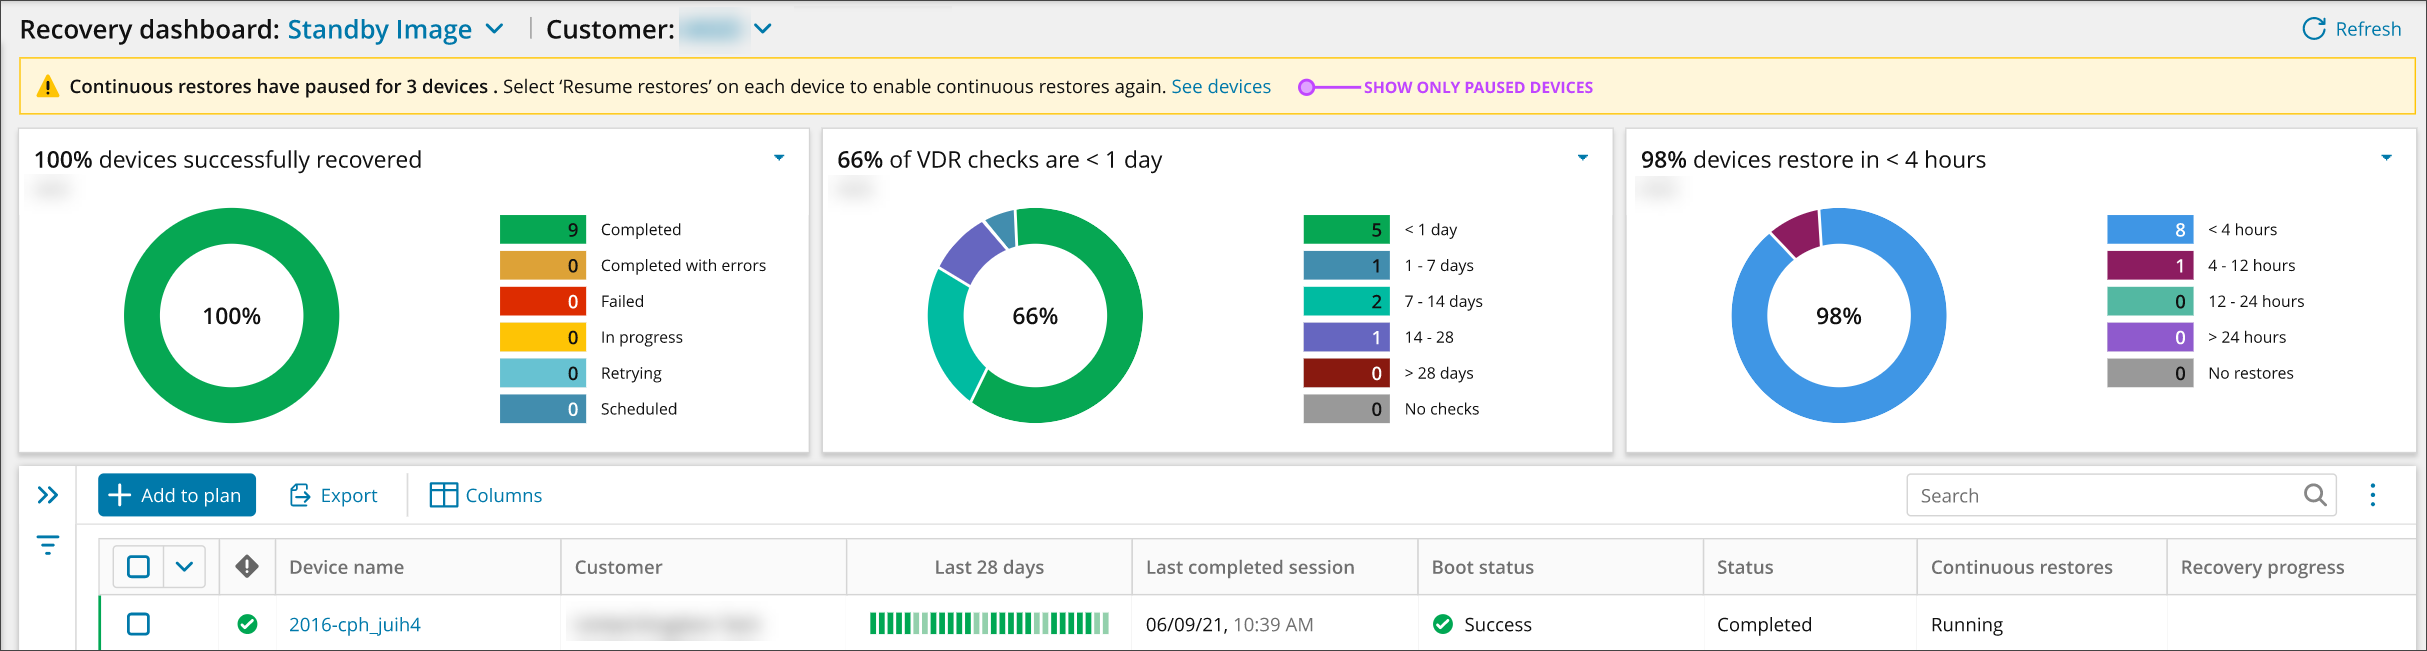
Widgets
Three widgets can be maximized at the top of the page, which allow for further filtering:

Device recovery status
This widget allows you to filter the devices by recovery status:
- Completed
- Completed with errors
- Failed
- In process
- Retrying
- Scheduled
VDR checks time frame
This widget allows you to see the percentage of devices whose recovery check completed within the following day ranges:
- < 1 day
- 1 - 7 days
- 7 - 14 days
- 14 - 28 days
- > 28 days
- No checks
Device restore time frame
From this widget, you can filter devices by the how recent restores are done by the following time frames:
- < 4 hours
- 4 - 12 hours
- 12 - 24 hours
- > 24 hours
- No restores
Exporting
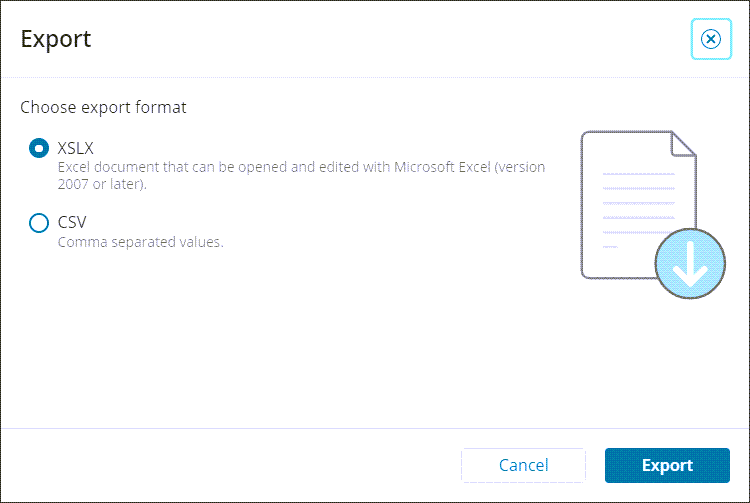
You may export a list of devices currently assigned a plan by clicking Export

This will then provide a separate dialog where you can choose to export in either XSLX or CSV.
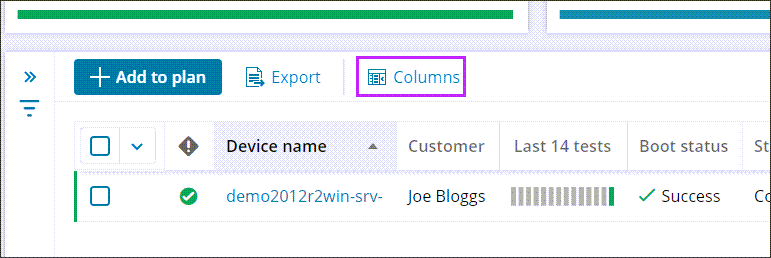
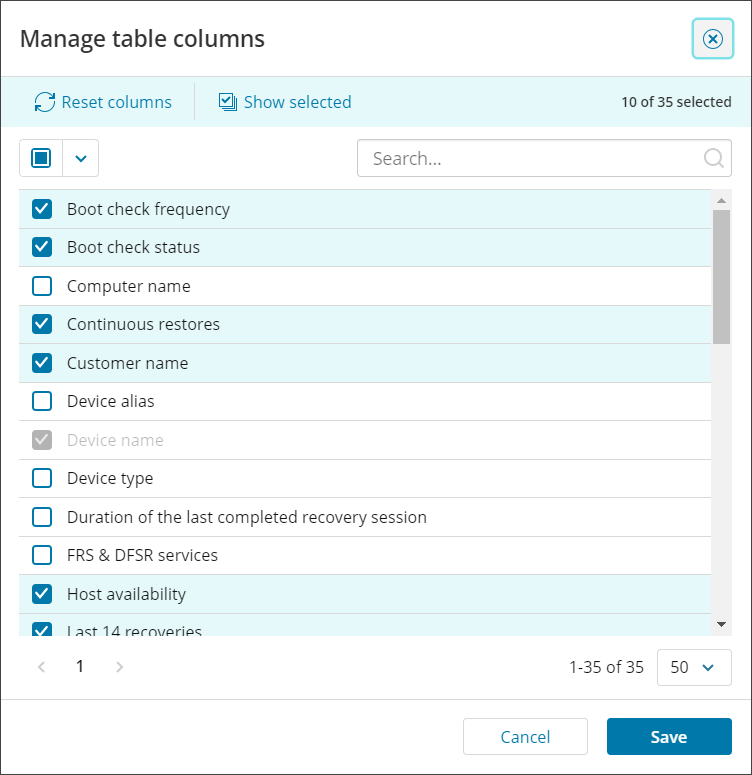
Manage Table Columns
Management Console allows you to manage the tables columns that can be seen within the Standby Image overview.
In the Manage table columns dialog, you can select and deselect columns based on the information you wish to view from the overview.
Pause Standby Image recovery
Once a Standby plan has been assigned to a device, the continuous restores can be paused and restarted. Pause or resume restores functionality there to provide a possibility to use the restored machine for failover in case of disaster.
If a restored Virtual Machine is turned on manually, the Standby Image restore will automatically pause.
Pausing and restarting continuous restores can done be for single or multiple devices at a time. Once devices have been paused, a banner will be displayed at the top of the page to advise.
Click See devices to filter the devices list by Continuous Restore: Paused to only devices which are currently paused.

For single devices
- Log in to the Management Console under a SuperUser or Manager account
- Navigate to Continuity > Standby Image
- Click the menu action button to the right of the device (Three vertical dots)
- Select Pause Restores or Resume Restores

This will differ depending on whether the plan is currently active, or has been paused already
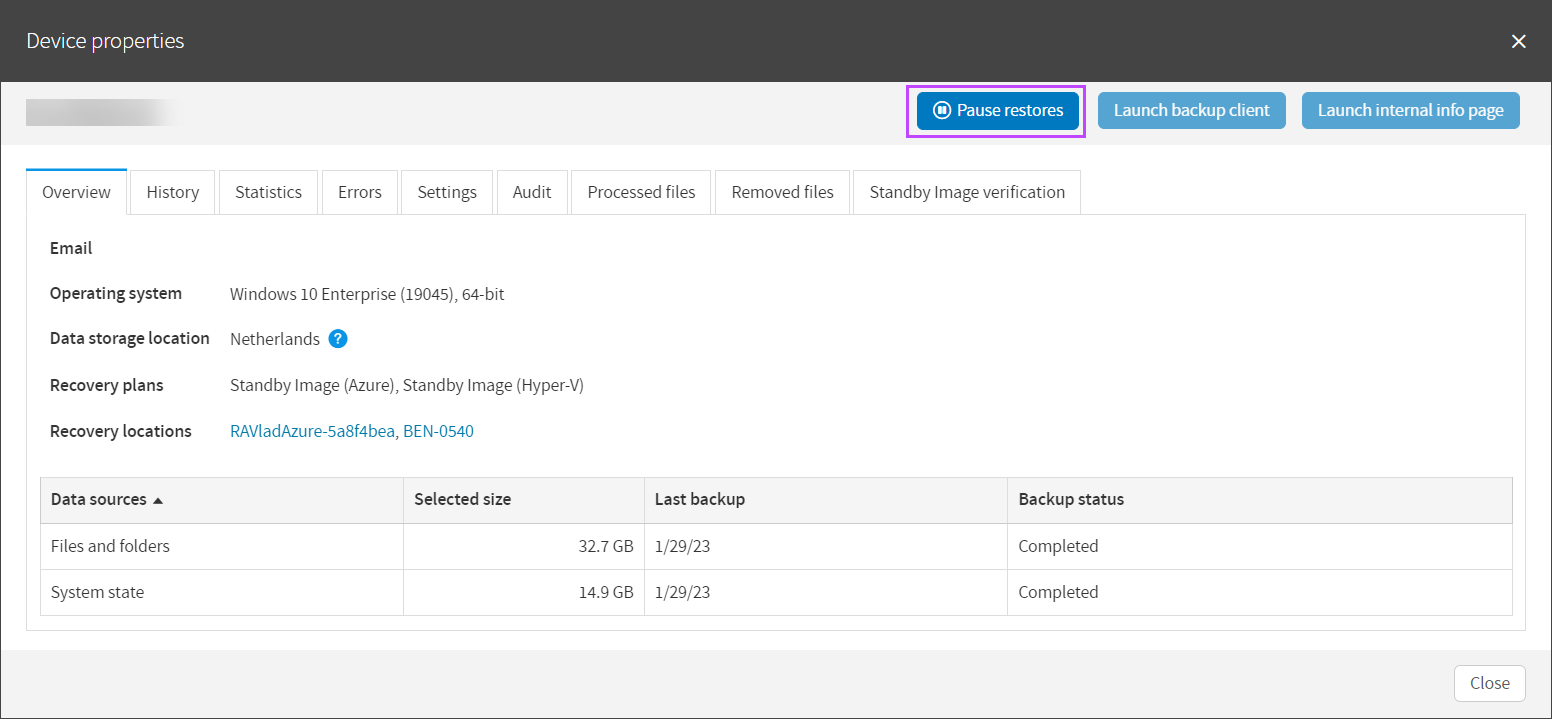
It is also possible to pause restores from the Classic Device Properties window:
For single or multiple devices
- Log in to the Management Console under a SuperUser or Manager account
- Navigate to Continuity > Standby Image
- Tick the checkbox for any devices that need paused from the list
- In the top panel, select Pause Restores or Resume Restores

This will differ depending on whether the plan is currently active, or has been paused already
Accessing device properties
The Device Properties window displays several tabs detailing information on the Backup device. Full details of the contents of each tab can be found on the Device management in Management Console page.
The two that are the most commonly used with Standby Image are the Settings tab and the Standby Image Verification tab.
Settings Tab
Broken into several sections, this tab contains:
General
This section provides the main device details:
- customer - Who device belongs to, can be changed to move the device to a different customer
- Device name - Cannot be changed
- Installation key - Cannot be changed
- Creation date - Cannot be changed
- Expires on - Can be amended to a date in the future, or set to 'no expiration' if required
You may also see the Request Passphrase button here if the device is set up to use this instead of its own Encryption Key/Security Code
Backup
This section contains:
- Retention Policy - Use the dropdown to change the Policy used by the device
- Profile - Use the dropdown to change the Profile applied to the device
Recovery / Continuity
On a device assigned to the Standby Image plan, this section will allow you to see plan in use and amend some details of this:
- Recovery Plan - Standby Image (Hyper-v/Azure/ESXi)
- Recovery Location - Cannot be changed
If you need to change the recovery location, you must remove the device from the plan and reassign
- Successful recovery report email - Specify the email address(es) that will receive reports when the most recent Recovery as per the assigned plan has been successful
- Failed recovery report email - Specify the email address(es) that will receive reports when the most recent Recovery as per the assigned plan has failed
- Remove Cove branding - toggle branding of the email reports on or off
- Restore format - This option will not be available for Standby Image to Azure.
- For Standby Image to Hyper-V, this is a choice between Hyper-V or Local VHDX
For Standby Image to ESXi, this is a choice between ESXi and Local VMDK
Further settings displayed are dependent on the Restore Format selected for the device. These settings can be changed as required.
All Recovery Plans associate to the device will be included here, and can be minimized or expanded by clicking the arrow to the left of the plan name.
Enhanced Device Properties:
If the device is assigned to multiple plans, these plans are displayed and can be expanded or minimized by clicking the arrows to the right-hand side of the plan name

Expanded view of Device Properties:
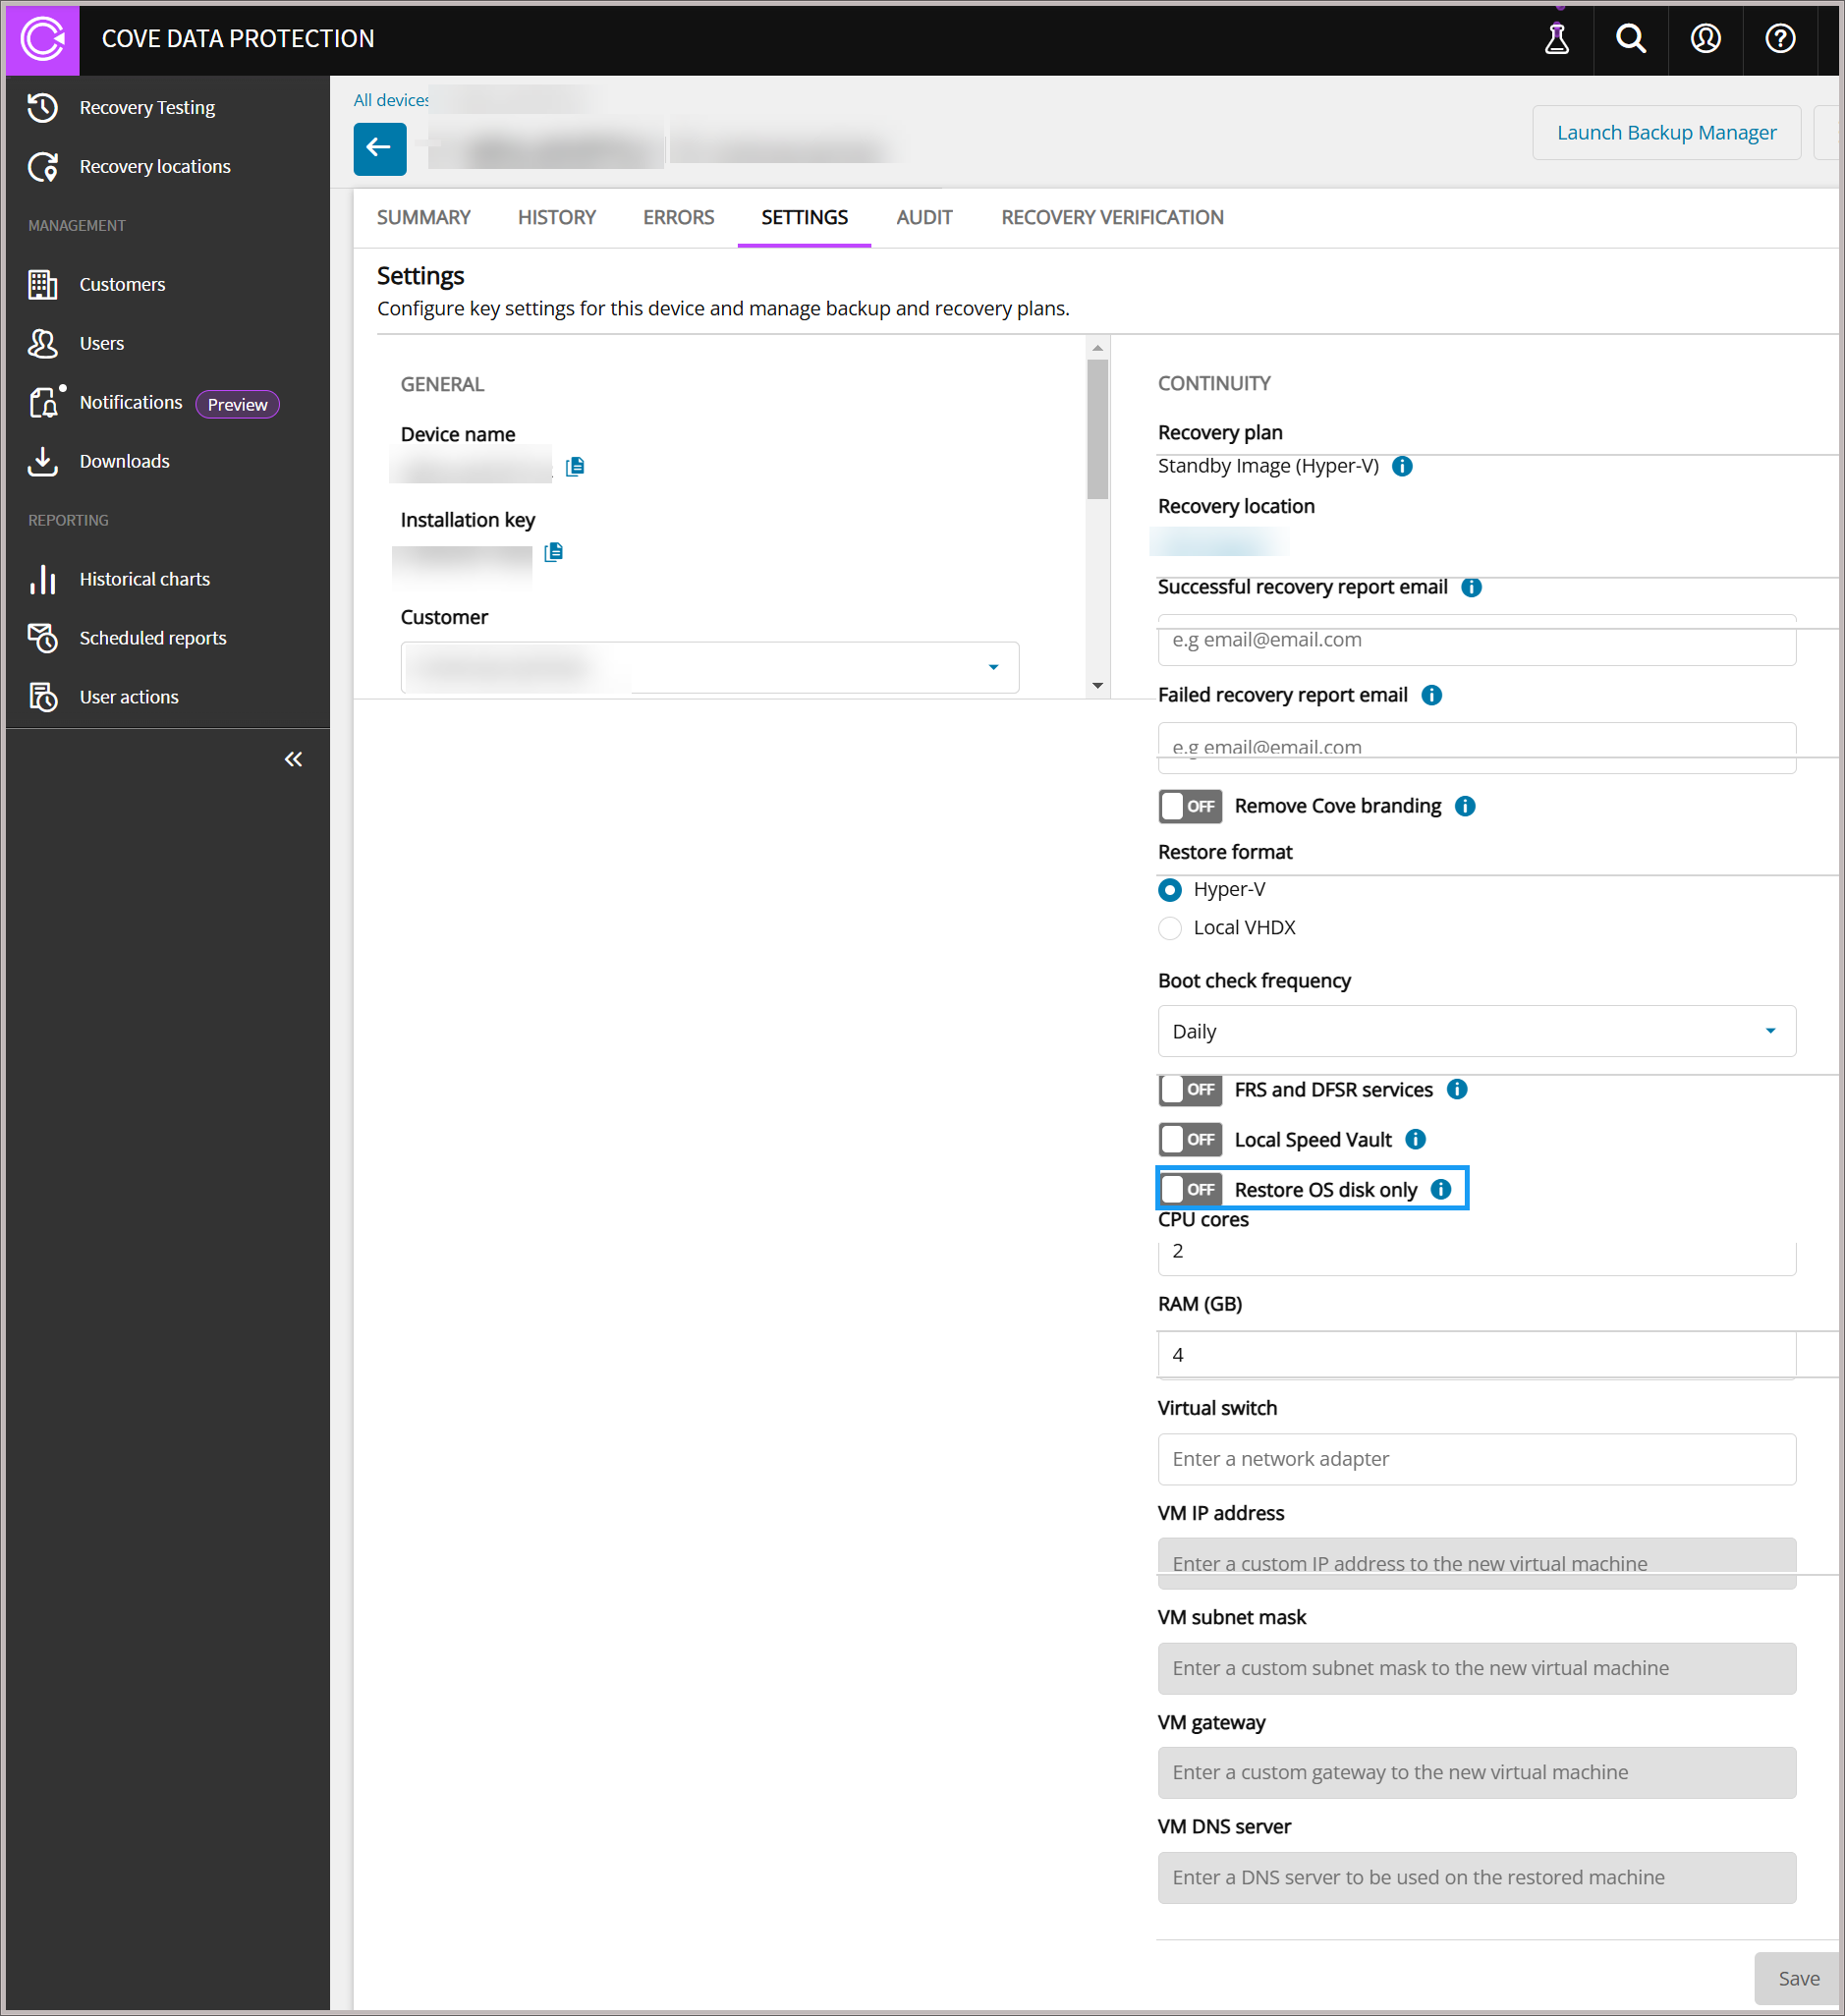
Restore OS disk only can now be modified from Device Properties unlike before where you could choose Restore OS disk option only when adding a device to the plan.
Azure Disk Size Optimization
This feature is available just for the SBI Azure and Create disks for Standby Image machines in Azure based on the actual data size of the original disks, rather than their full disk size.
This approach can significantly reduce solution costs.
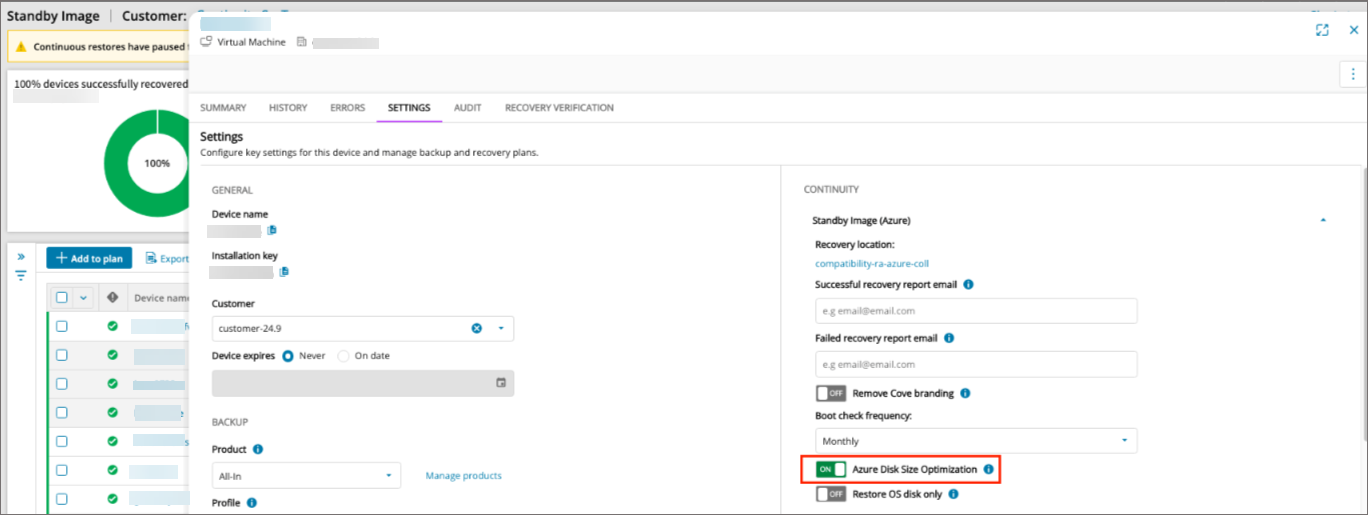
Applying this option will result in the disks being re-created in Azure Cloud and the full disk content being re-downloaded.
Standby Image Verification Tab
To view statistics of the Standby Image and check the screenshots to ensure this has been successful, you can view this by following one of the below methods.
All plans associated to the device will have their own sub-tabs that can be selected to view the appropriate screenshot:

From Device Properties
- Log in to the Management Console
- Click the device name on either the Backup Dashboard or the Standby Image overview to open the Device Properties
- Navigate to the Standby Image Verification tab
From Standby Image Overview
The Standby Image Verification tab can be viewed from the Standby Image overview in one of two ways:
- Via theScreenshot column
- Via the Last 14 recoveries column
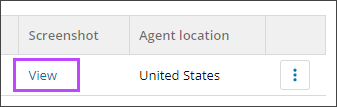
Screenshot column
- Log in to the Management Console
- Navigate to Continuity > Standby Image
- Click View under the Screenshot column
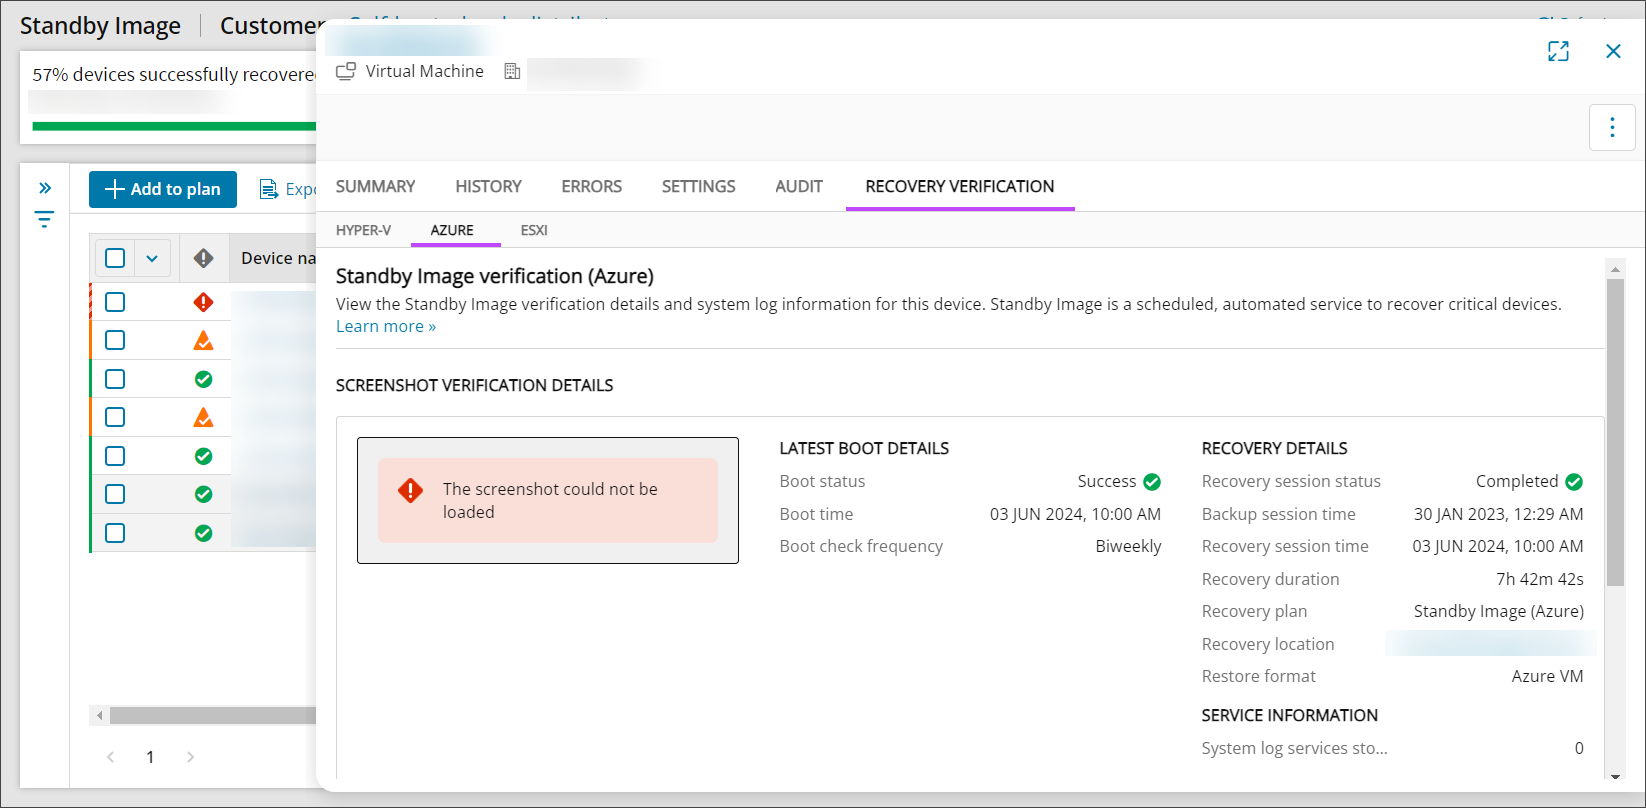
- This will take you in to the Device Properties dialogue, where you will now see the Standby Image Verification tab:
Enhanced Device Properties:
Each continuity plan has its own tab within this section that can be selected to display verification for that given plan
Classic Device Properties:

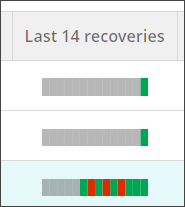
Last 14 recoveries column
- Log in to the Management Console
- Navigate to Continuity > Standby Image
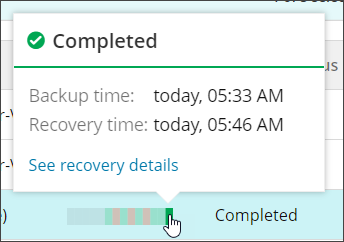
- Hover your mouse over the most recent colored bar in the Last 14 recoveries column
- Click See recovery details in the pop-up box that appears
- This will take you in to the Device Properties dialogue, where you will now see the Standby Image Verification tab:
Enhanced Device Properties:
Classic Device Properties: